
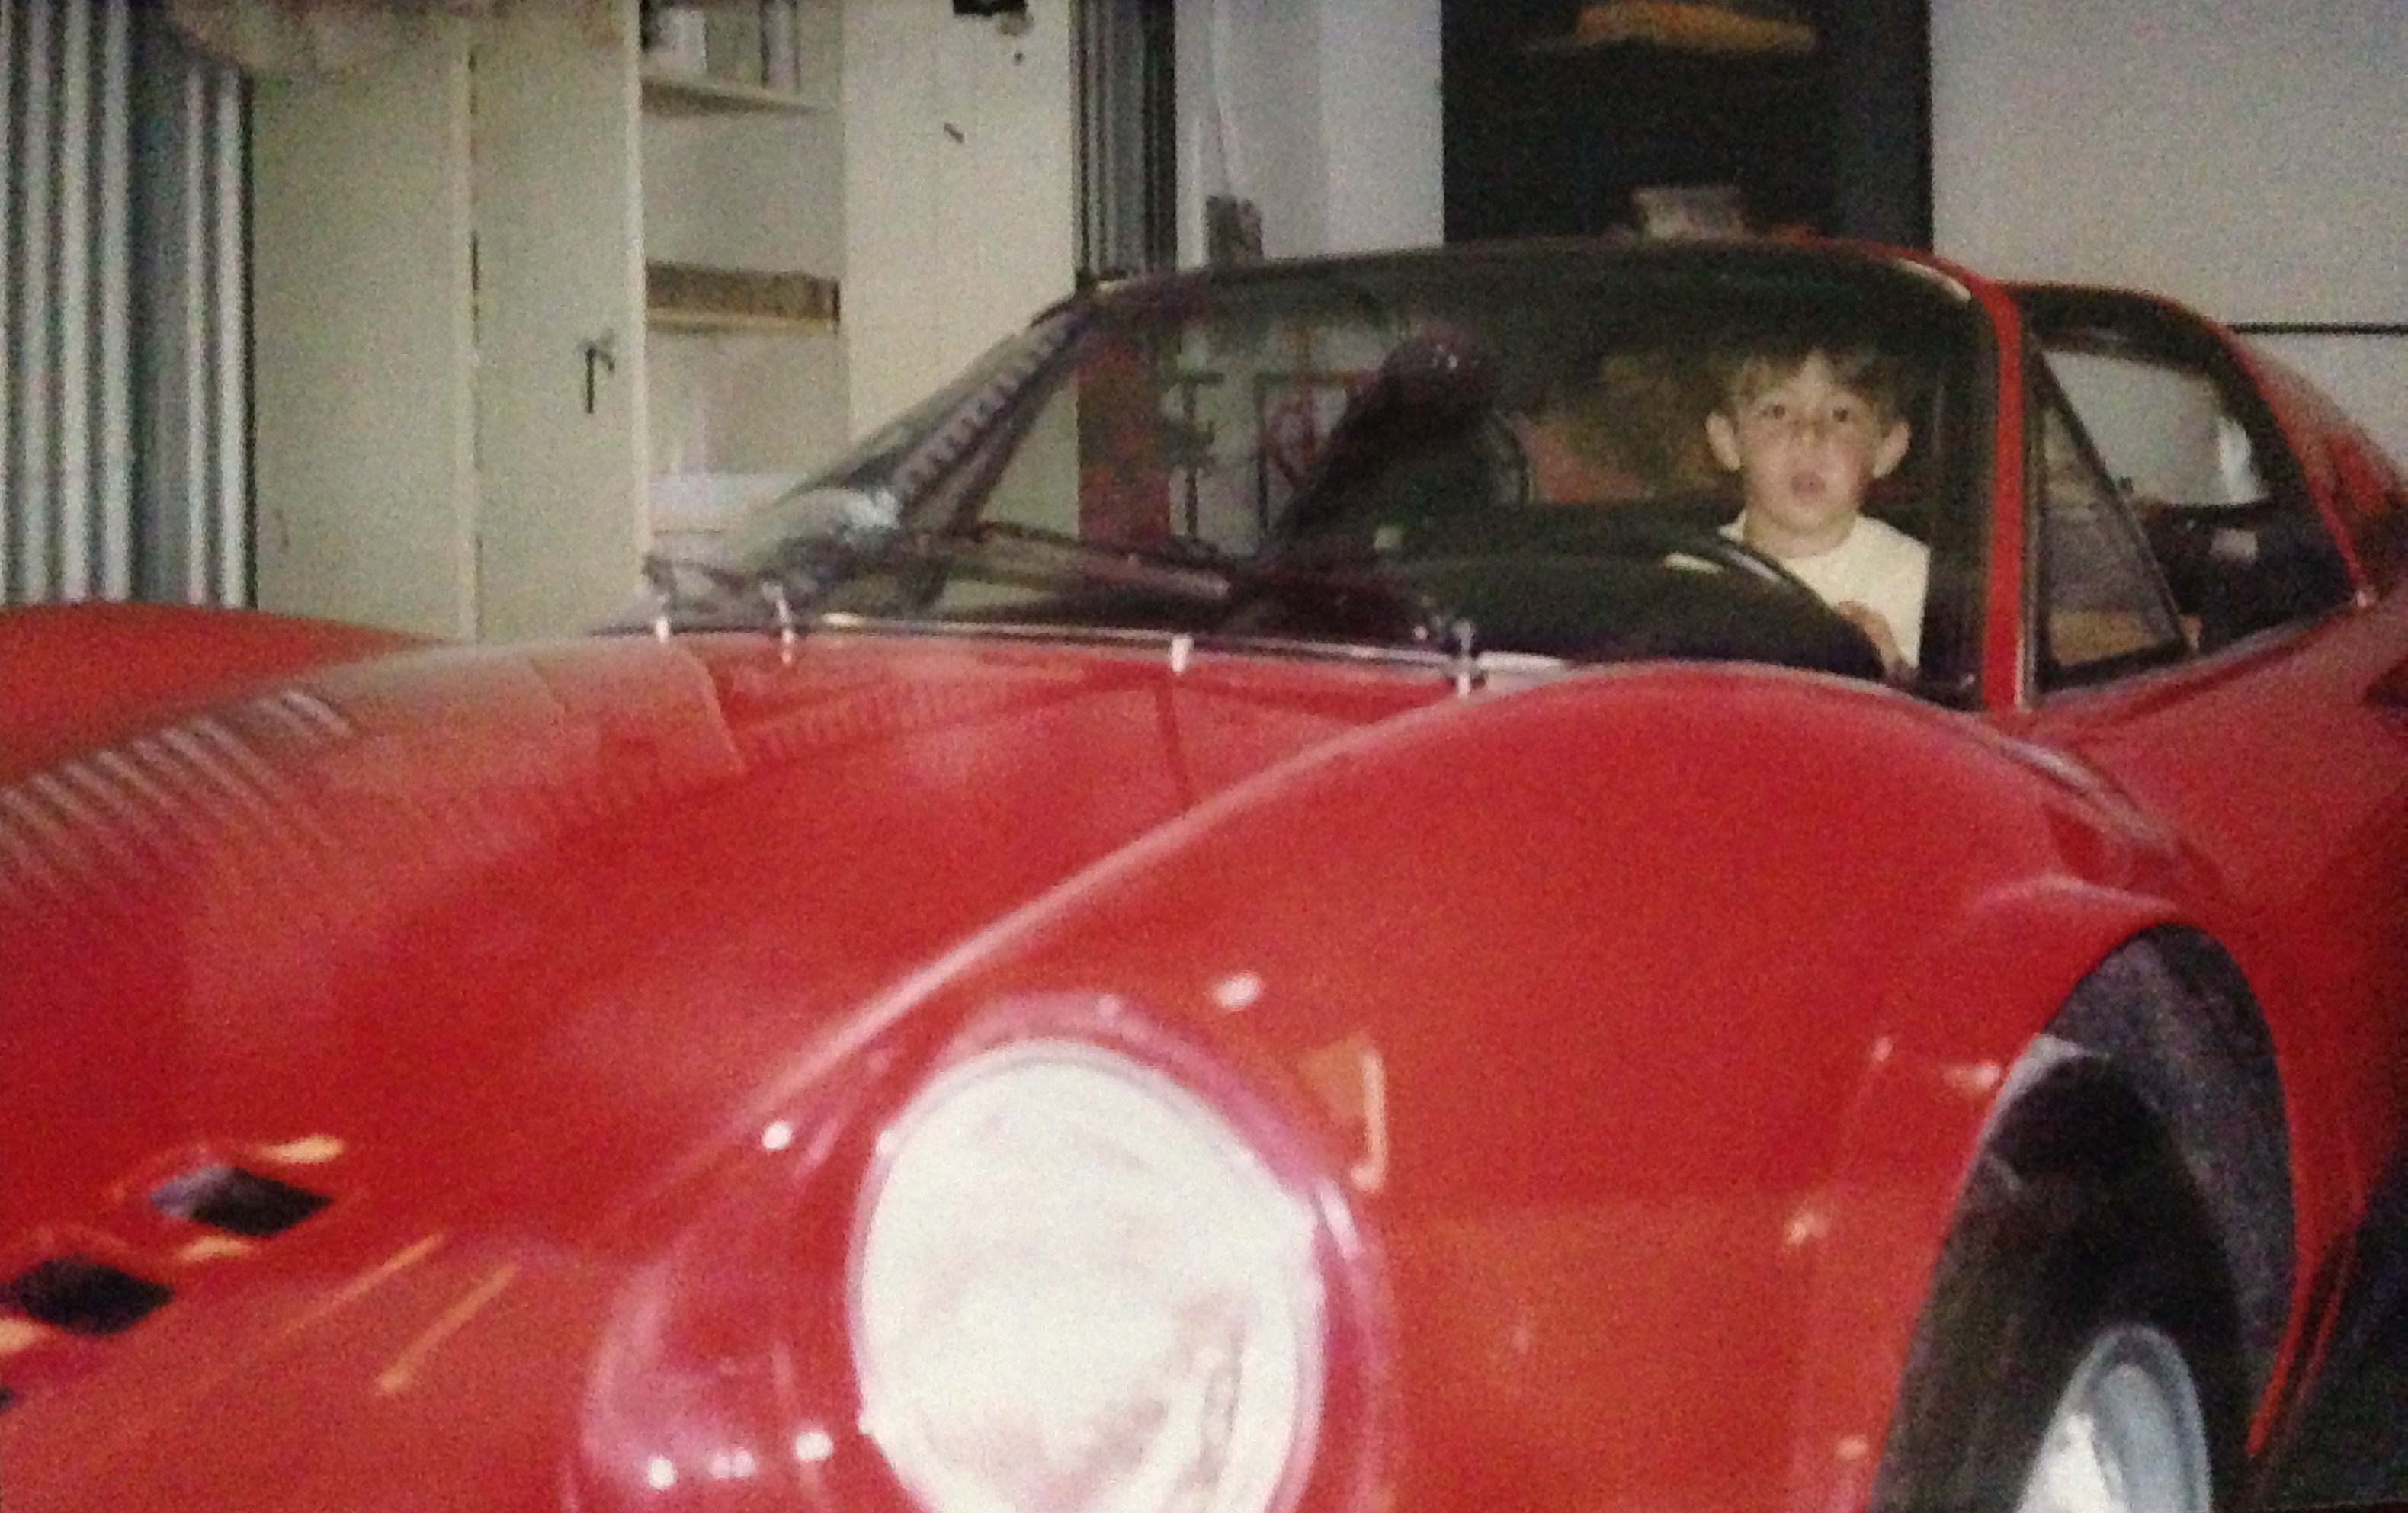
One of the greatest feelings in the world has got to be the moment you pass your driver’s license test and you are now deemed qualified to drive on your own! In honor of my son’s recent initiation into the driving world I thought I’d post a photo of him behind the wheel of his first (I dare say) Dino. Well… actually it wasn’t his Dino and he wasn’t driving but it sure tells a story about how long I’ve been around working on Italian Sportscars! Nick was about three years old when this photo was shot and I was already a well seasoned surface master!
Congratulations Son! Many years of safe driving and hoping one day we’ll have an opportunity to restore a Dino together… for ourselves!
Introducing “Barn Find” Dino. My apologies for not making the introduction sooner. Back in January I picked up a silver Dino for a new client. The client lives and works on the East Coast but wanted the Dino restored out here in California. My portion of the job would entail the metal work, surfacing and painting. The new owner wants the car to go “Dino Blue”.
Jon G did an amazing job in taking the Dino apart. He had it media blasted and mounted on a rotisserie — giving us the optimum platform to do our metal work, surfacing and painting. The media blasting revealed a little unexpected rust and damage but nothing we couldn’t handle. It was minimal.
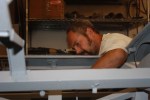
Since getting this Dino in the shop we’ve primarily been focusing on the needed metal work. Attila Vecsernyes is the metal-man who is doing the work. He’s new to our shop but certainly not new to metal fabrication work. He is a Hungarian craftsman who is a magician when it comes to working on sheet metal. He’s doing some amazing work!
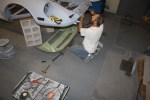
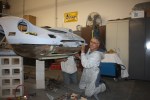
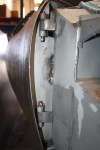
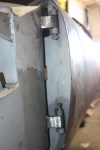
This Dino needed a little “work” on its nose. So, we cut the old rusted and damaged nose out and then TIG welded the new nose in and we’re now ready to metal finish the seam. We’re almost done with the nose and we’ll soon be moving on to the rockers.
-
- Taking Old Nose Off
-

- Careful Around Grille
-

- Removing Nose
-
- Removing Old Nose
-

- Nose Removed
-
- Fitting New Nose
-
- Installing New Nose
-
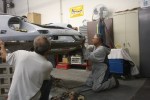
- Installation: A Two Man Job
The last post I have on the “Bello Nero” Dino was some time ago. I don’t want you to think we’ve been idle at all on this Dino. In fact we’ve been so busy I haven’t had a chance to blog on the progress. So, in an effort to catch you up on what we’ve done, I’m giving you the Reader’s Digest version here. Let me know if you want any further explanation on any part of the process.
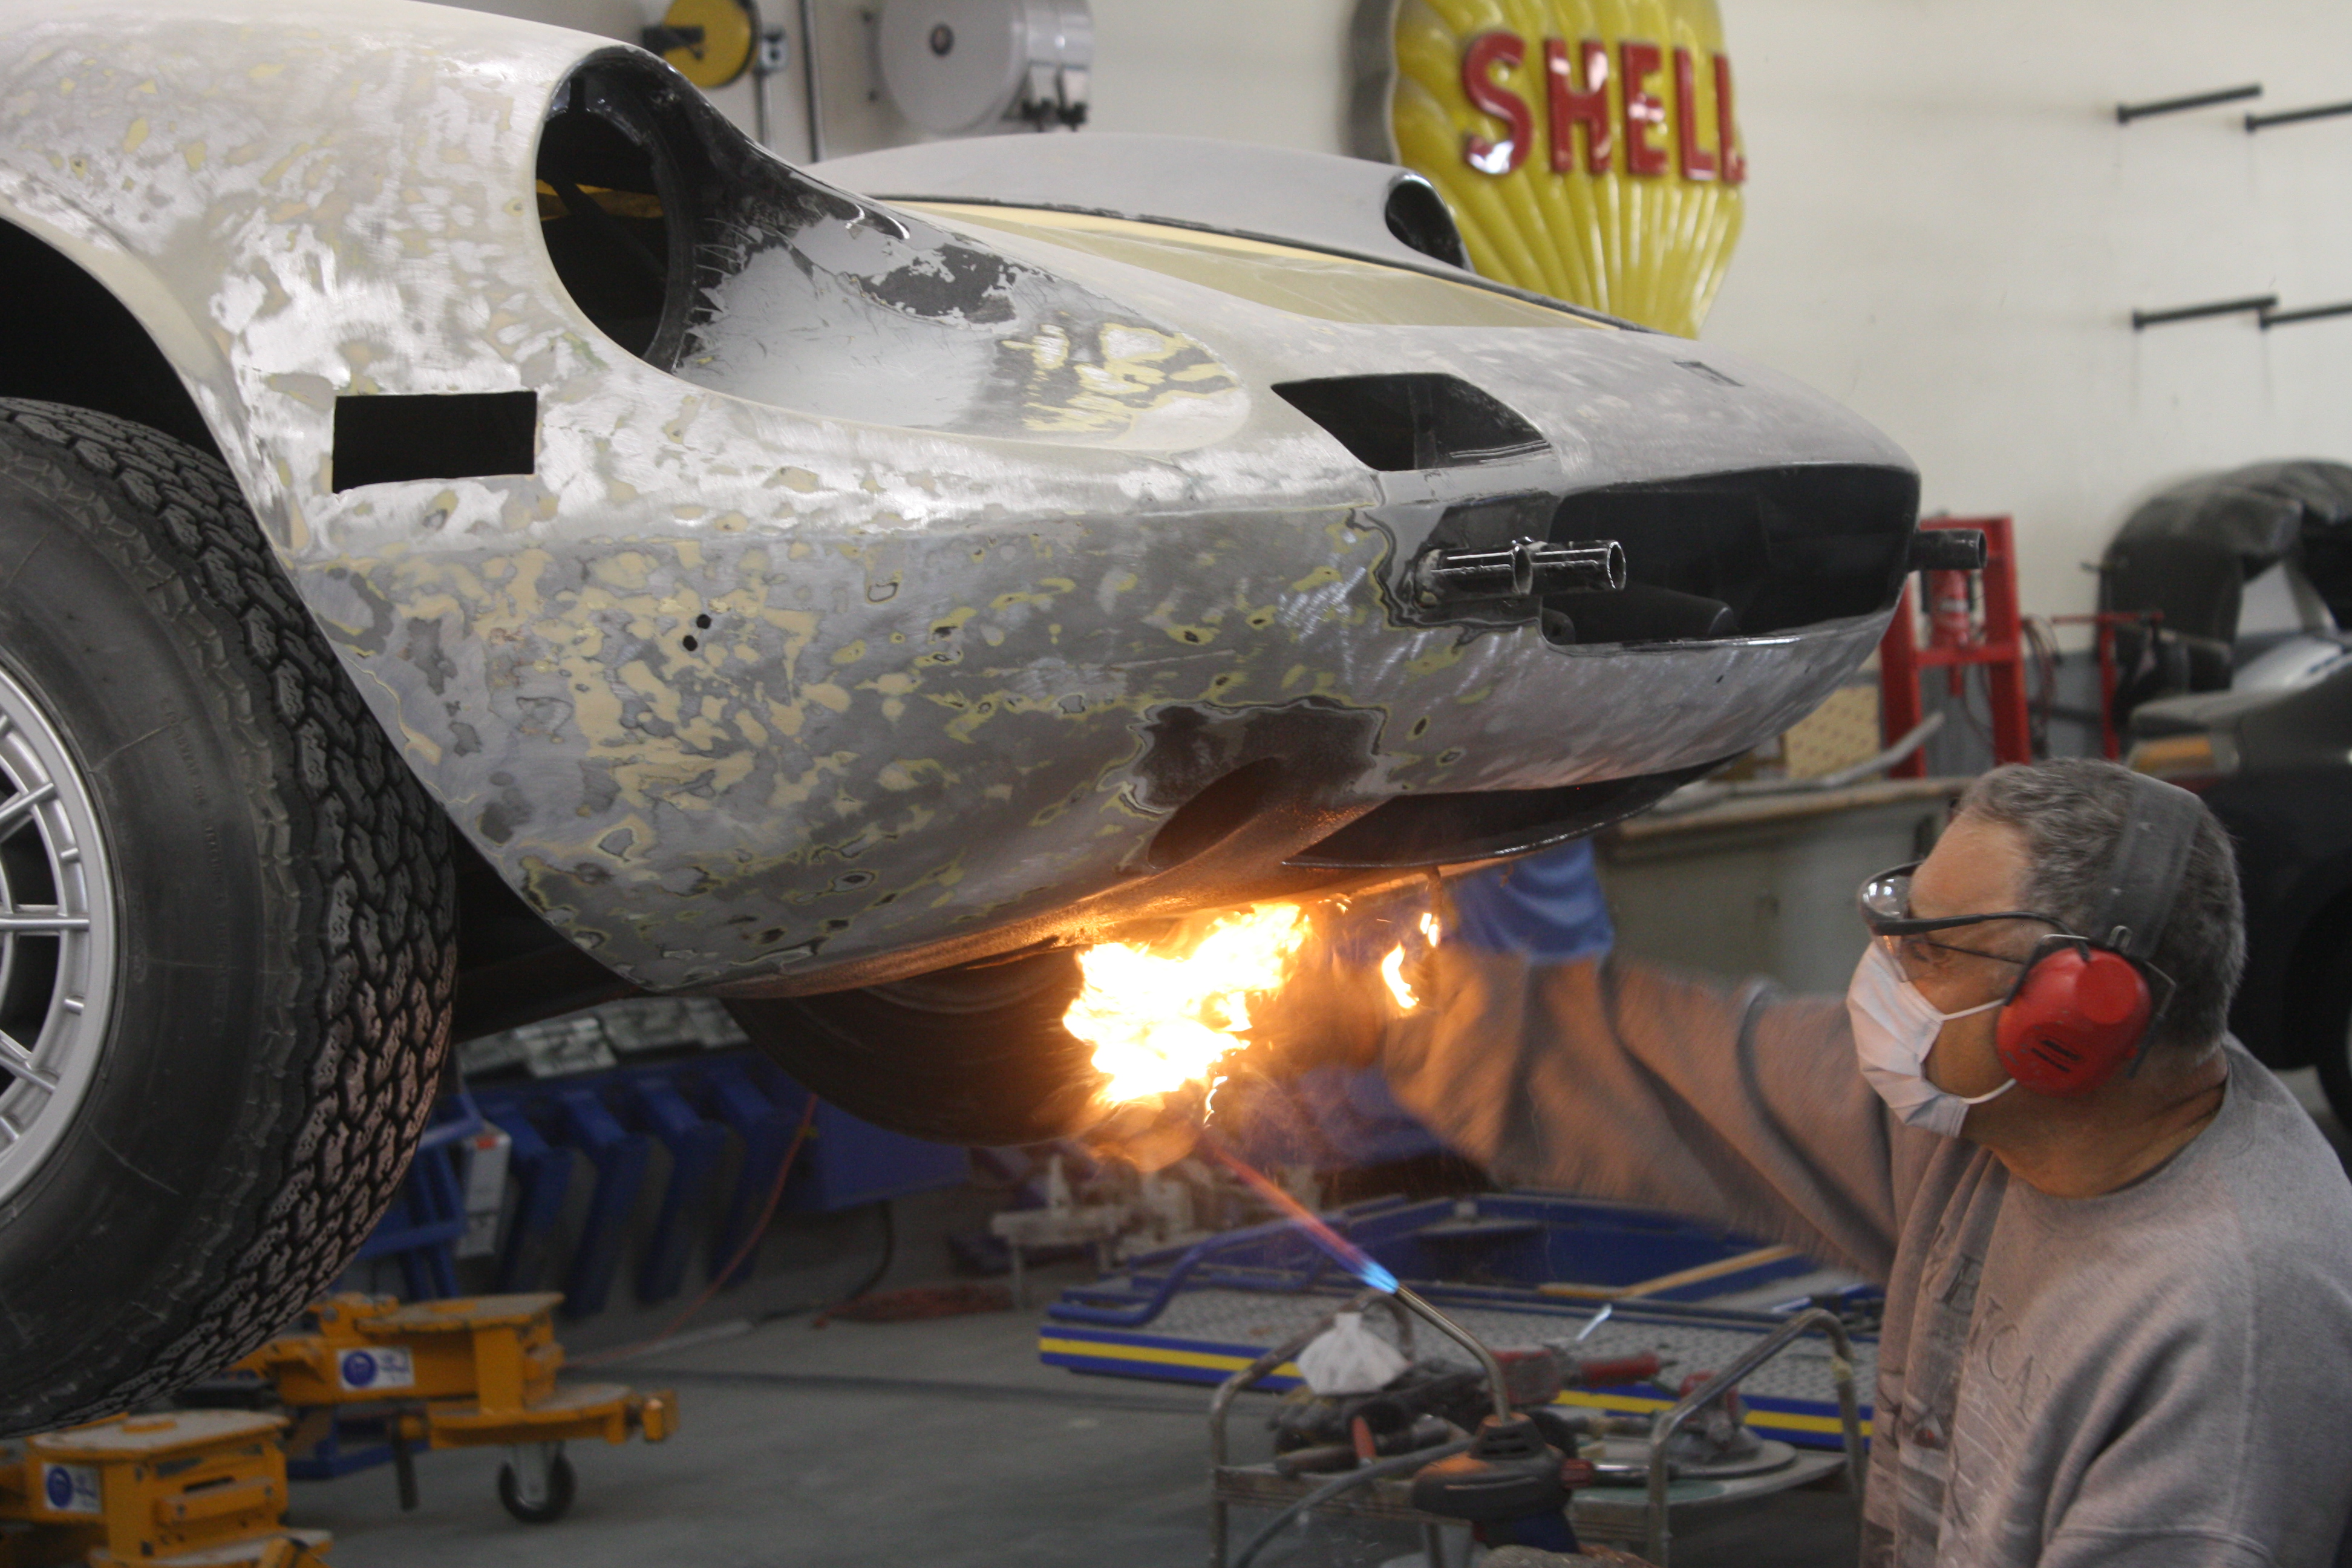
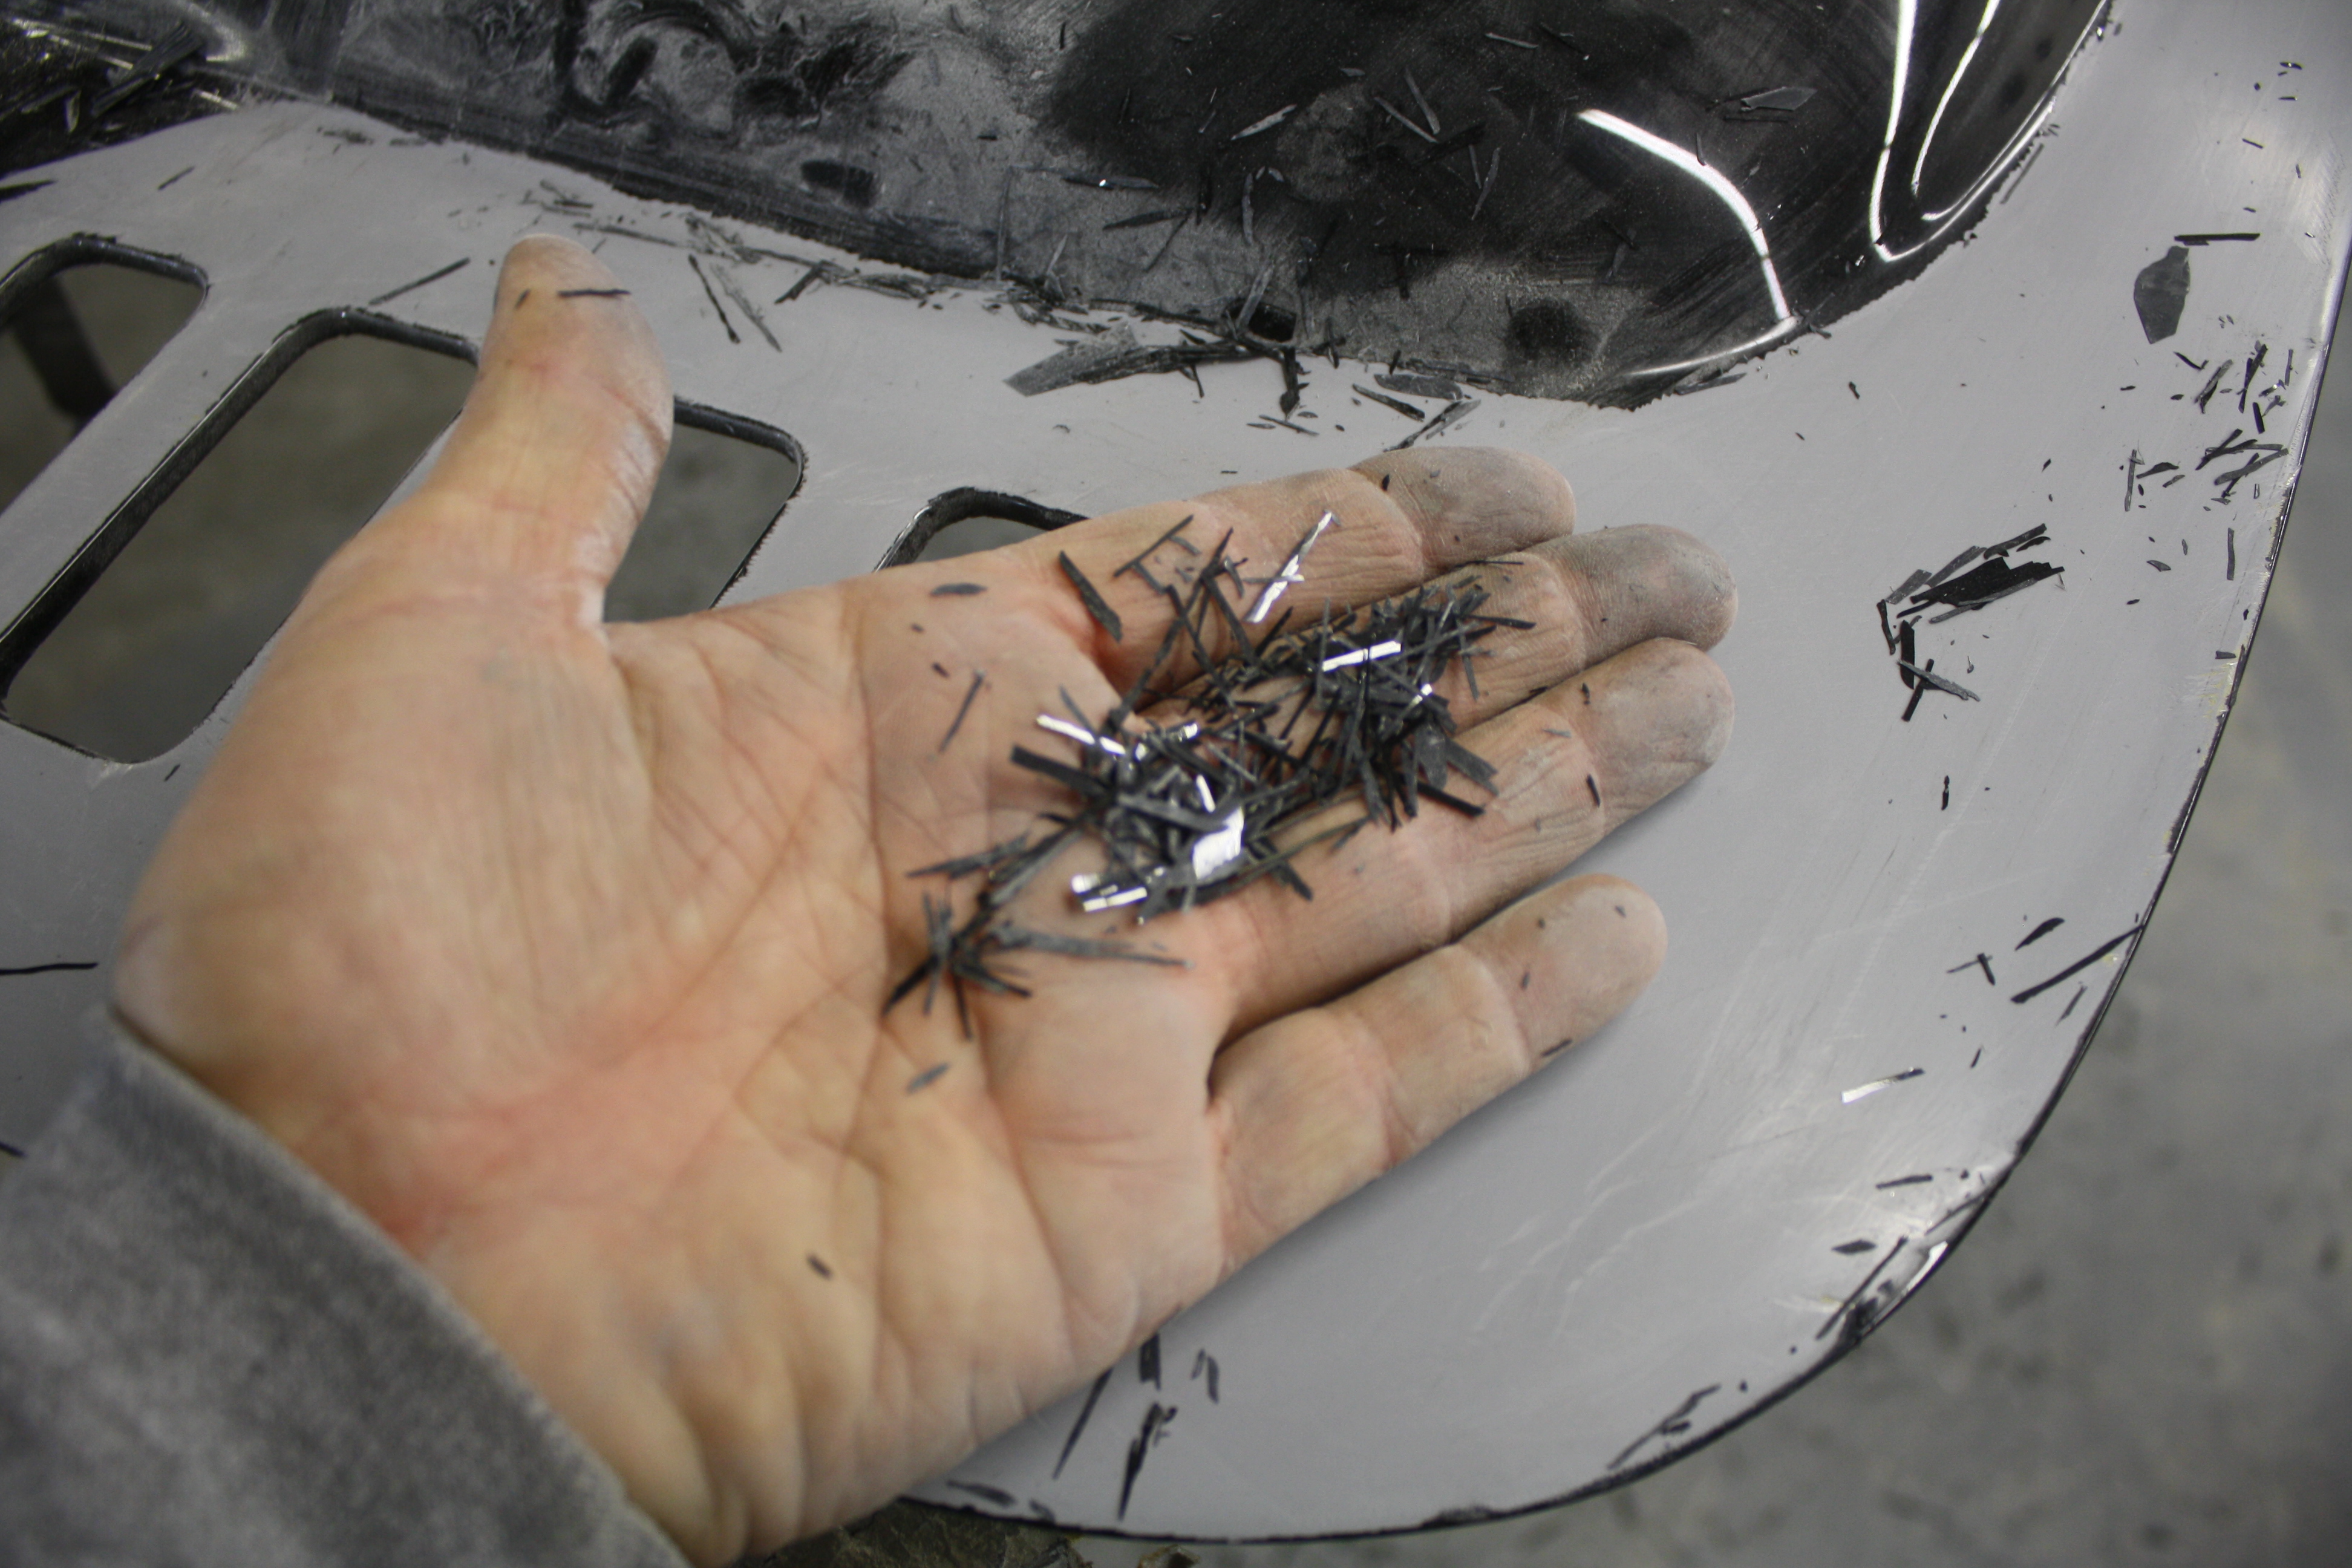
As you know, we began to strip the chassis. To strip the under nose of the Bello Nero Dino we had to use a bit of flame to soften the paint in order to scrape it off. As you see in these photos it worked great and the end result was a nicely stripped nose. This technique is used when the paint and sub-straights are especially hard to get off. Media blasting is not an option on this job for the simple reason that the client has a smaller budget for disassembly. We only media blast ( walnut or plastic) if the car has been set up on a rotisserie, which involves lots more disassembly.

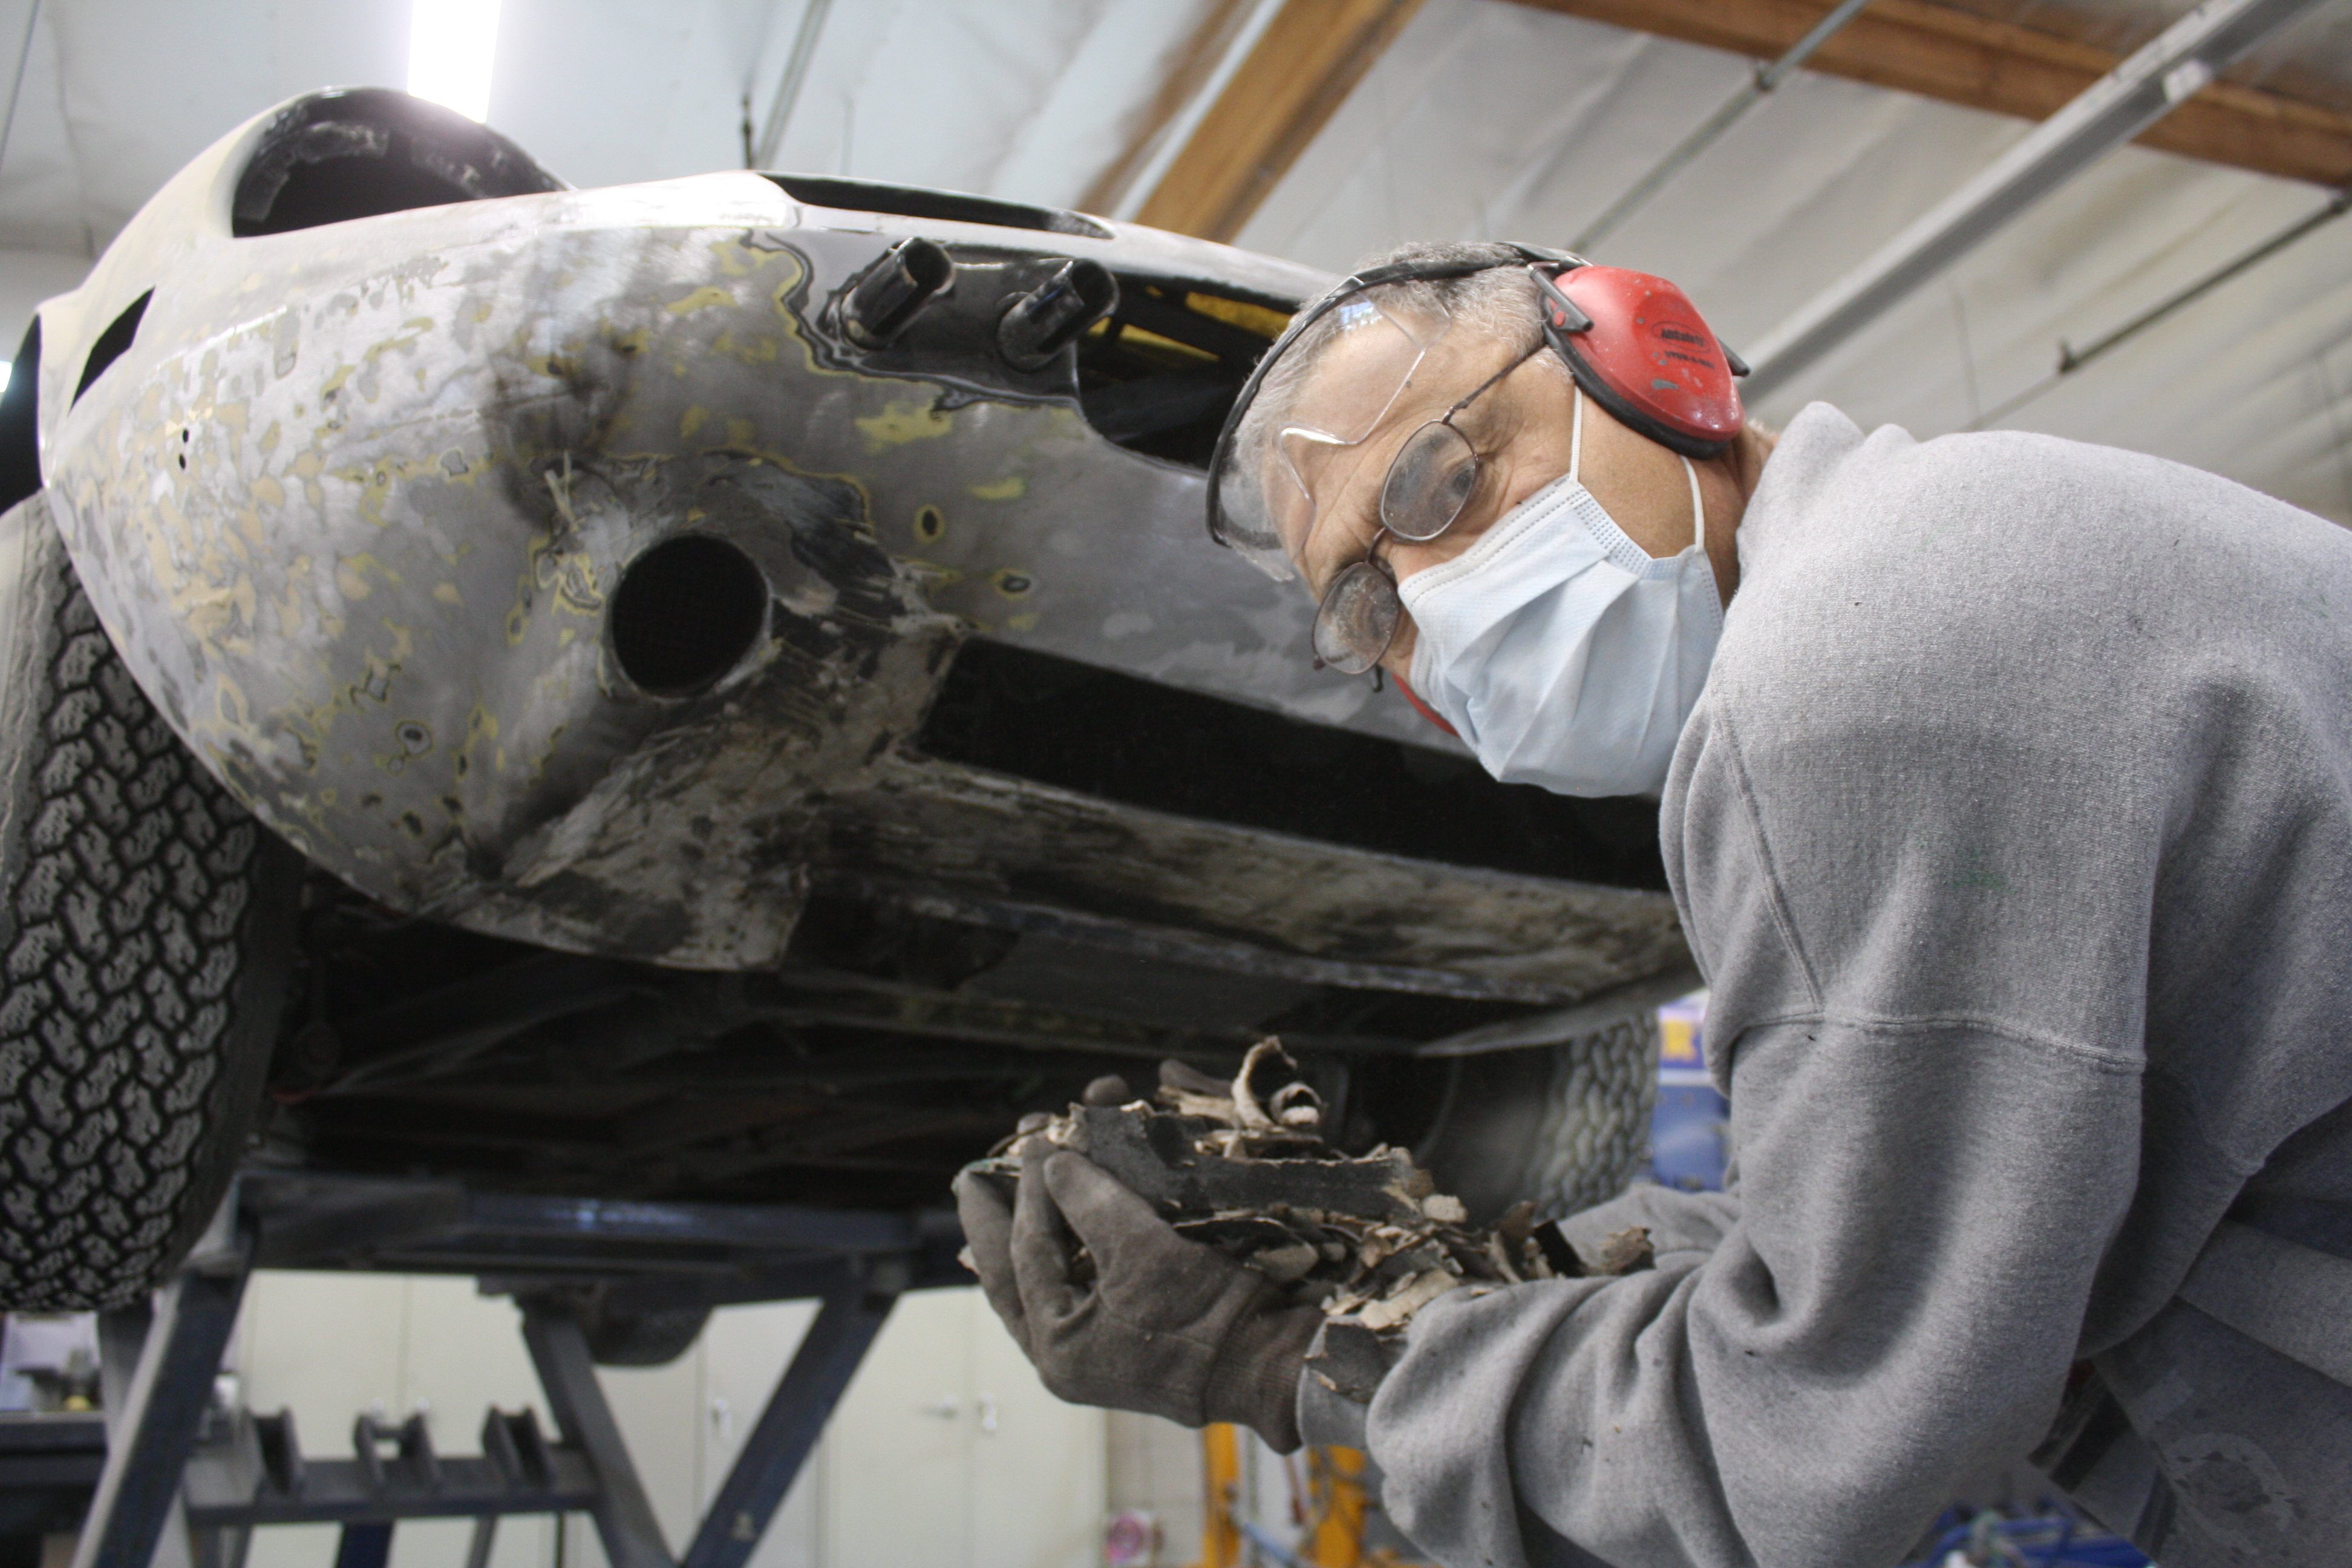
We hand stripped the entire car, which is a laborious job to say the least. Some of it requires us to razor blade the old paint off. It’s a necessary step in order to prepare the car for paint prep and ultimately one of my paint jobs. Now that 90% of the stripping is done, we will wire wheel and begin our metal work, fabrication and rust sheet metal replacement.


The hood, decklid and engine cover are aluminum. These parts were sent to the blaster to get walnut shelled after we hand stripped the majority of the material off the parts.
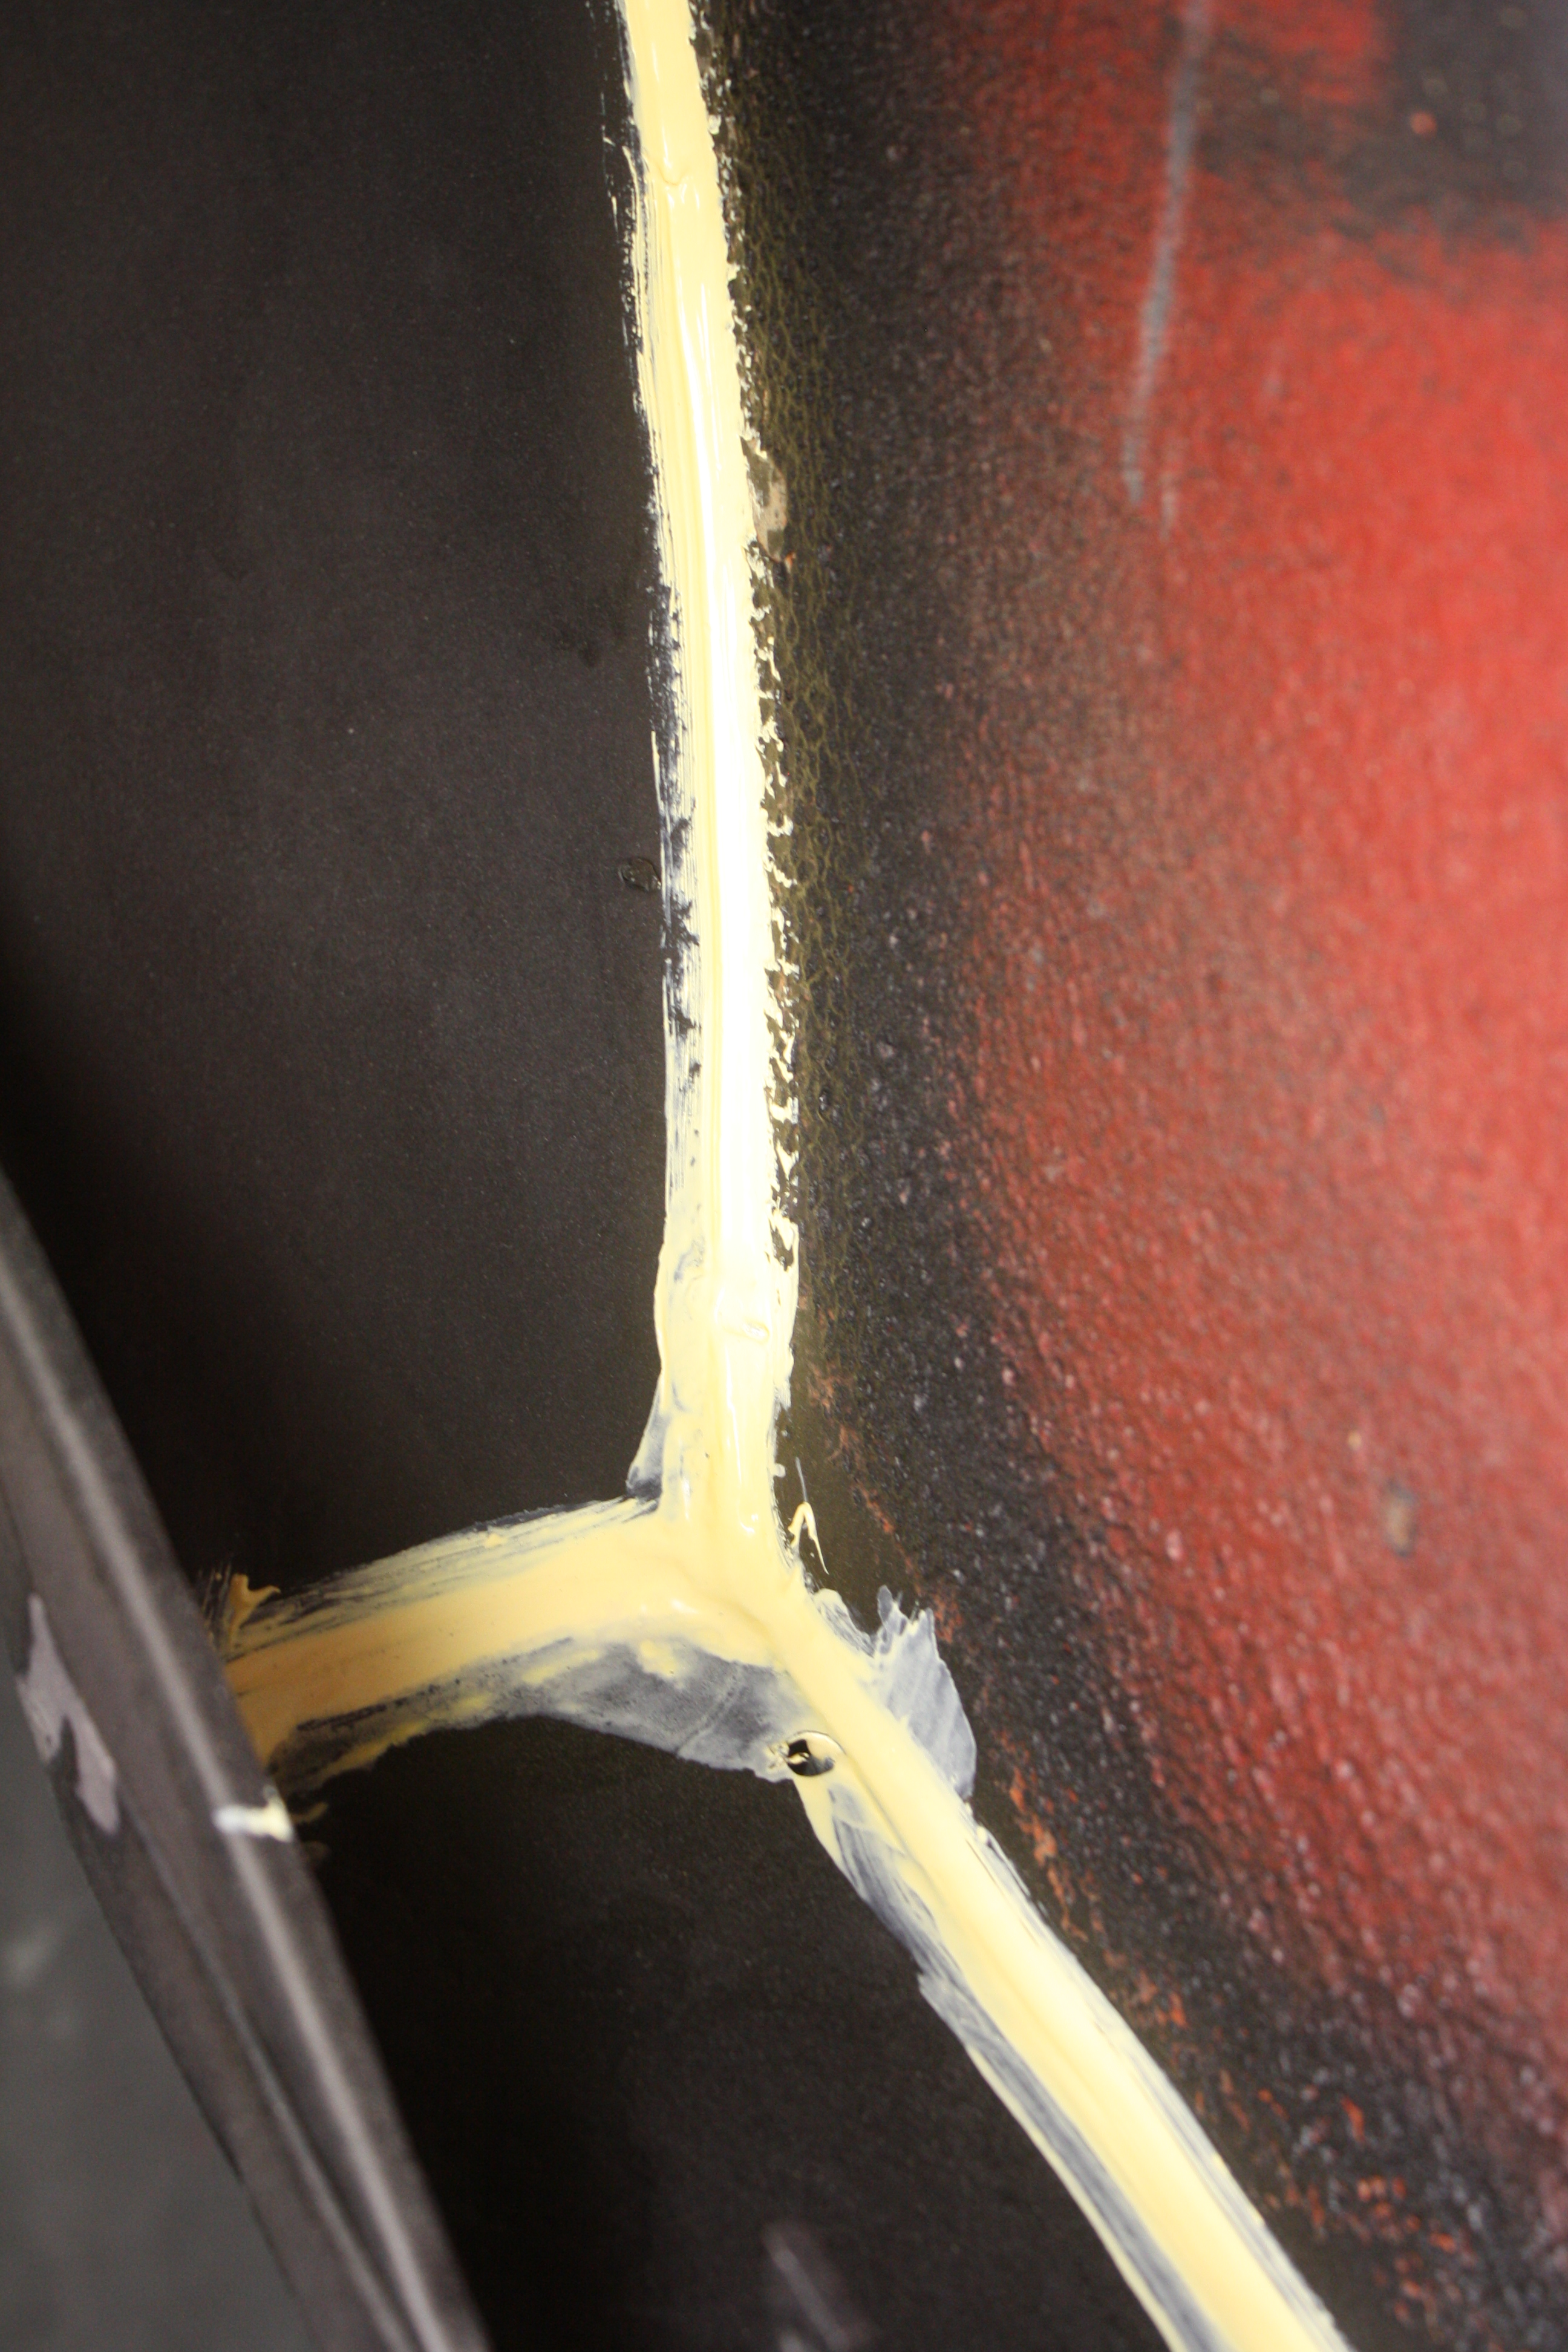
Once all the stripping is completed we seam seal the entire chassis and the doors, deck lid and engine cover. As always, this is an important part of any restoration since it helps to protect against any moisture build up in the seams of the car. After the seam sealing is completed we prep the car for its first primer and the surfacing then begins.
We’ve been hard at work on the Miura along with the two Dinos we have in the shop. Obviously, I’ve been more focused on working on the cars than on the blog. So, pardon me for giving you the 50 cent tour of the past 36 days but hopefully it will give you a good idea of the work we’ve done and an even better overview of the progress of the Miura.
One of the first things we tackled was seam sealing the chassis. This effort is important as it prevents moisture from getting into the seams of the chassis and creating rust issues down the road. We seam sealed the entire chassis, doors, and eventually the front and rear clips.

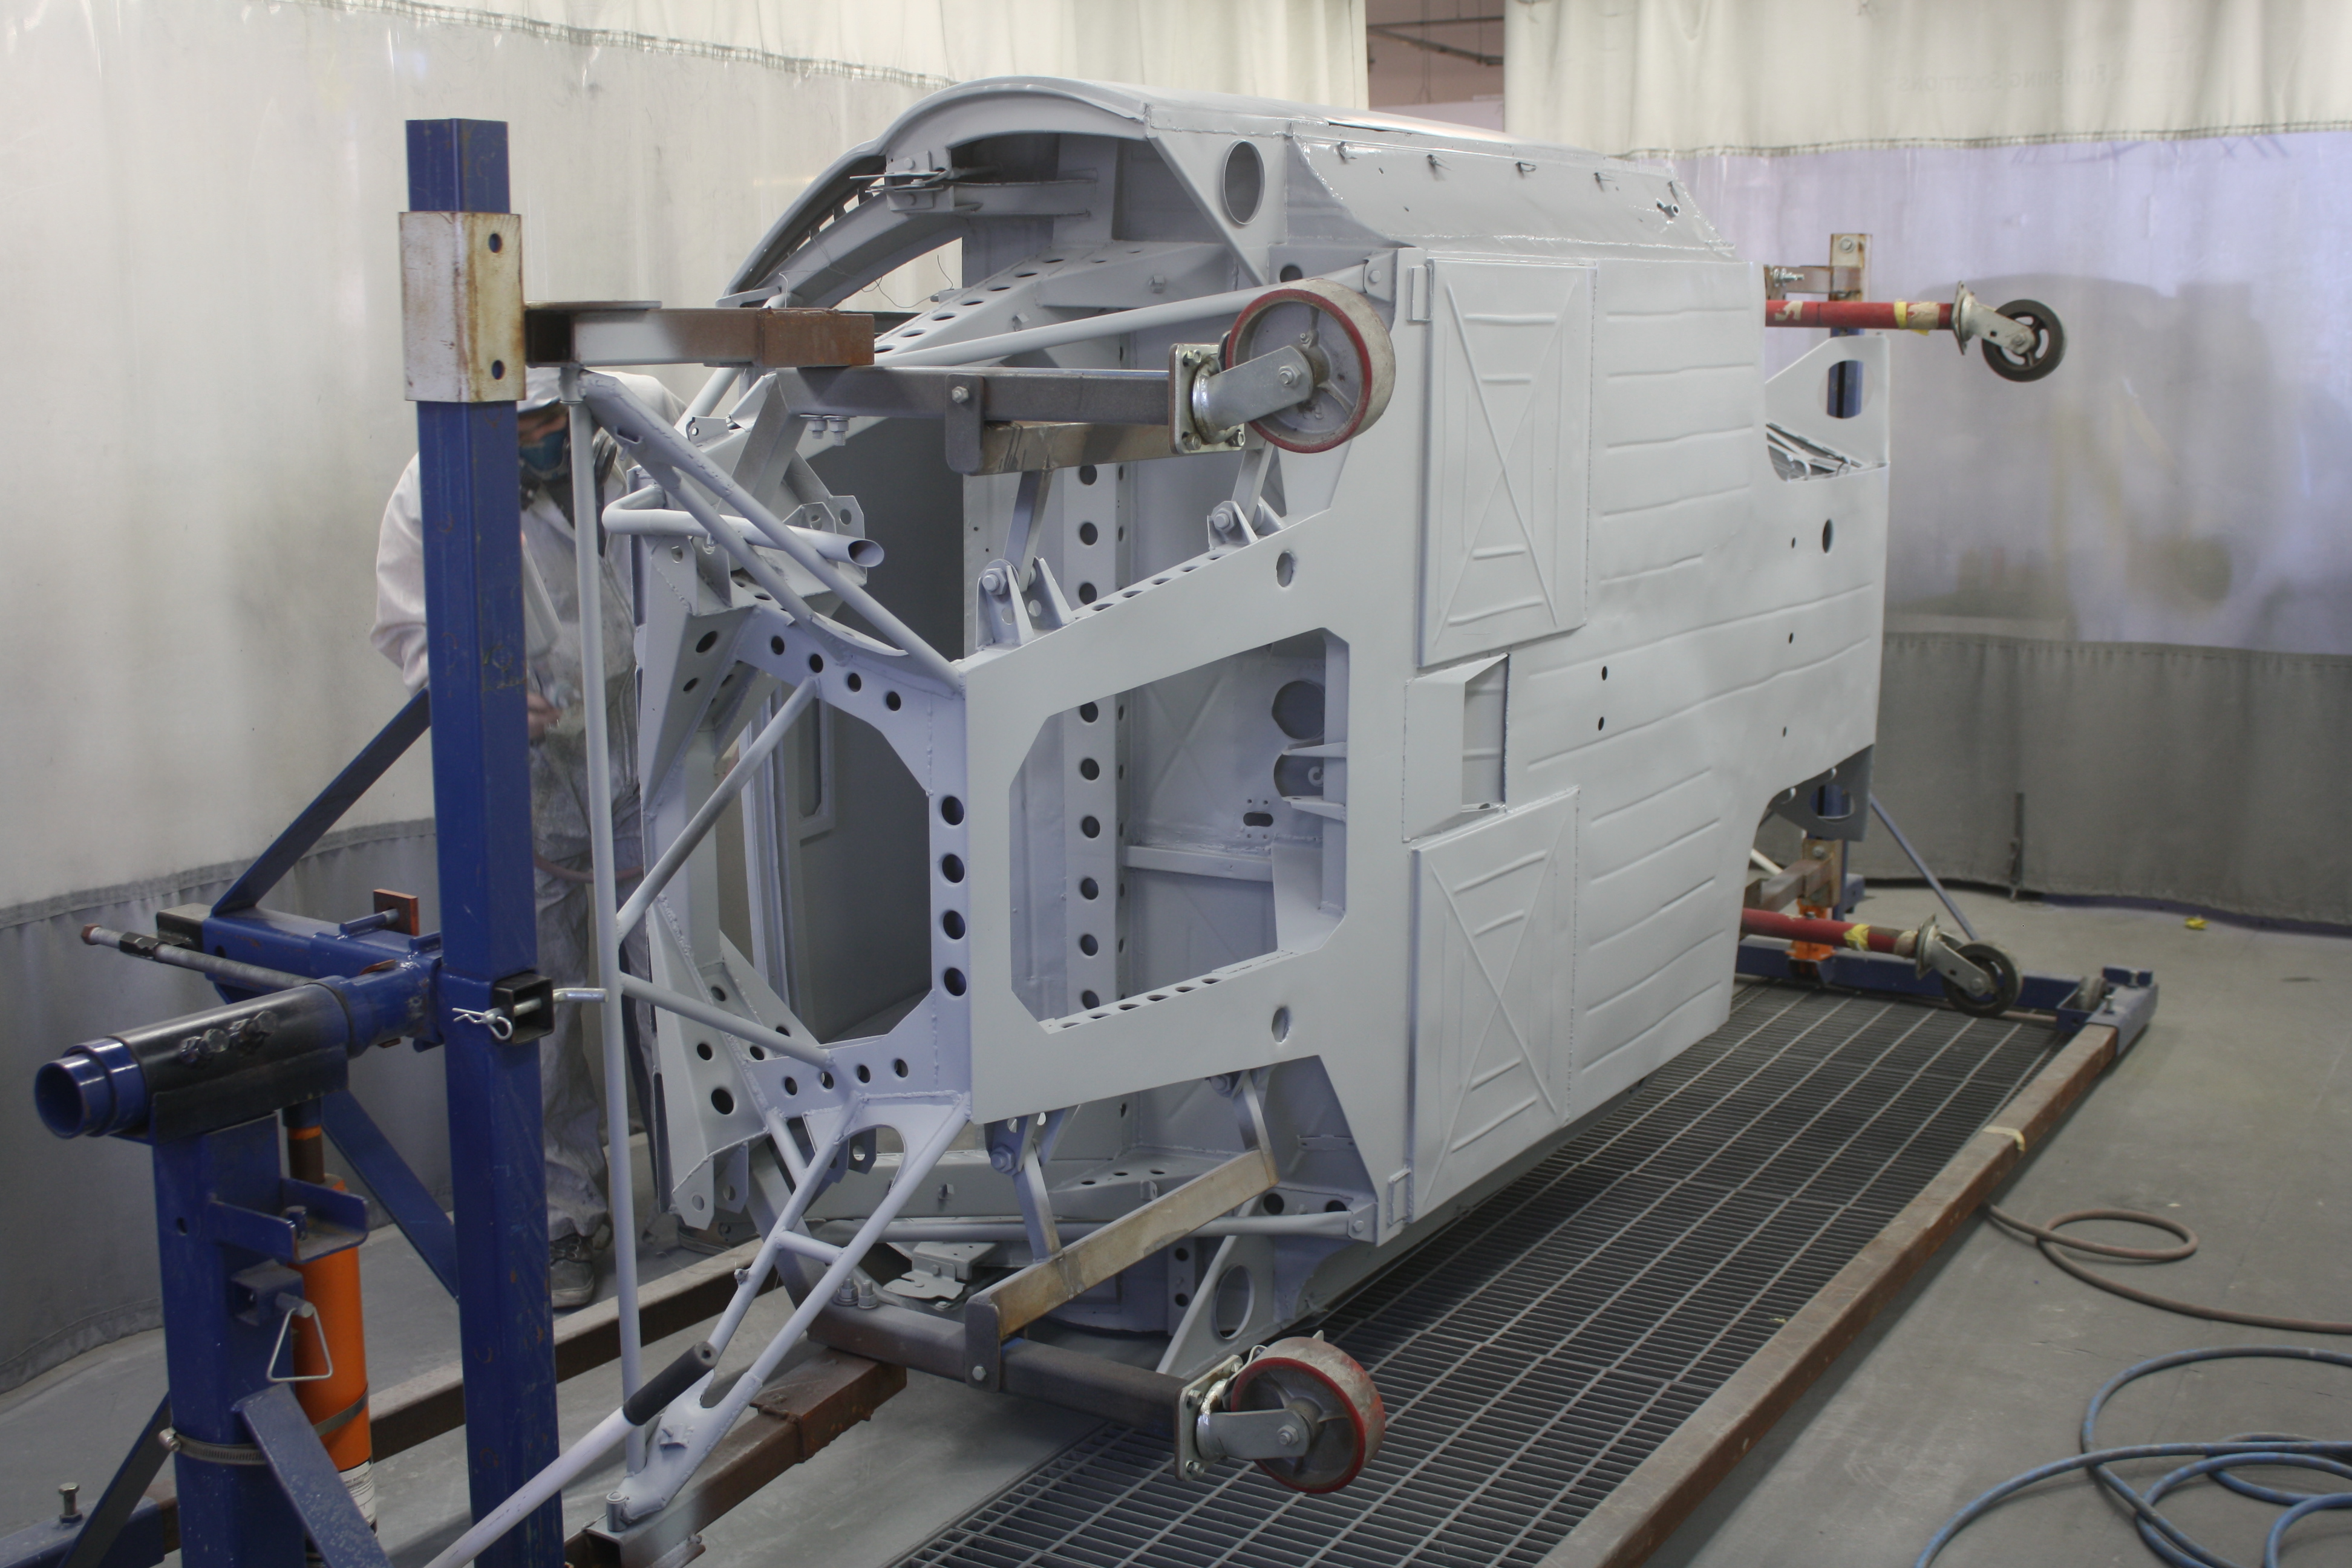
Once the seam sealing was completed we primed the entire chassis. Having the chassis mounted on a rotisserie give us a great platform from which to work. It allows for ease of movement and makes spraying primer nearly effortless…. well, okay it’s still a lot of work!
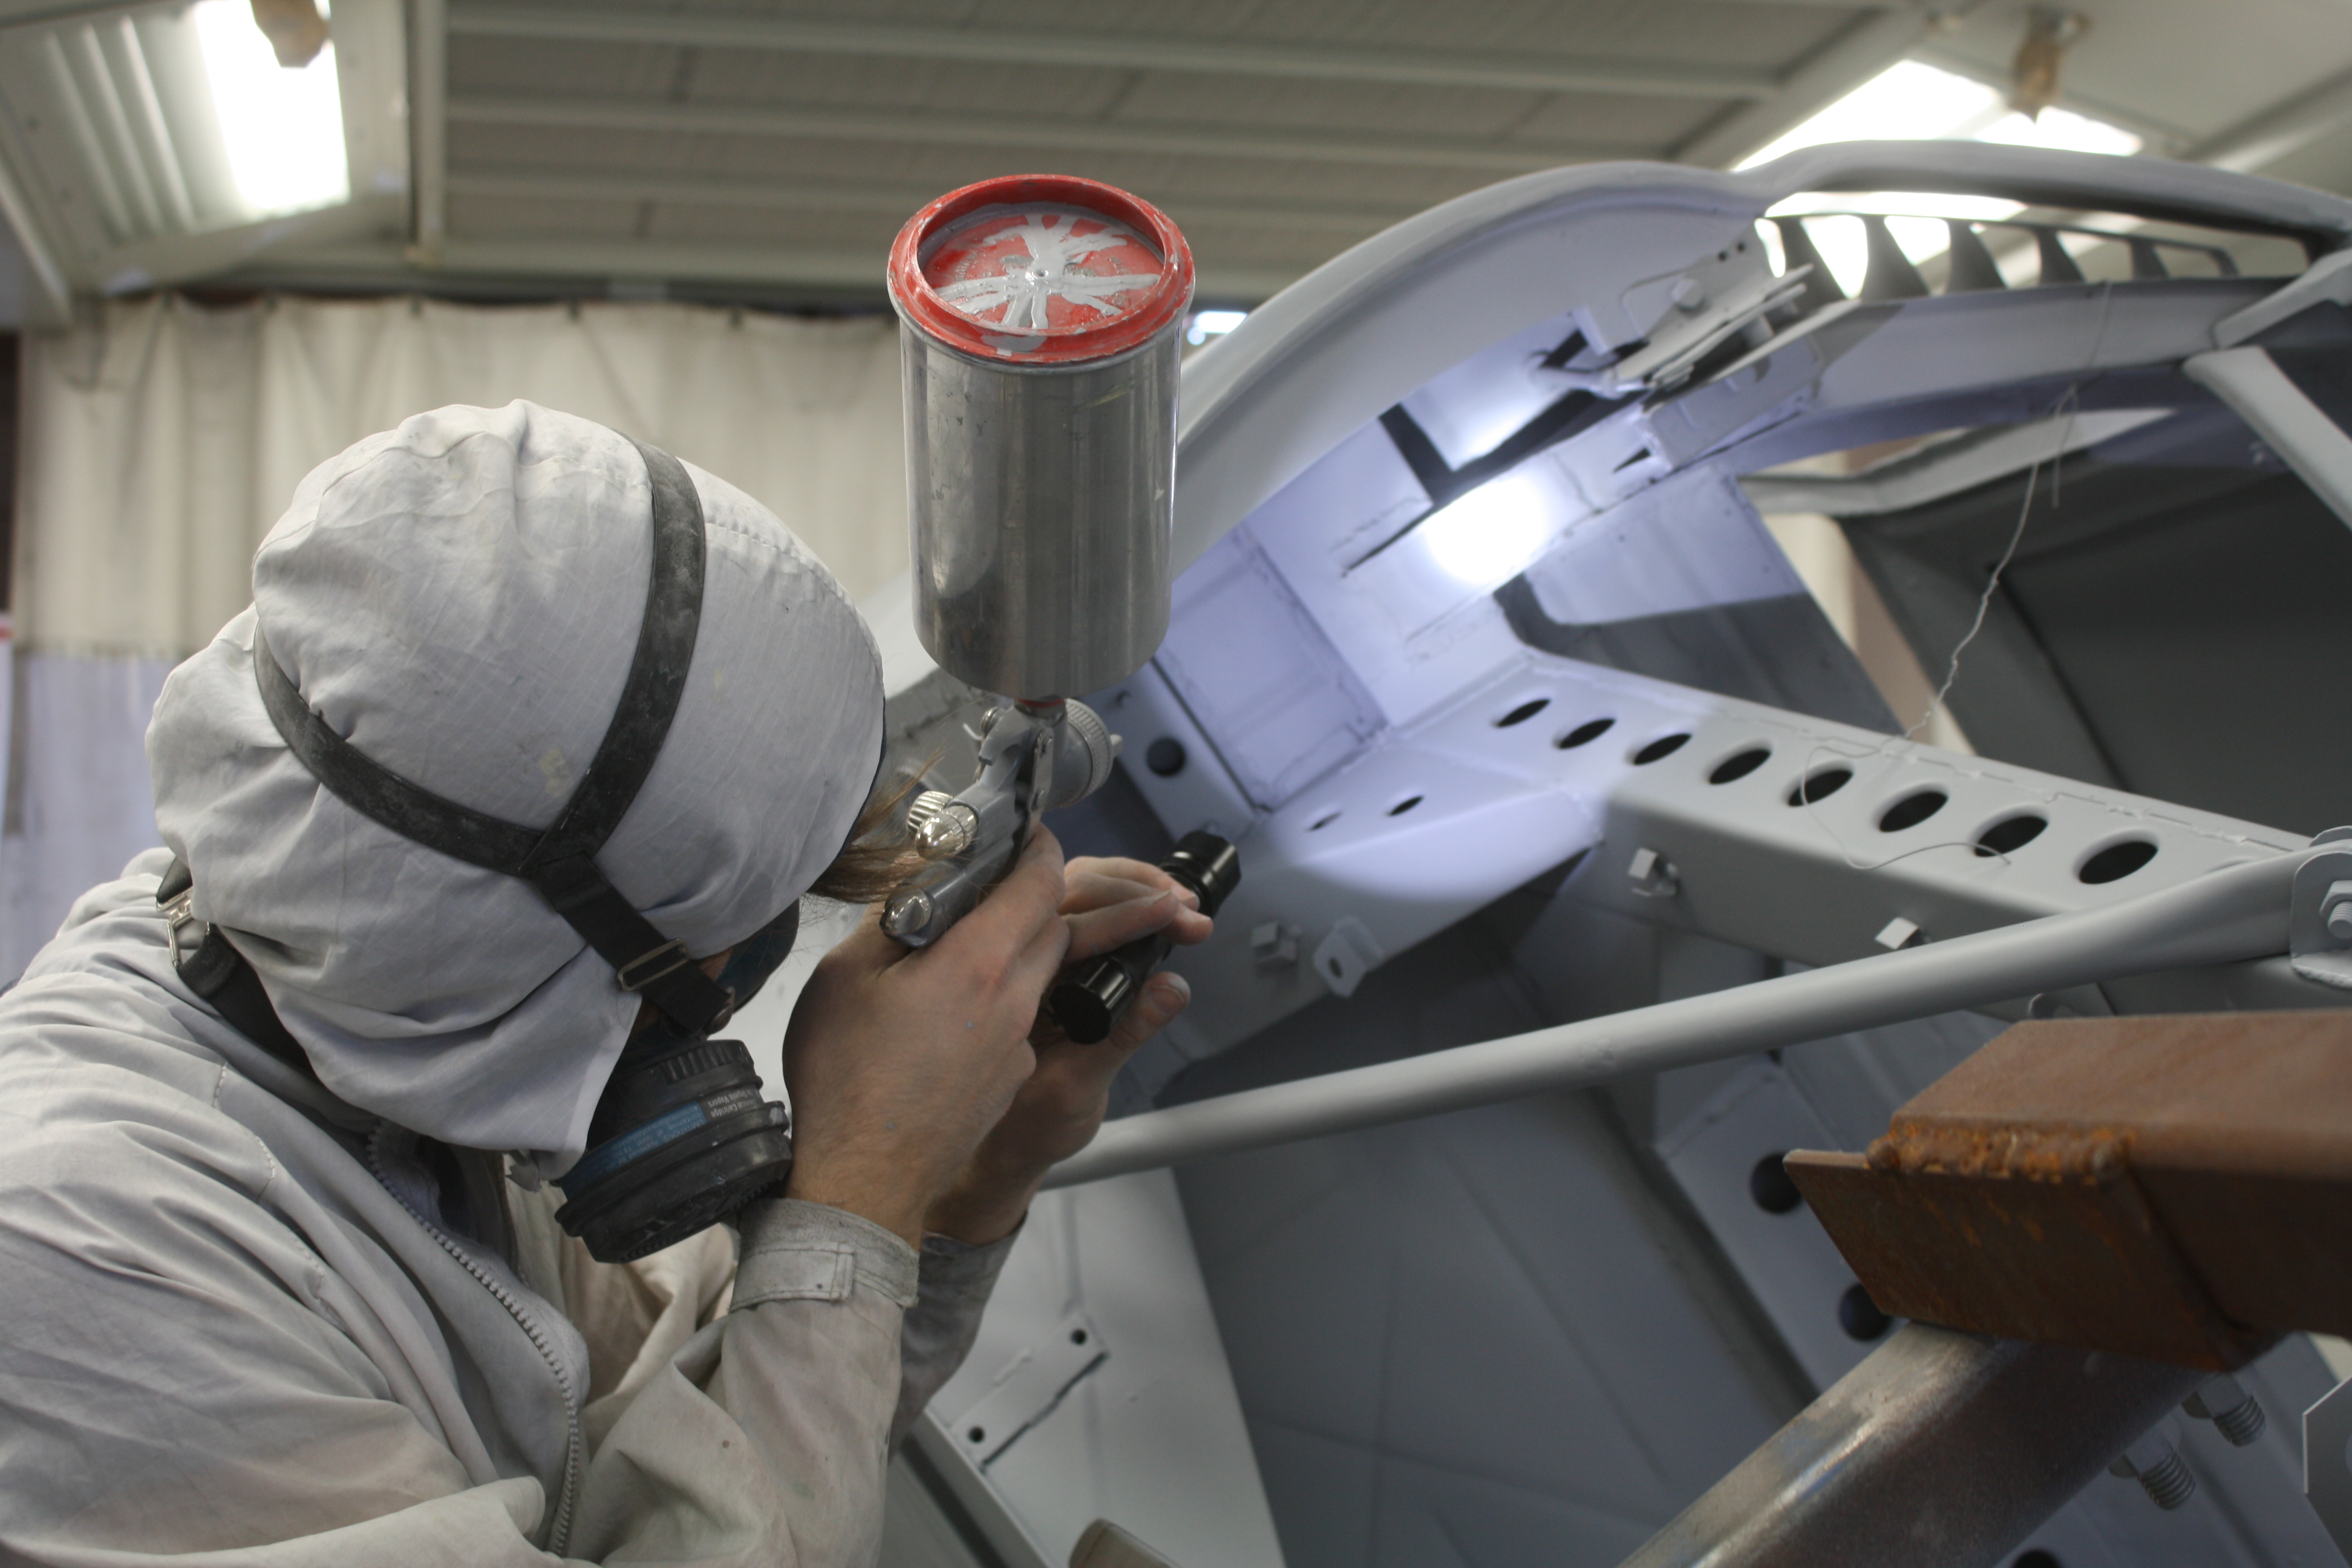
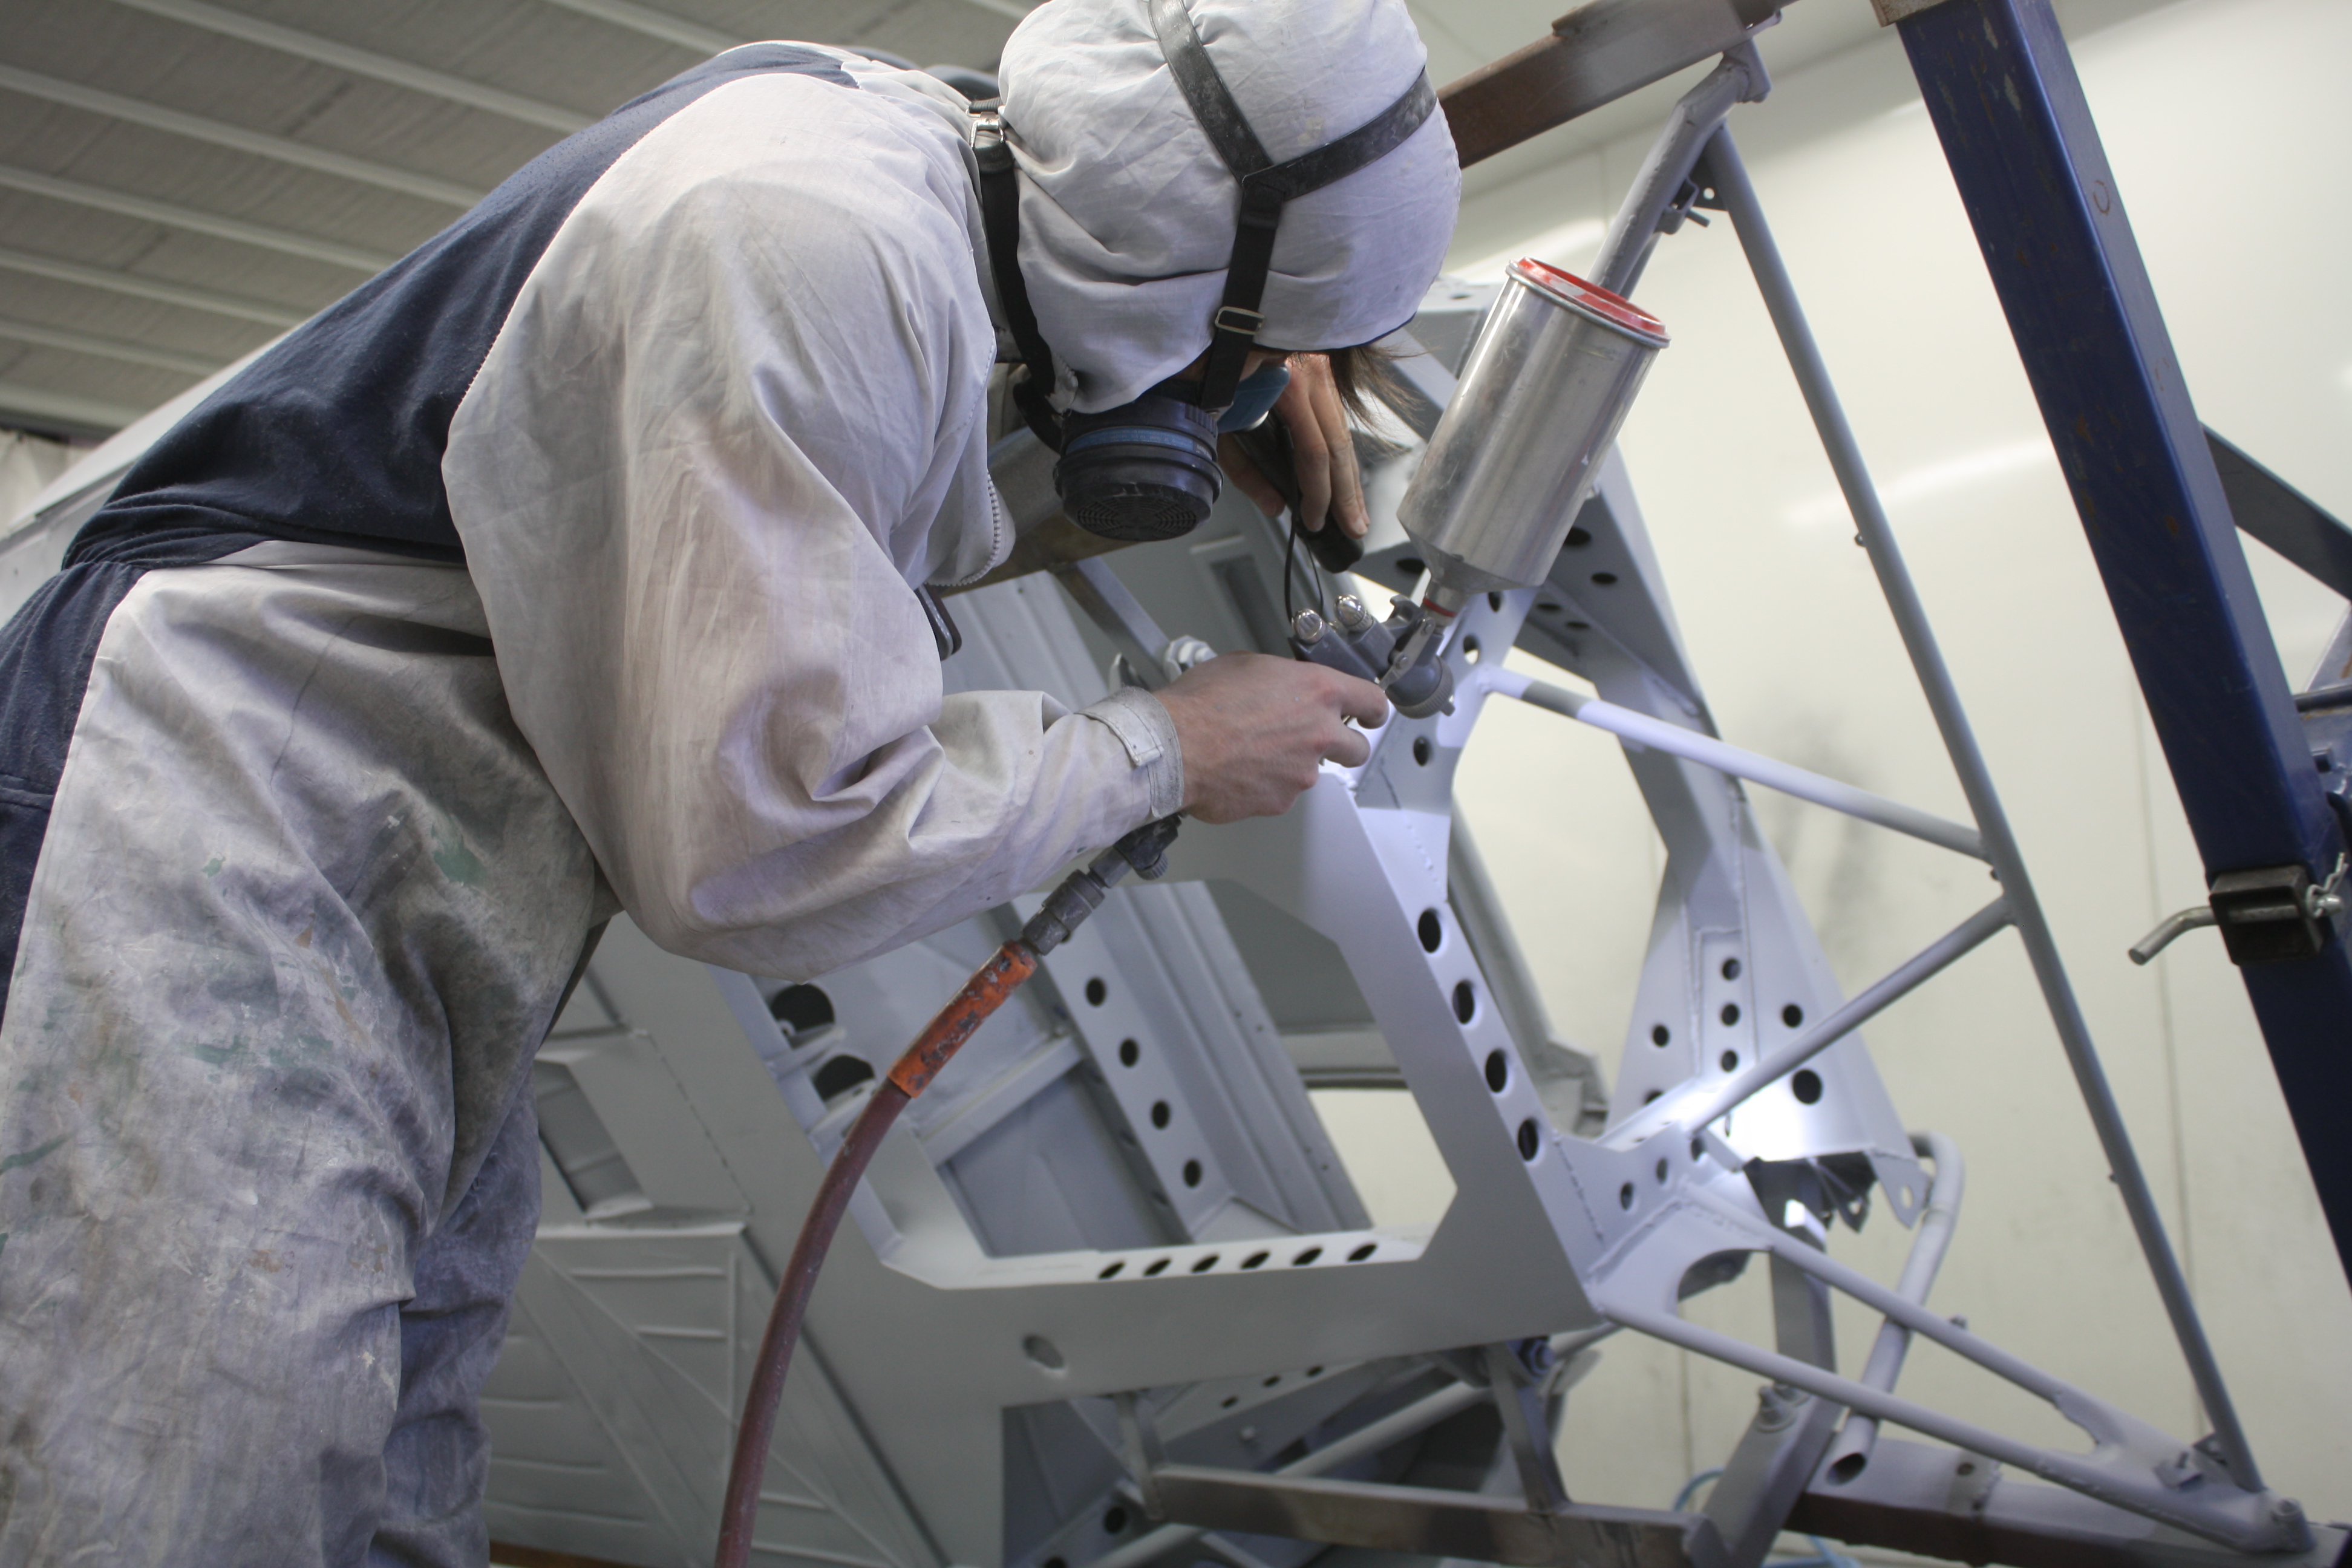

Beau inspecting with his light areas that may need a little more primer. Yes the rotisserie helps… but you can only imagine by looking at the chassis it’s not easy to get good coverage first time.
After the first primer was applied and dried I went over the car again to apply yet another round of seam sealer. I first mark areas of concern to be sealed and then the application process begins. Since these cars were gas welded together you will see little pin holes that are much more noticeable after the first coat of primer is sprayed. These now will get filled with the same material.
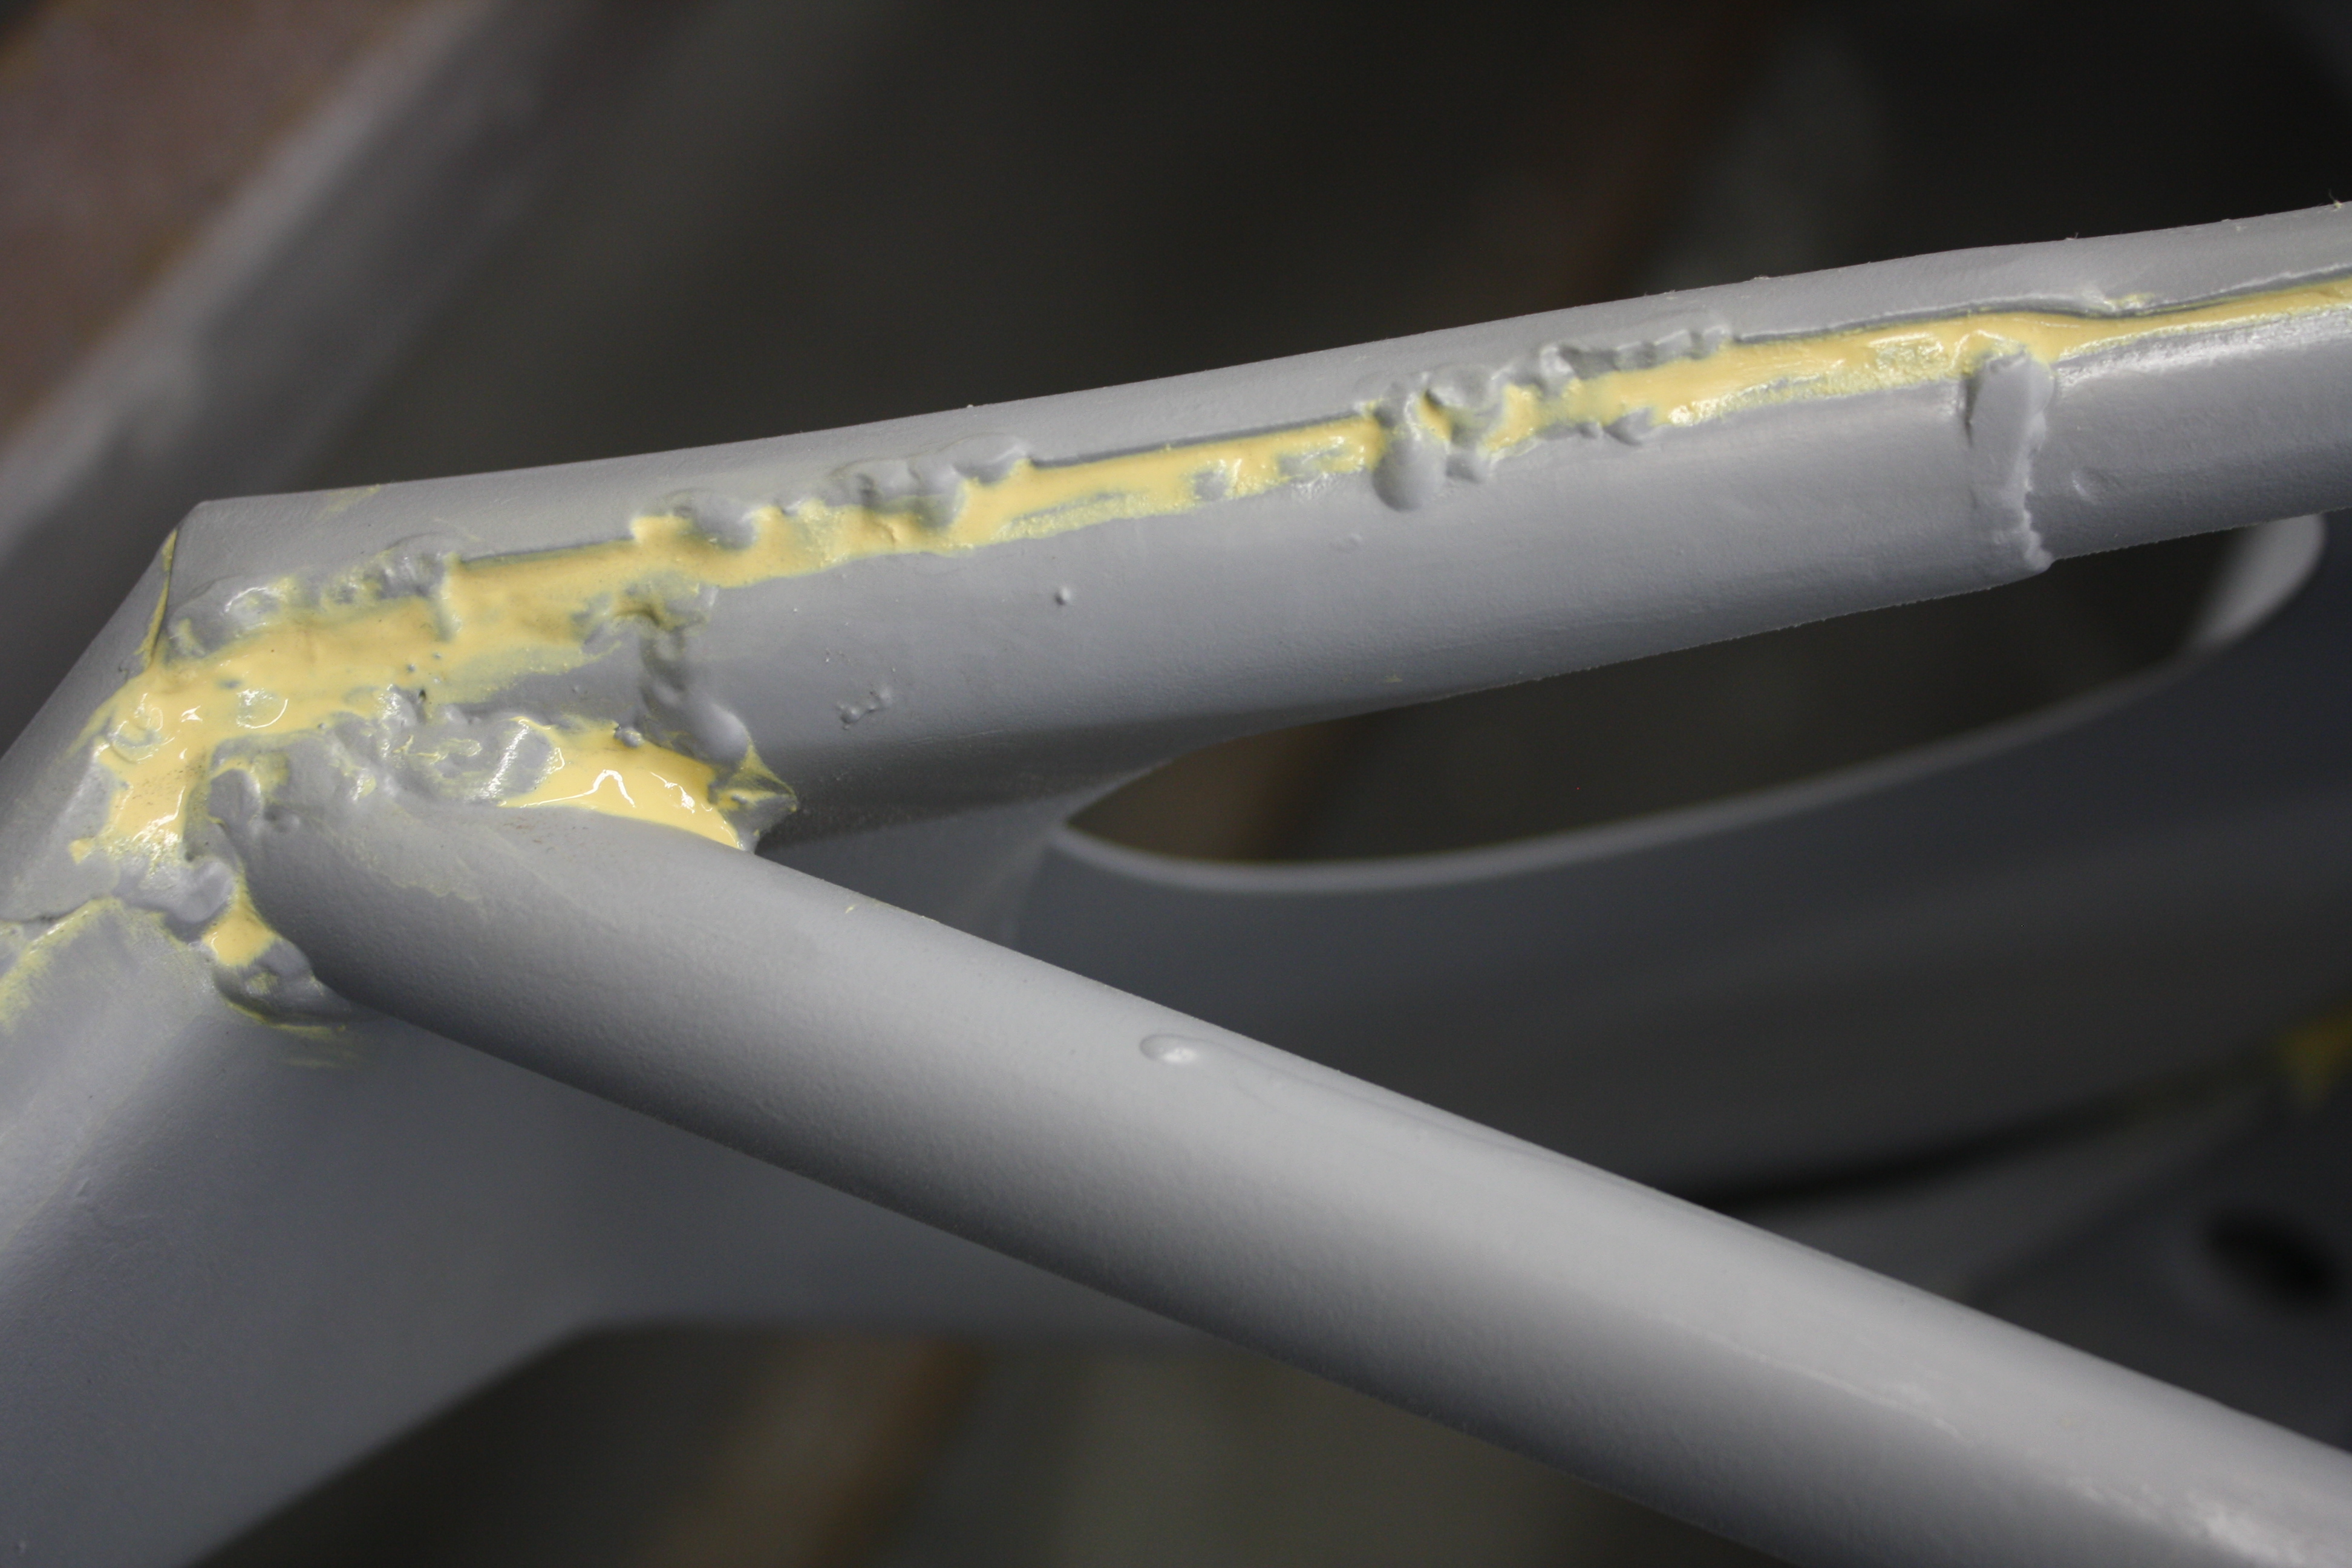

You will see in the above photo the factory gas welds have small pin holes that get filled with the seam sealer on the second round. It is structurally sound but we just don’t want moisture to set in. After the second round of seam sealer we then primer everything again. It really turns out nice.


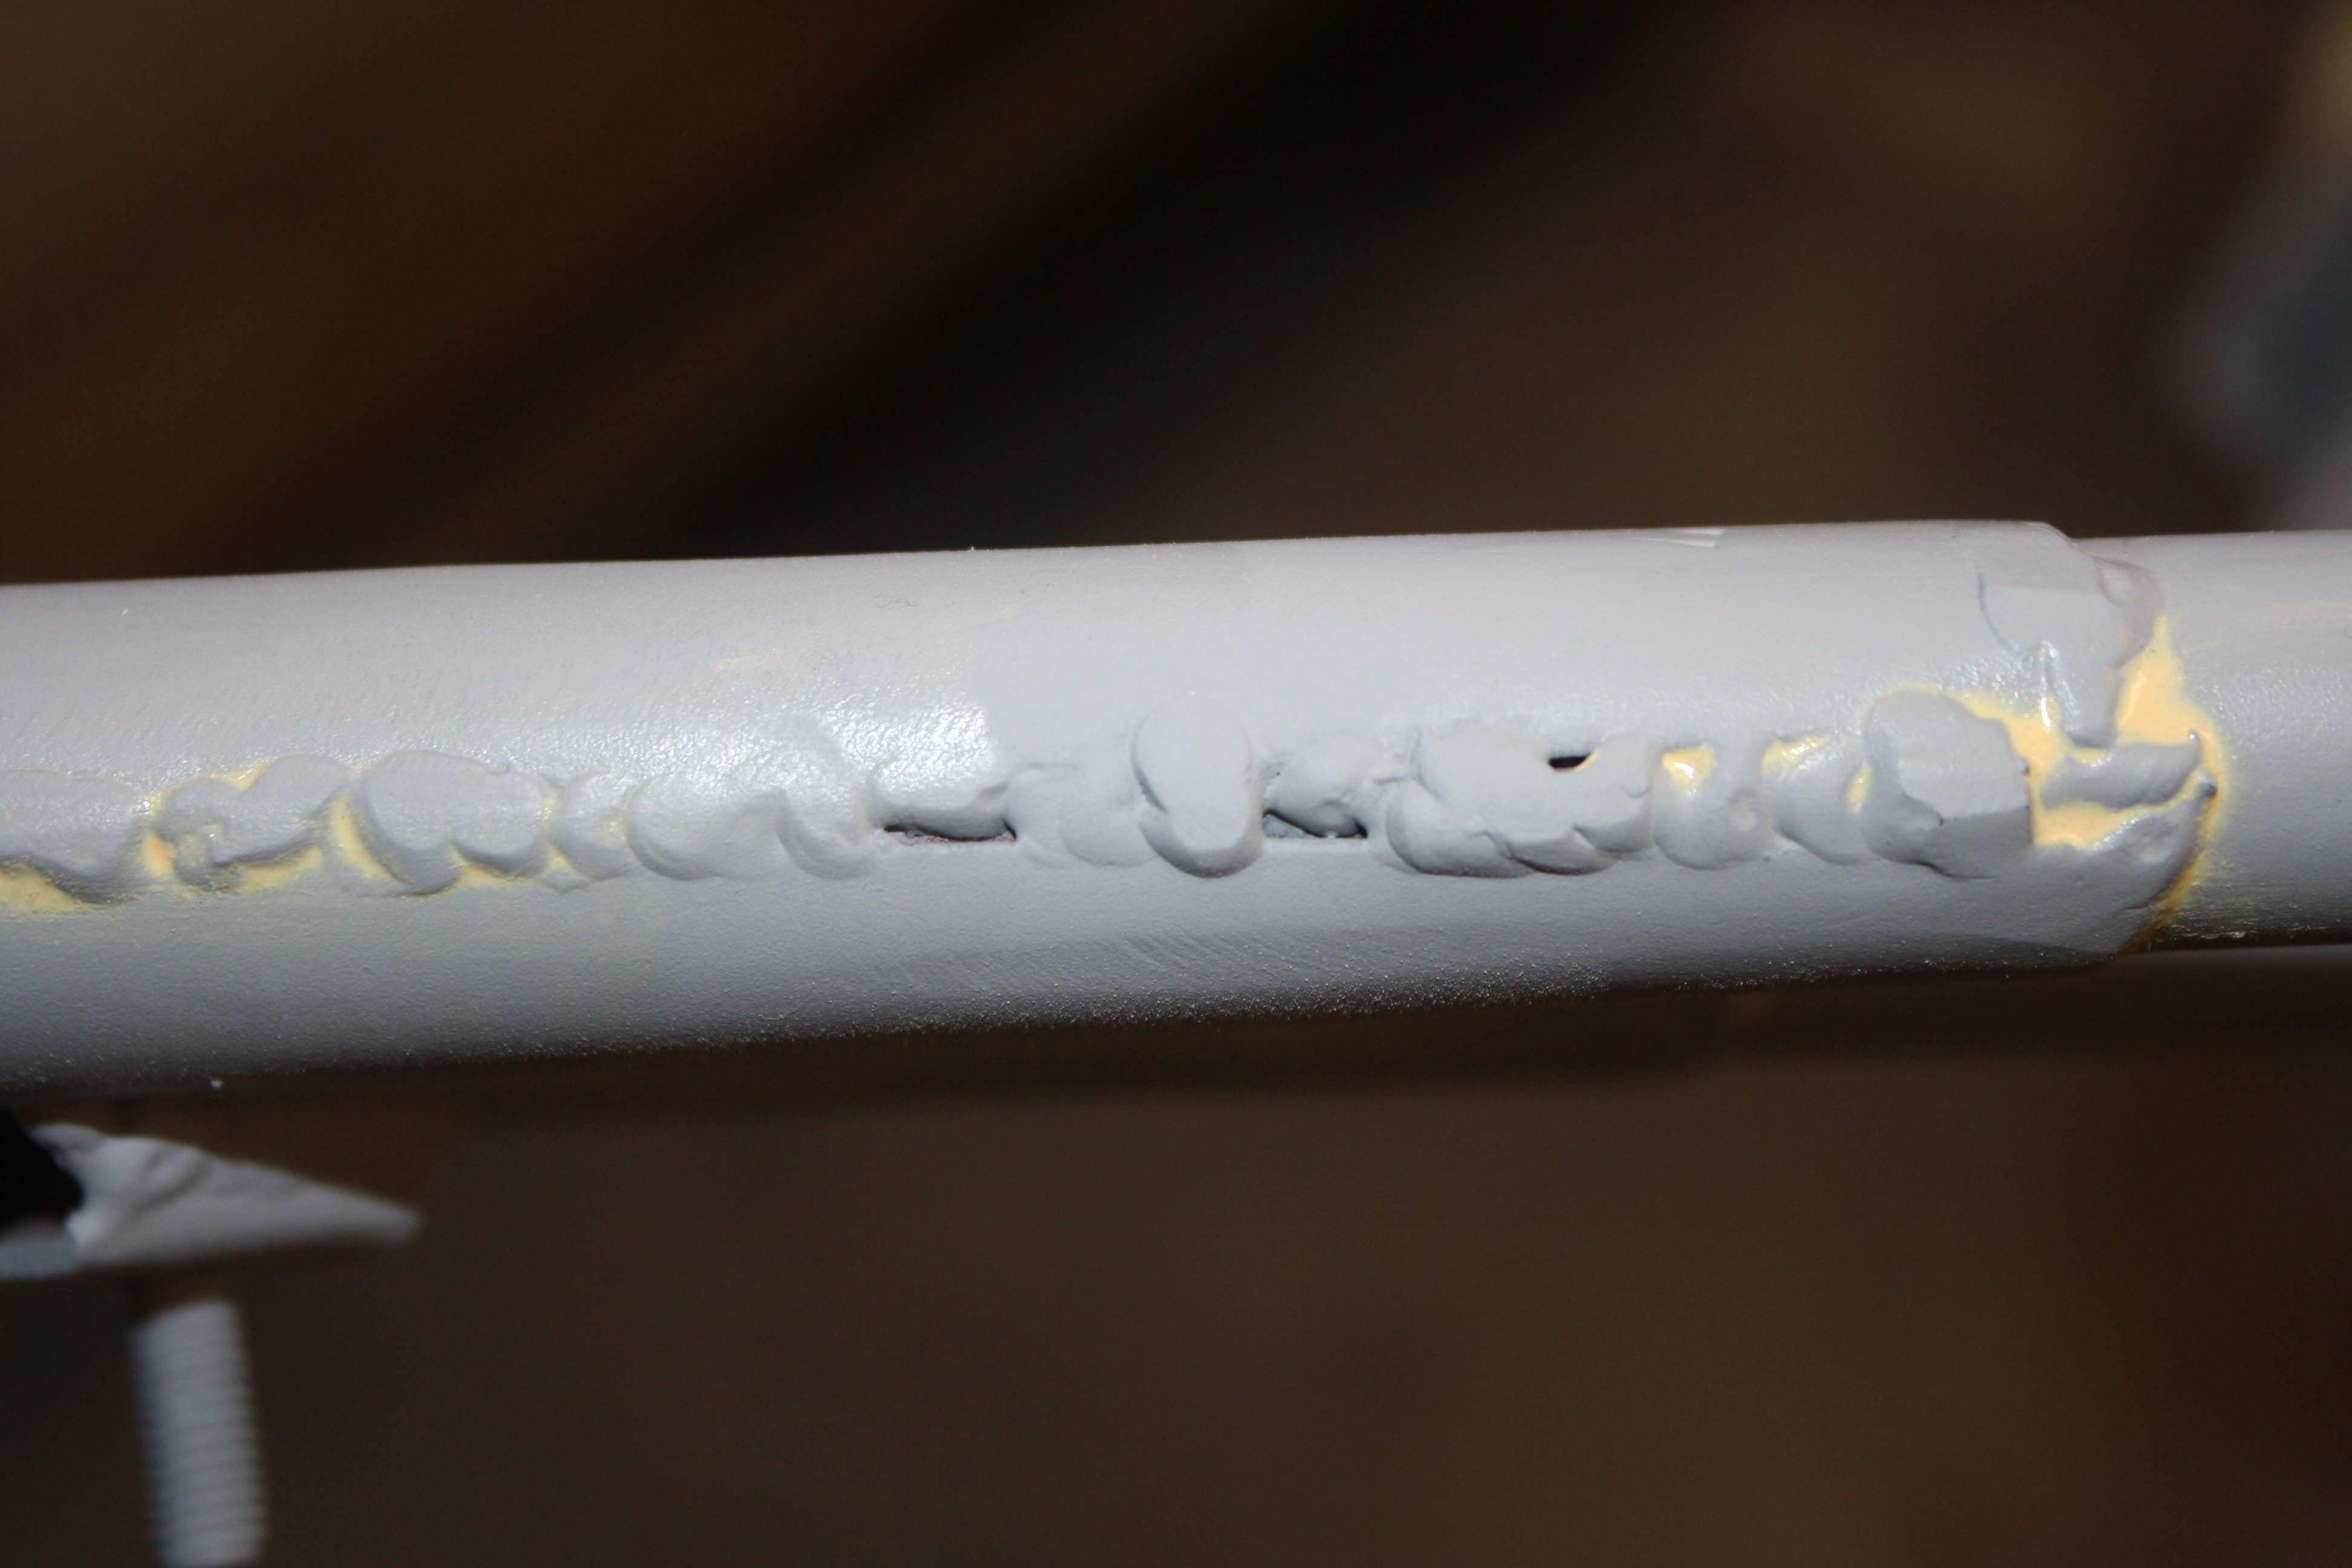
In the above photos you will see the original spot welds. They will not be filled but will be noticeable after paint — to keep originality.


The next step is to re-primer then we will fit the front and rear clips. After the second round of priming is completed I will post more photos so you will be able to see the differences.


-
- These door pins had to be cut, re-welded and moved in order to get a better fit to the front clip.

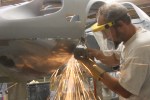
Tiki Alvarez of Costa Mesa, CA repaired all the sheet metal imperfections as well as the aluminum repairs on the Lamborghini Miura. He’s a master of fit and finish and TIG welding. Now that we have the chassis back in our shop the momentum is up and our work is kicking in. I can’t wait to post more photos of this very special project as progress continues.
It’s always a great feeling to finish a paint job and send it off for final assembly. But it’s even better when we get them back for final detail after they’ve been reassembled. I really can’t wait to get this one back. It’s going to be a stunning Dino! Remember, this is a Pininfarina Special Colour. There were only three painted Oro Kelso from the factory. As far as we know, of the three, one Oro Kelso is now painted red and is somewhere in the U.S.; it’s uncertain where one of the three is located; and then there is the Oro Kelso Dino we just finished!

Steve

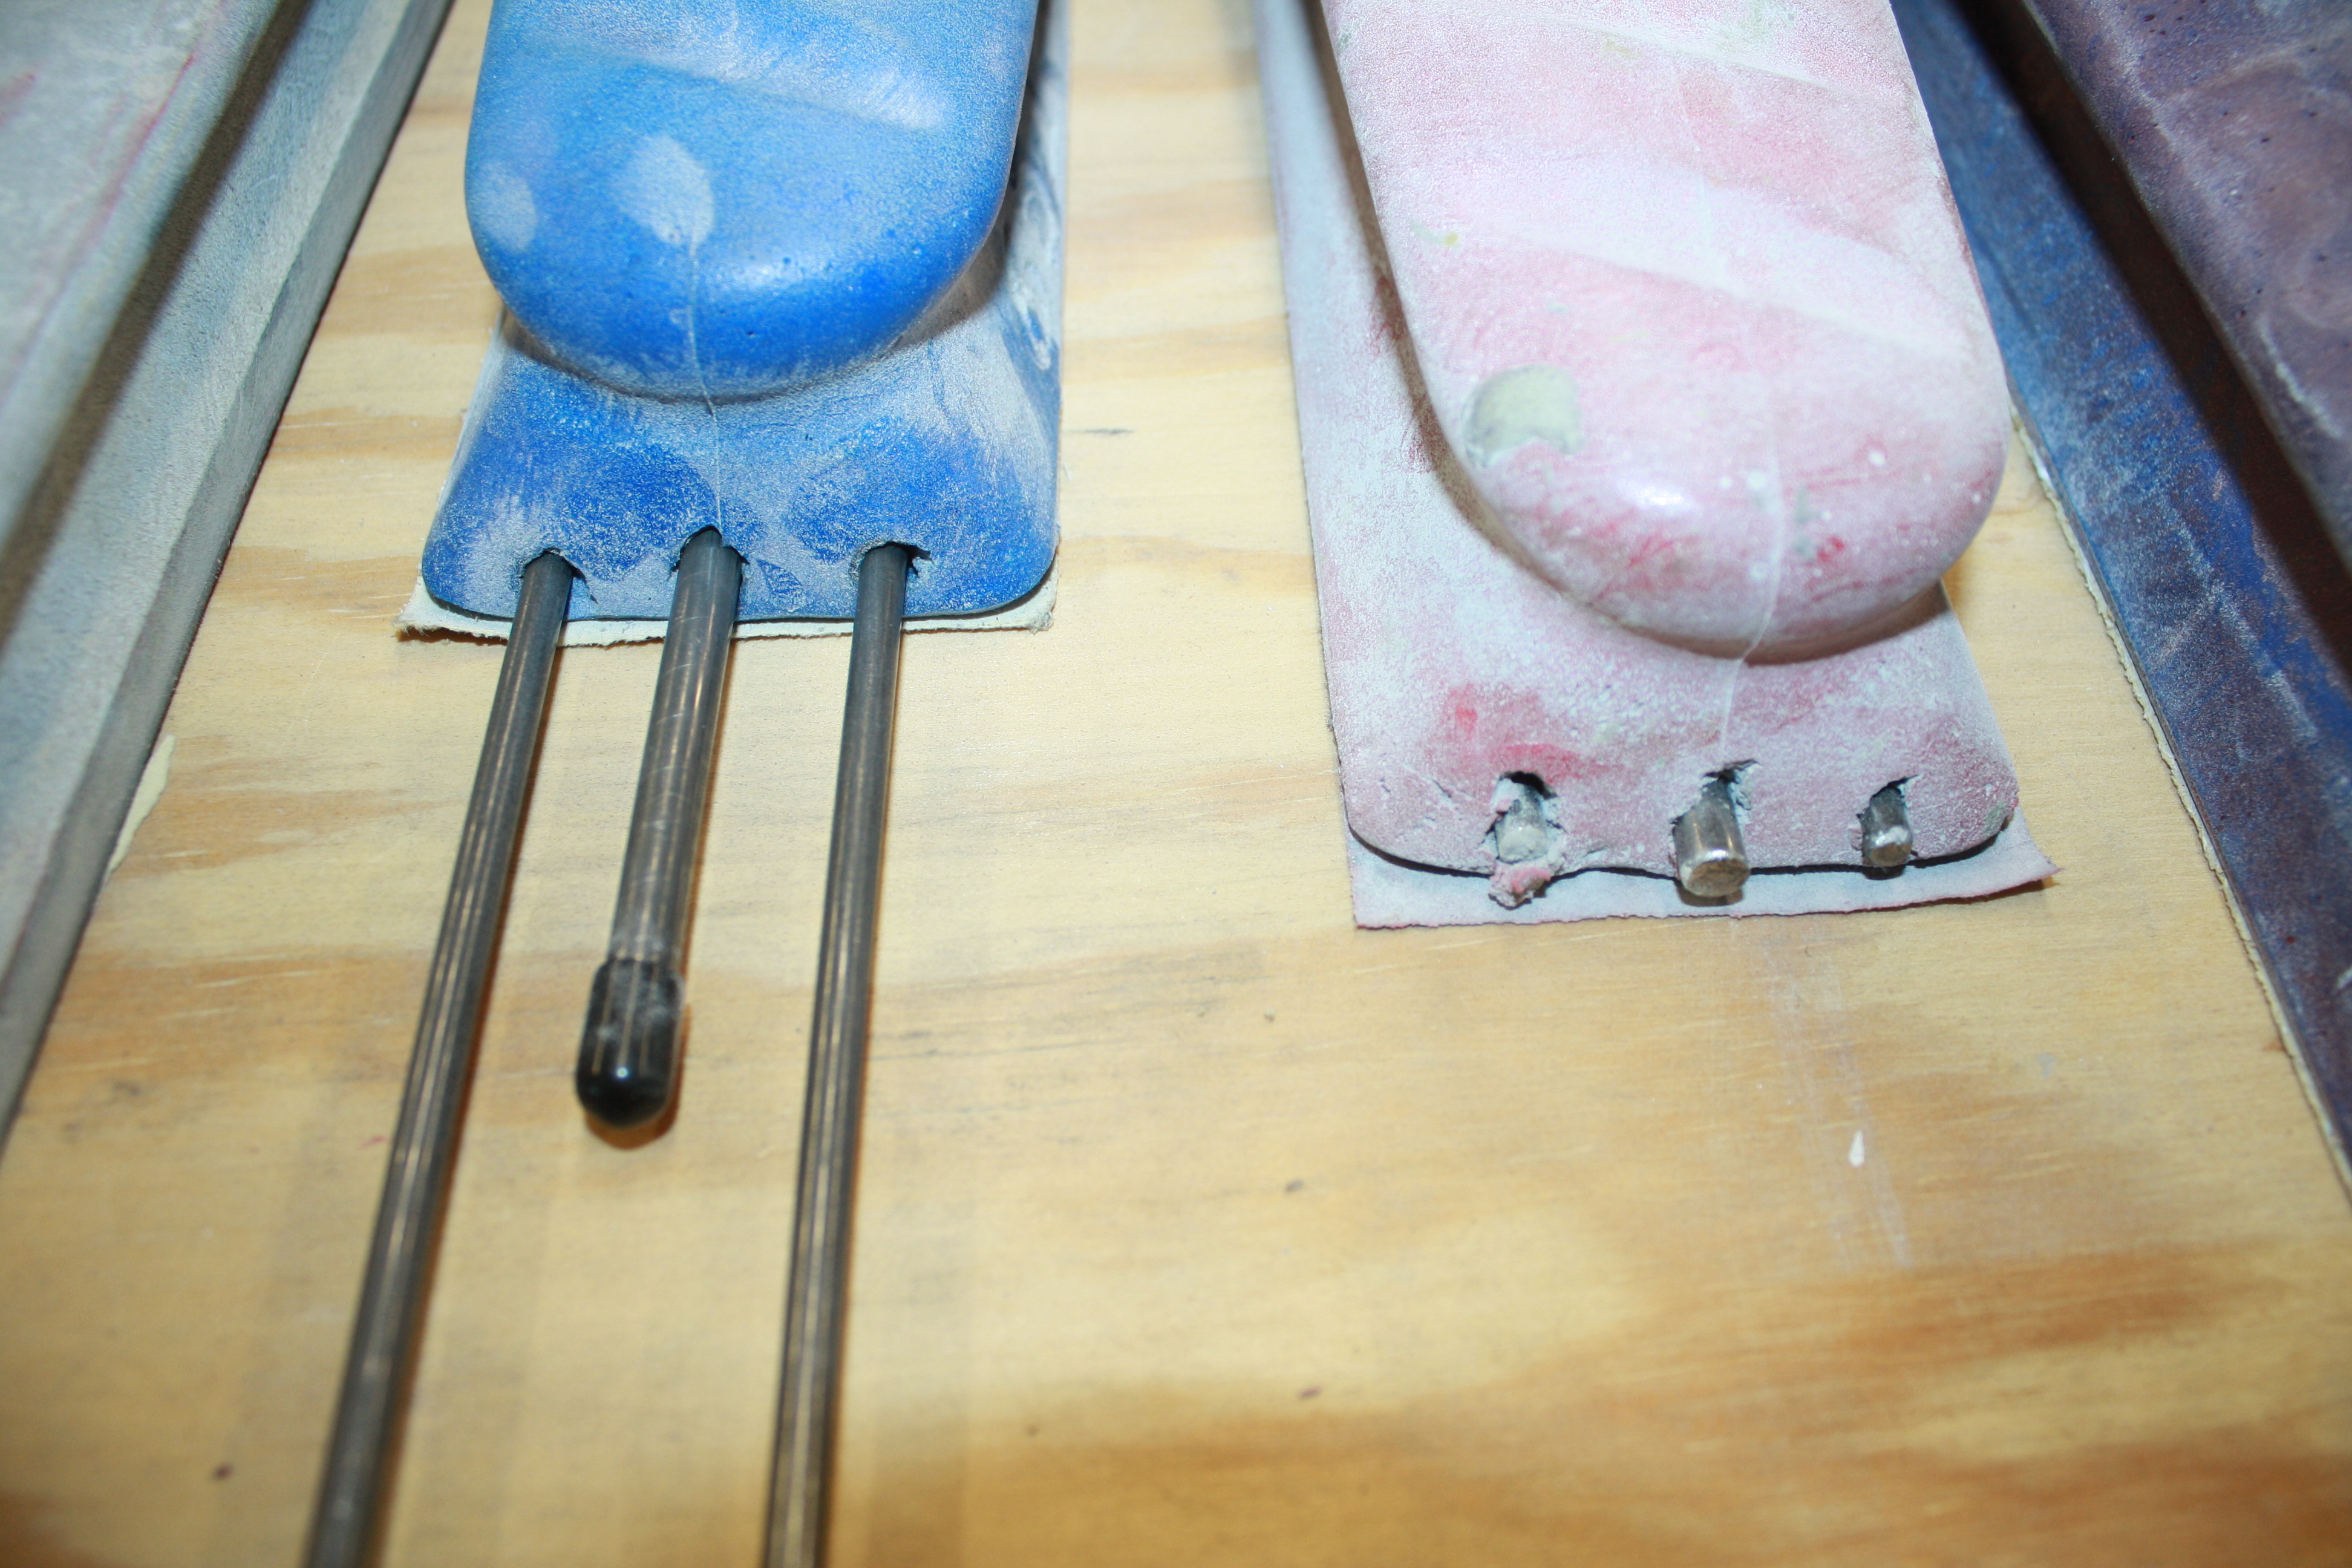
Here’s a tabletop display of some of the types of sanding block tools used in the automotive paint business. These sanding blocks are essential in correctly preparing a car’s surface for paint. Block sanding is an indispensable — labor intensive and time consuming — portion of a good automotive paint job. This is where the majority of the labor hours are spent — in the preparation of the surface. You see, a painter first applies material to a car to build a foundation in order to create a workable surface. Some folks think block sanding is an easy technique to learn but in reality it takes years to master and requires considerable finesse to accomplish a fine automotive surface before applying the paint.
What you see in the above photograph is an array of the types and sizes of sanding blocks we use. More than half the blocks are custom made out of hardwood like white maple. Hardwood is used because it doesn’t warp when it gets wet — and that’s important because a lot of the sanding we do is done… wet! Plexiglas or different thicknesses of flexible plastics and hard rubbers are also often used for materials to create blocks, while others are made from very hard dense foam that will contour to the surface of the body of the car.
The longer blocks have titanium rods running through them. We can gauge the flexibility of the blocks — from very stiff to very flexible — by adjusting the rods in the block. All this “flexibility” allows us to sand the material a painter applies to the exterior surface of the car so that a straight, flat and wave-free surface can be achieved when the paint is finally applied. This gives you the ultimate sweep — that is, the best in a highlighted reflection on your car’s surface.


I thought you might like to meet our shop dog, Bentley. He’s a Standard Parti Poodle “pup” of about 14 months. Full of energy and life. He’s got a gentle spirit and a love of all things squeeky. We thought for a brief moment about naming him Dino but Bentley was a better fit for this two-tone, beefy boy.
I haven’t had a chance to post much on the Lamborghini Miura because it’s been off getting specialty aluminum fabricating and fitting. Tiki Alvarez is the craftsman that handles all my specialty aluminum fabricating and TIG welding. He worked along side his father for years and when his dad passed he took over the family business. He does exceptionally good work. Tiki and I worked together in fitting the front and rear pieces to the chassis. The owner has two rear clips that required both to be fitted for easy exchange.
The complete chassis and cockpit with doors were media blasted prior to getting the aluminum fabricating done. The aluminum pieces – the front and rear clips – were chemically stripped because the aluminum was very thin and we didn’t want to create any damage.
I got the Miura chassis back at the shop a few weeks ago and we’ve metal prepped and rust conditioned the entire chassis and cockpit. As a precautionary measure we metal prepped everything again and baked in the spray booth for about 45 minutes at 150 degrees to get it readied for seam seal and primer.

After reviewing the Oro Kelso Dino outside in the sunlight, I decided to re-block sand and re-clear the car. We finished it last week and now I’m really happy with the way it turned out. It had too much paint wave/orange peel and by block sanding it in 800 wet it eliminated paint wave and orange peel considerably. Now, with a couple more coats of clear on it, it flowed flatter and a lot better and will gave me the depth I was looking for. It is critical to eliminate as much paint wave as possible before it’s color sanded and rubbed out. It sure turned out more like an old lacquer job. It’s beautiful! I can’t wait to color sand and rub it out. I’ll be doing that next week and will post more photos after it gets rubbed out.


