
A Month’s Recap of Miura Progress!
We’ve been hard at work on the Miura along with the two Dinos we have in the shop. Obviously, I’ve been more focused on working on the cars than on the blog. So, pardon me for giving you the 50 cent tour of the past 36 days but hopefully it will give you a good idea of the work we’ve done and an even better overview of the progress of the Miura.
One of the first things we tackled was seam sealing the chassis. This effort is important as it prevents moisture from getting into the seams of the chassis and creating rust issues down the road. We seam sealed the entire chassis, doors, and eventually the front and rear clips.

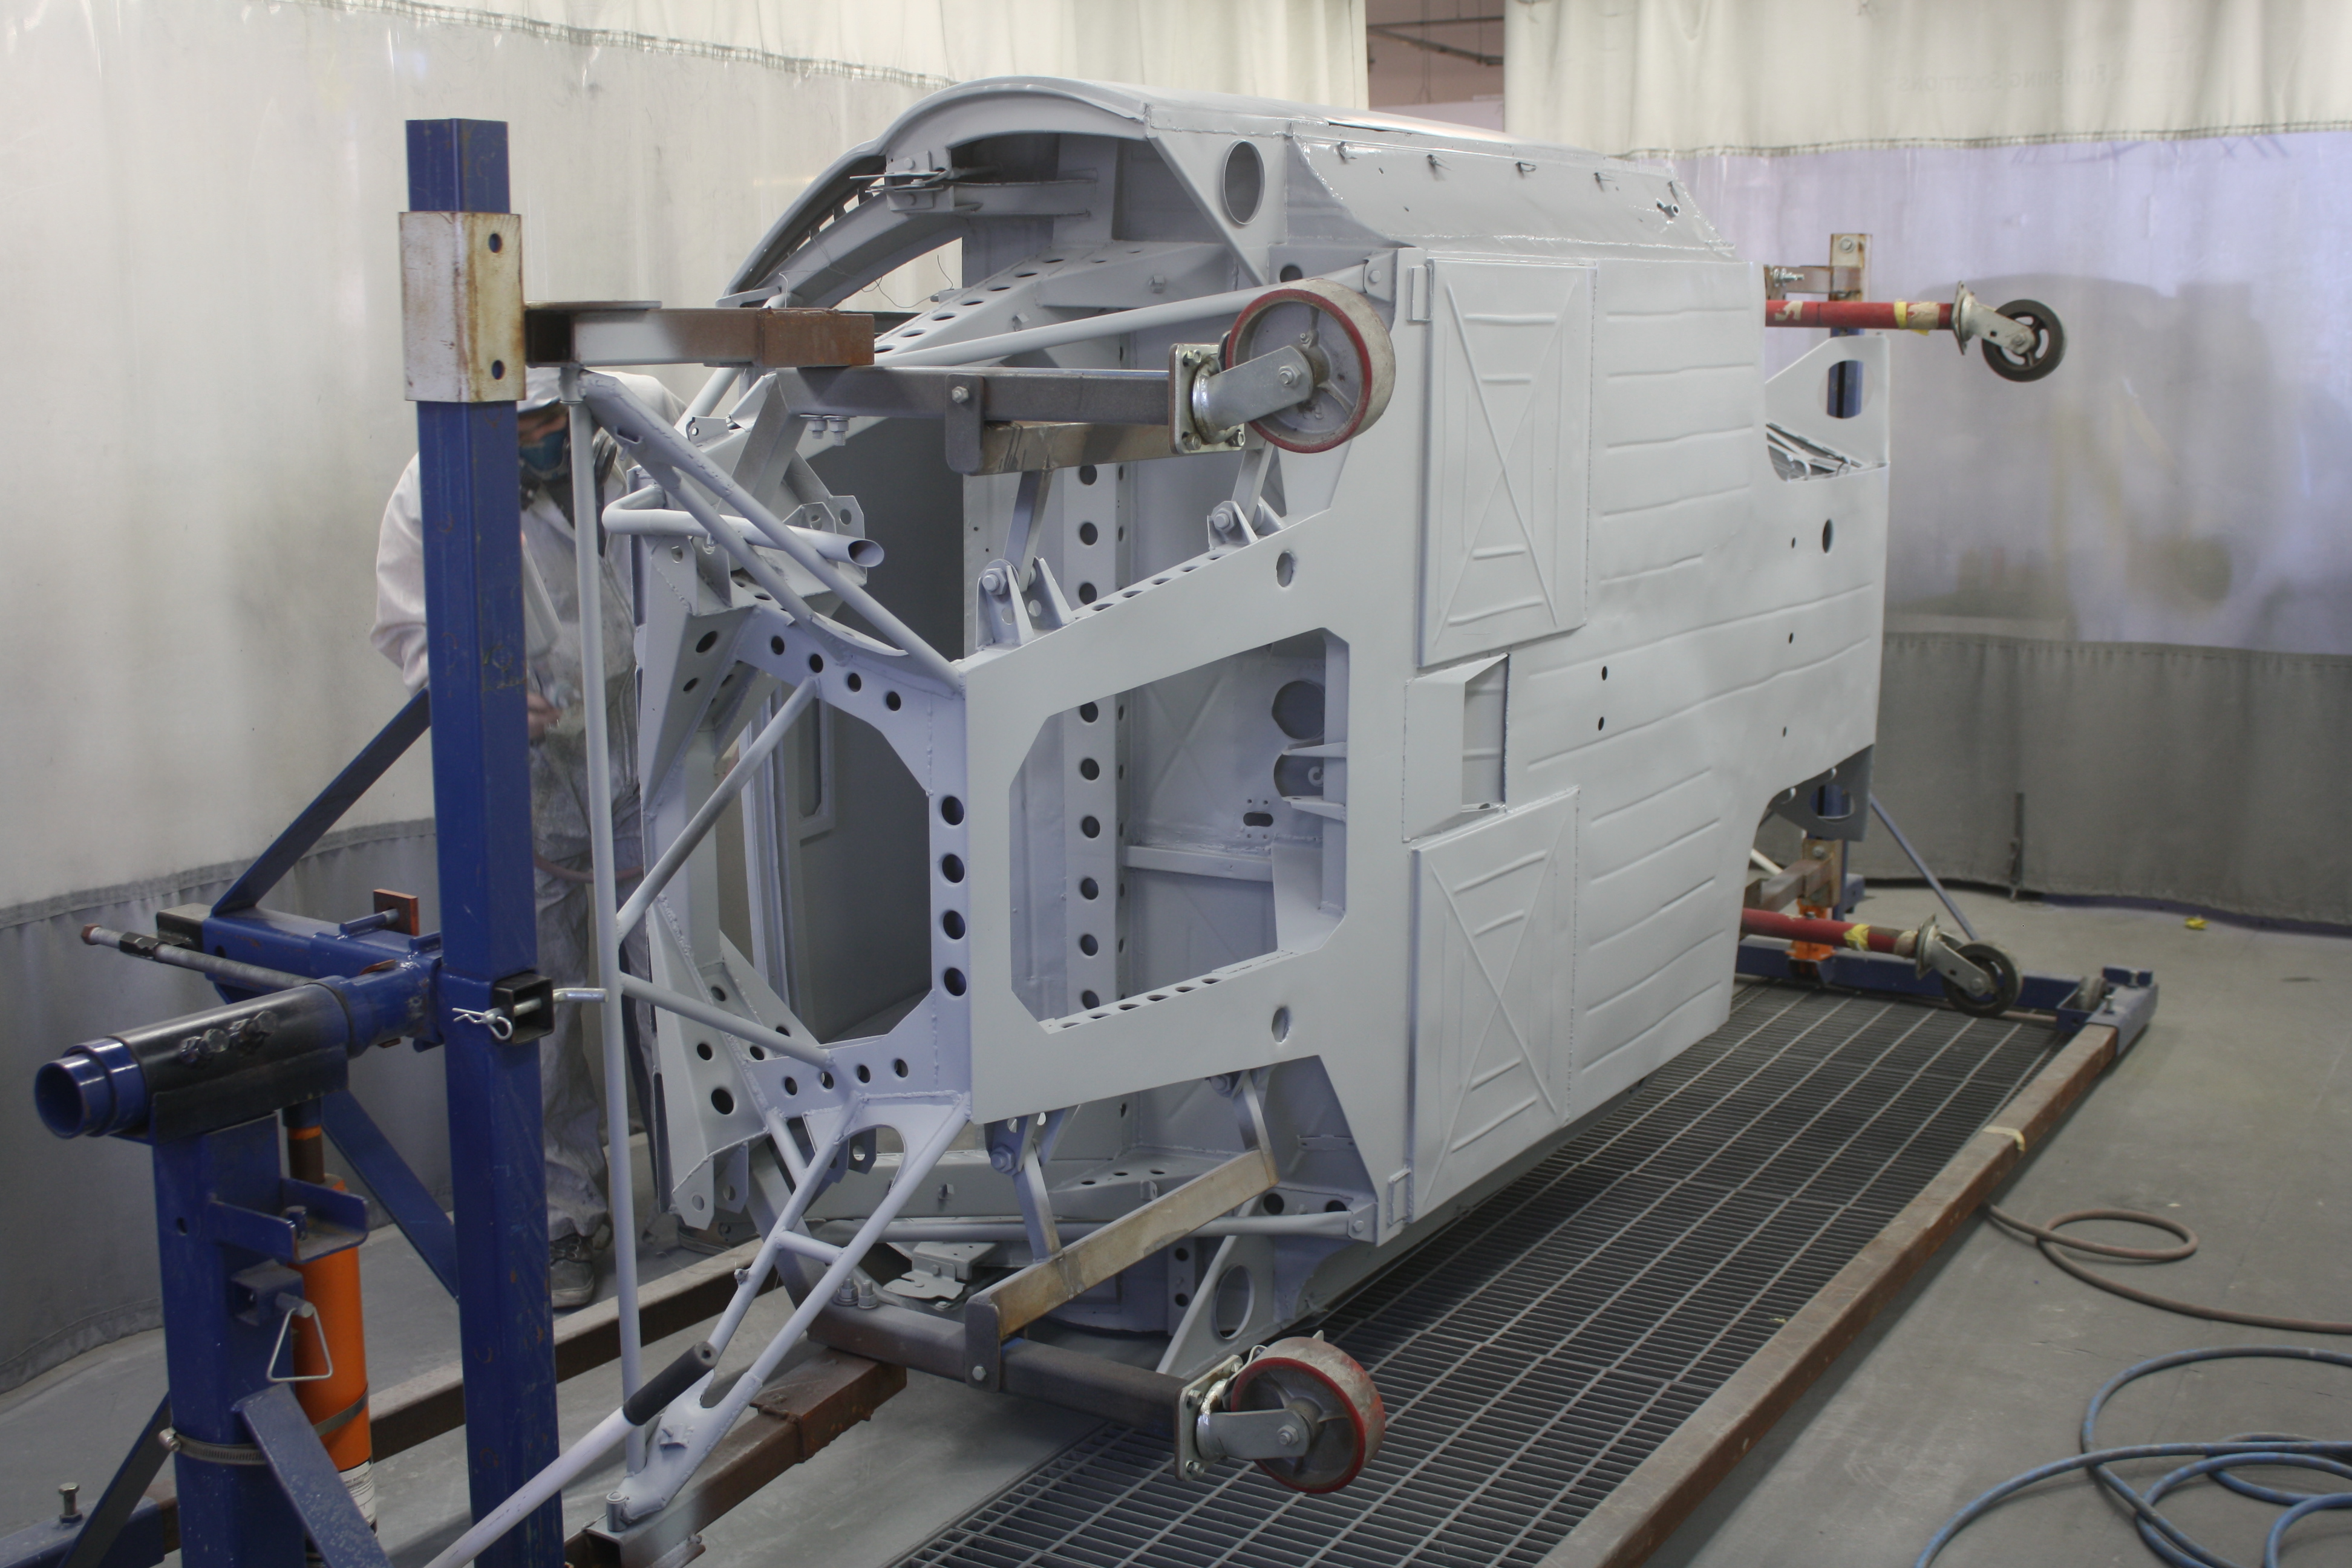
Once the seam sealing was completed we primed the entire chassis. Having the chassis mounted on a rotisserie give us a great platform from which to work. It allows for ease of movement and makes spraying primer nearly effortless…. well, okay it’s still a lot of work!
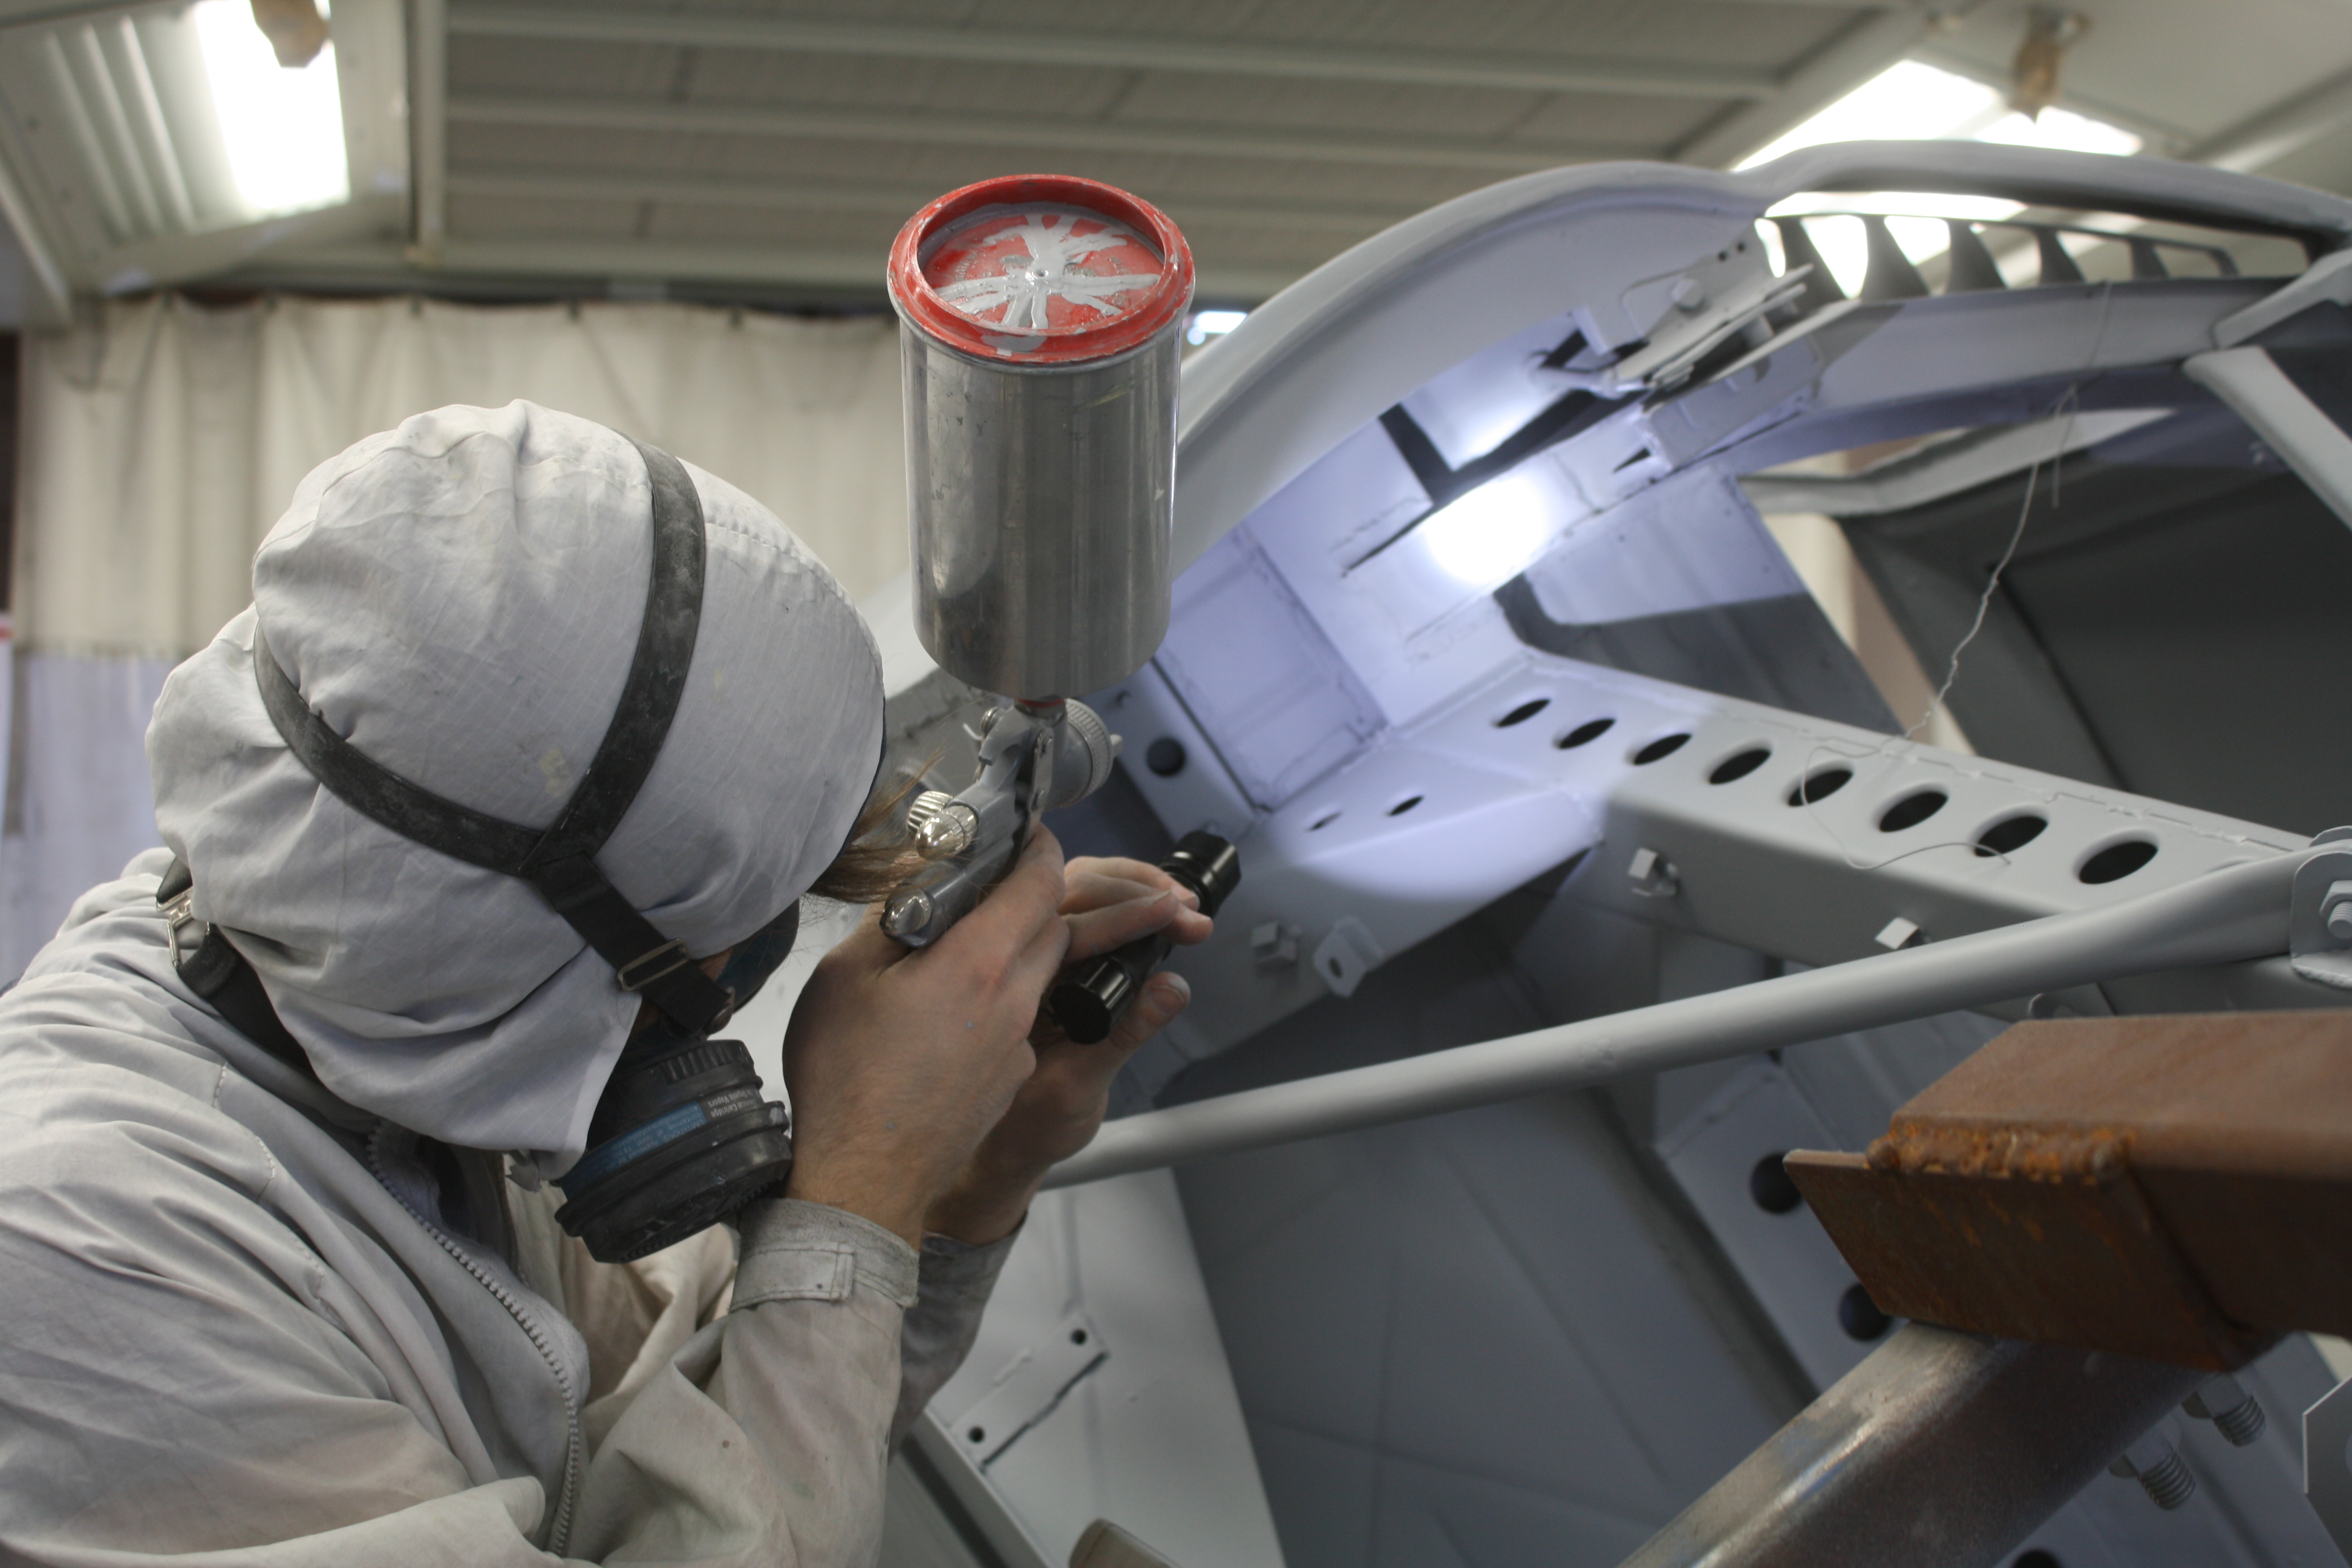
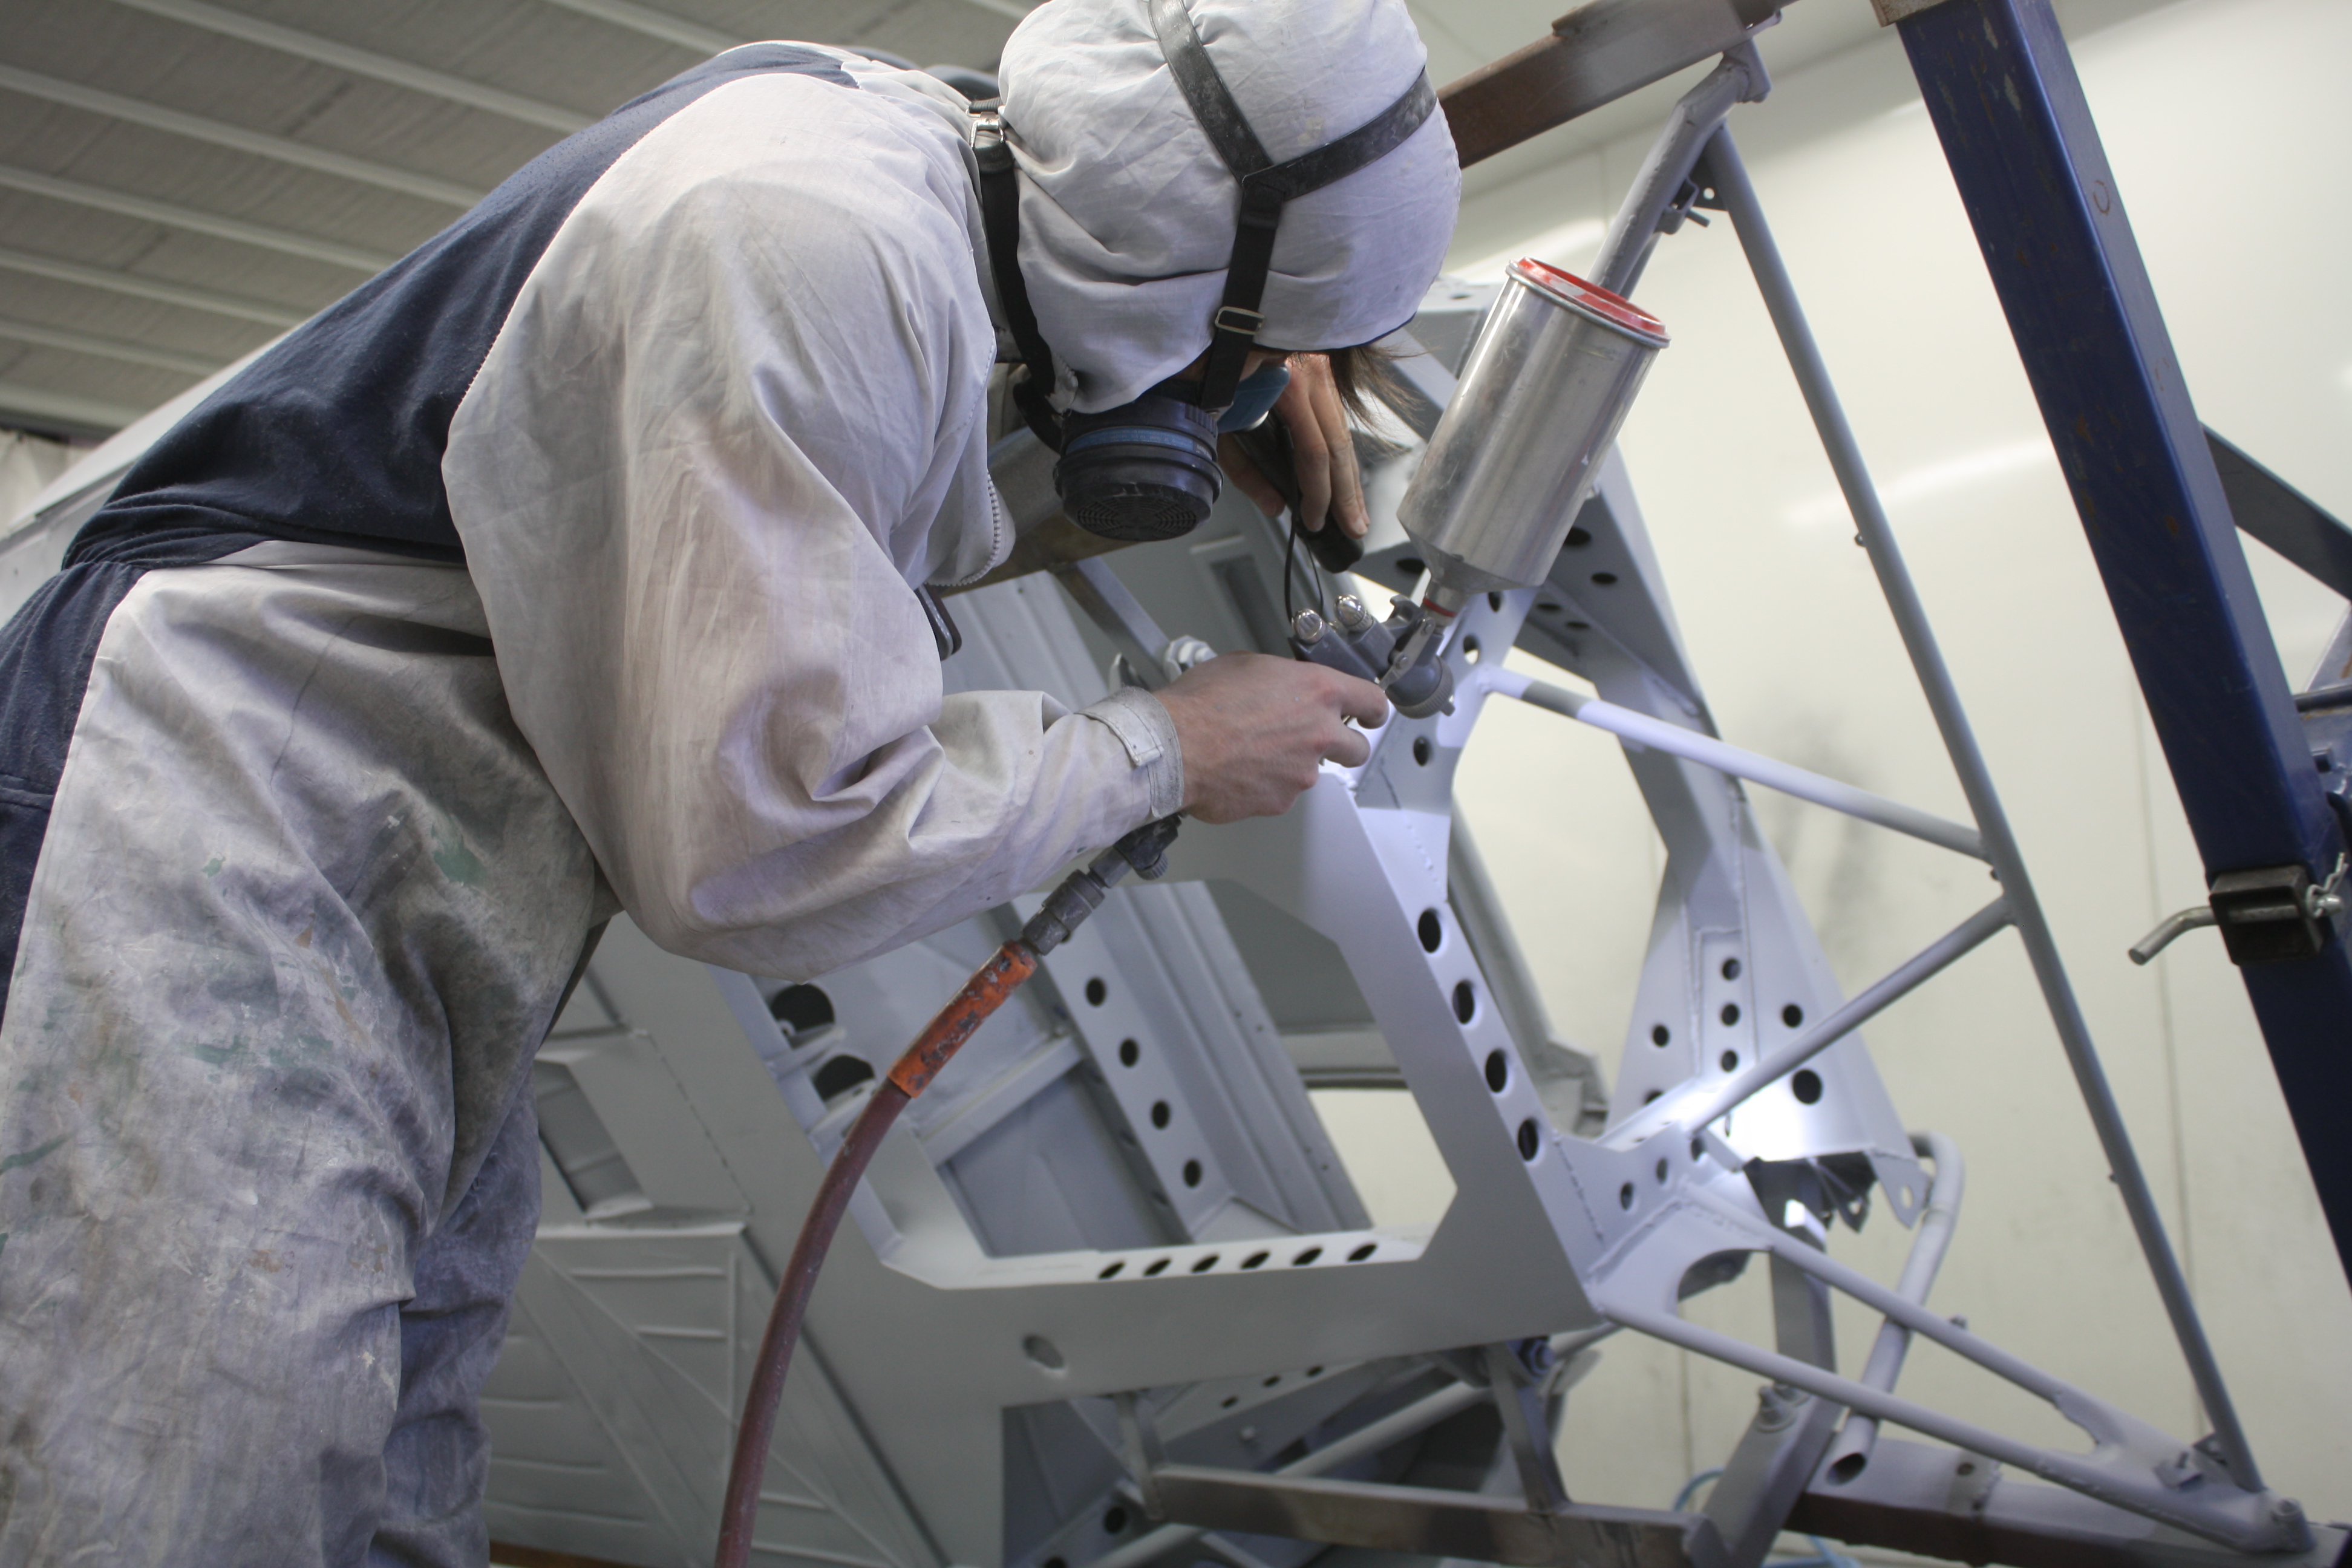

Beau inspecting with his light areas that may need a little more primer. Yes the rotisserie helps… but you can only imagine by looking at the chassis it’s not easy to get good coverage first time.
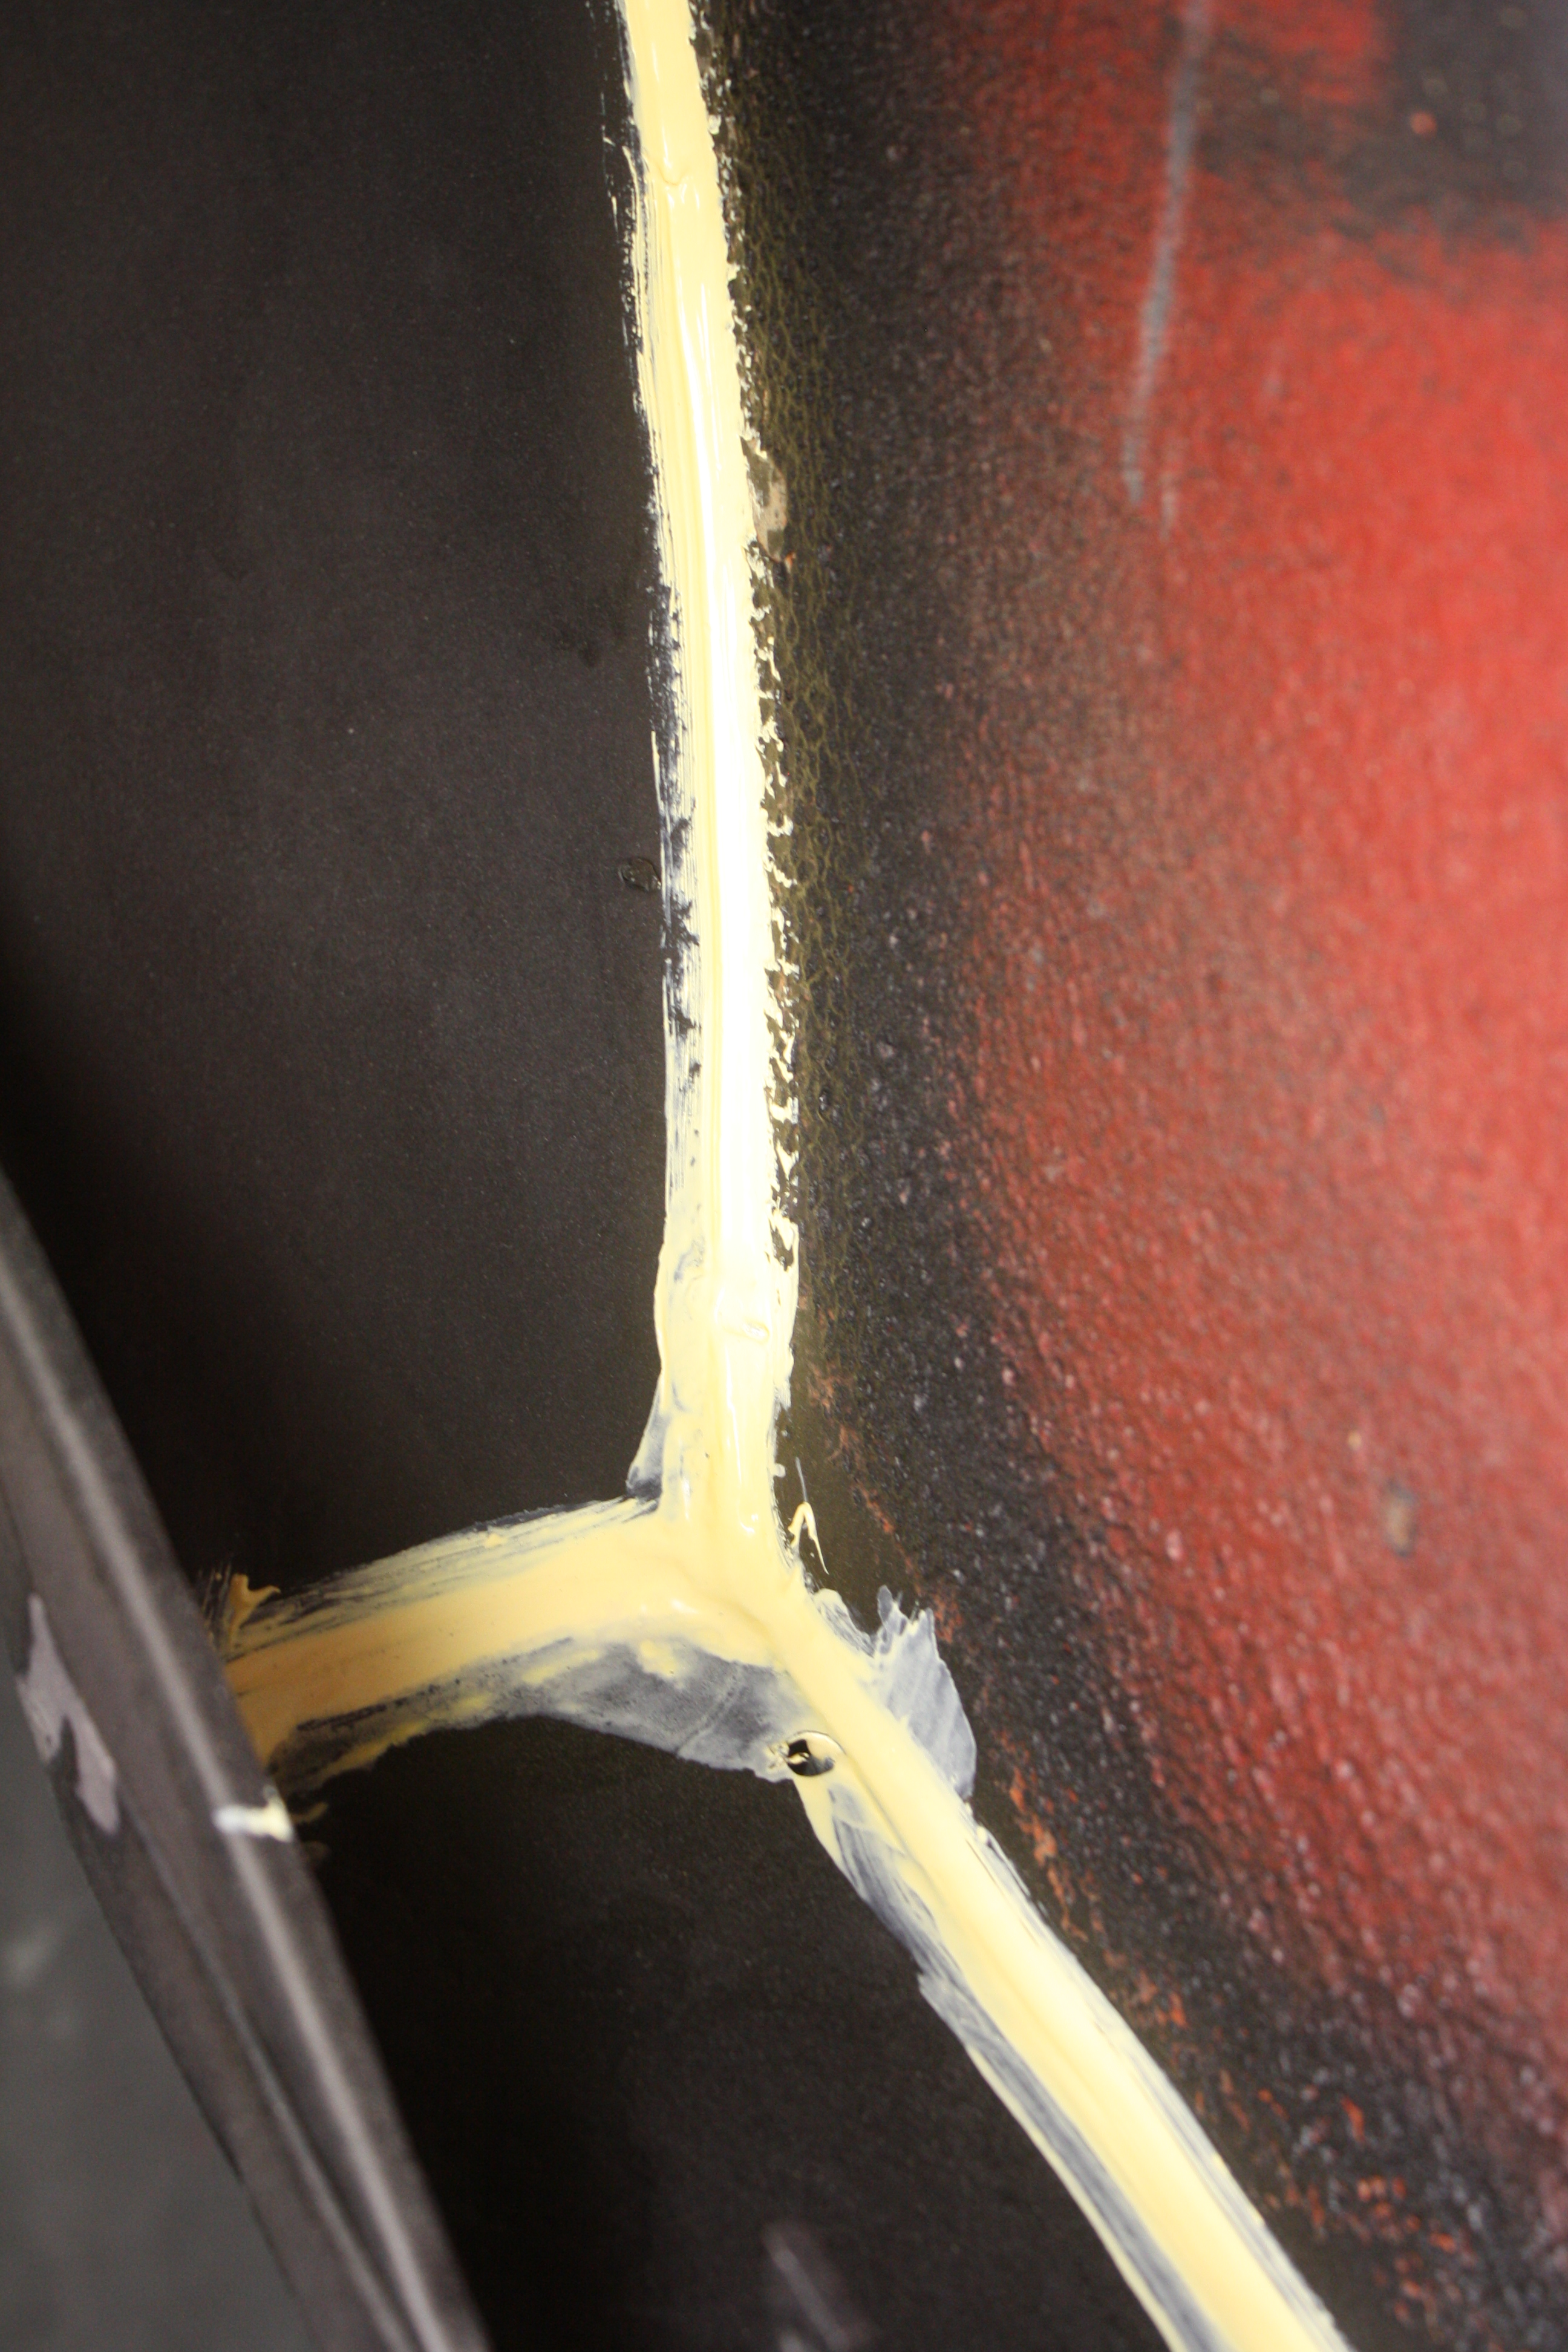
After the first primer was applied and dried I went over the car again to apply yet another round of seam sealer. I first mark areas of concern to be sealed and then the application process begins. Since these cars were gas welded together you will see little pin holes that are much more noticeable after the first coat of primer is sprayed. These now will get filled with the same material.
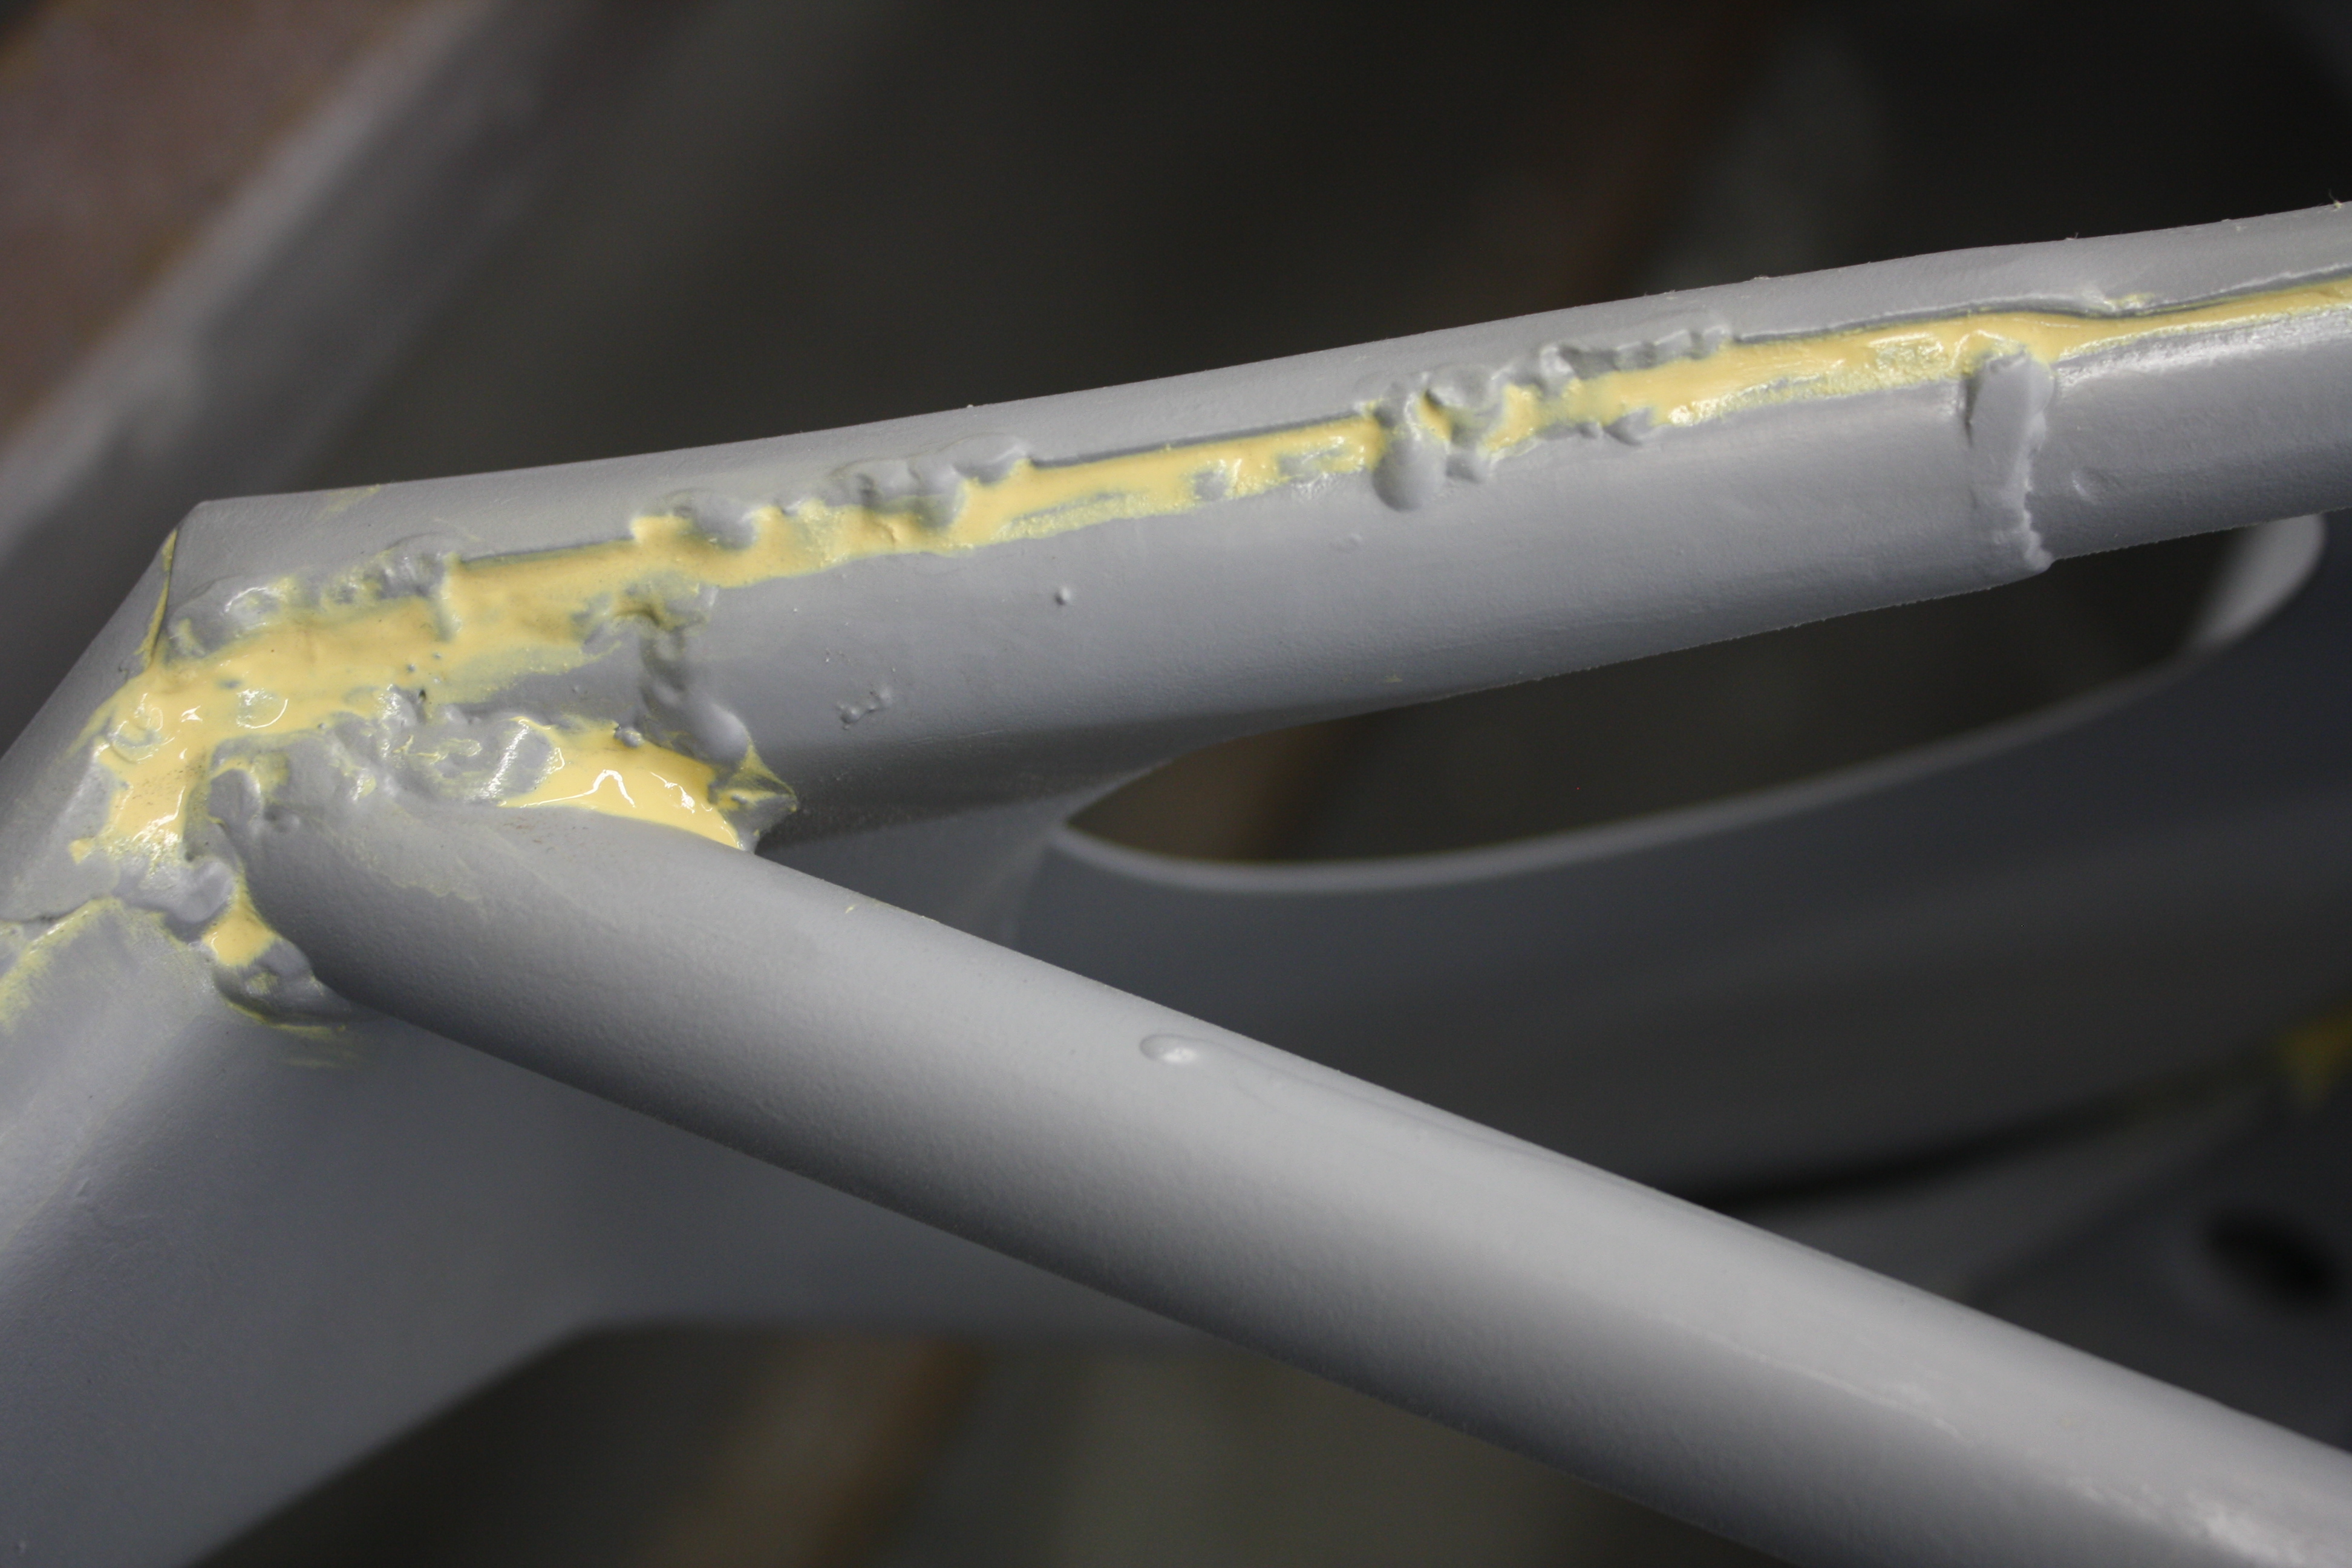

You will see in the above photo the factory gas welds have small pin holes that get filled with the seam sealer on the second round. It is structurally sound but we just don’t want moisture to set in. After the second round of seam sealer we then primer everything again. It really turns out nice.


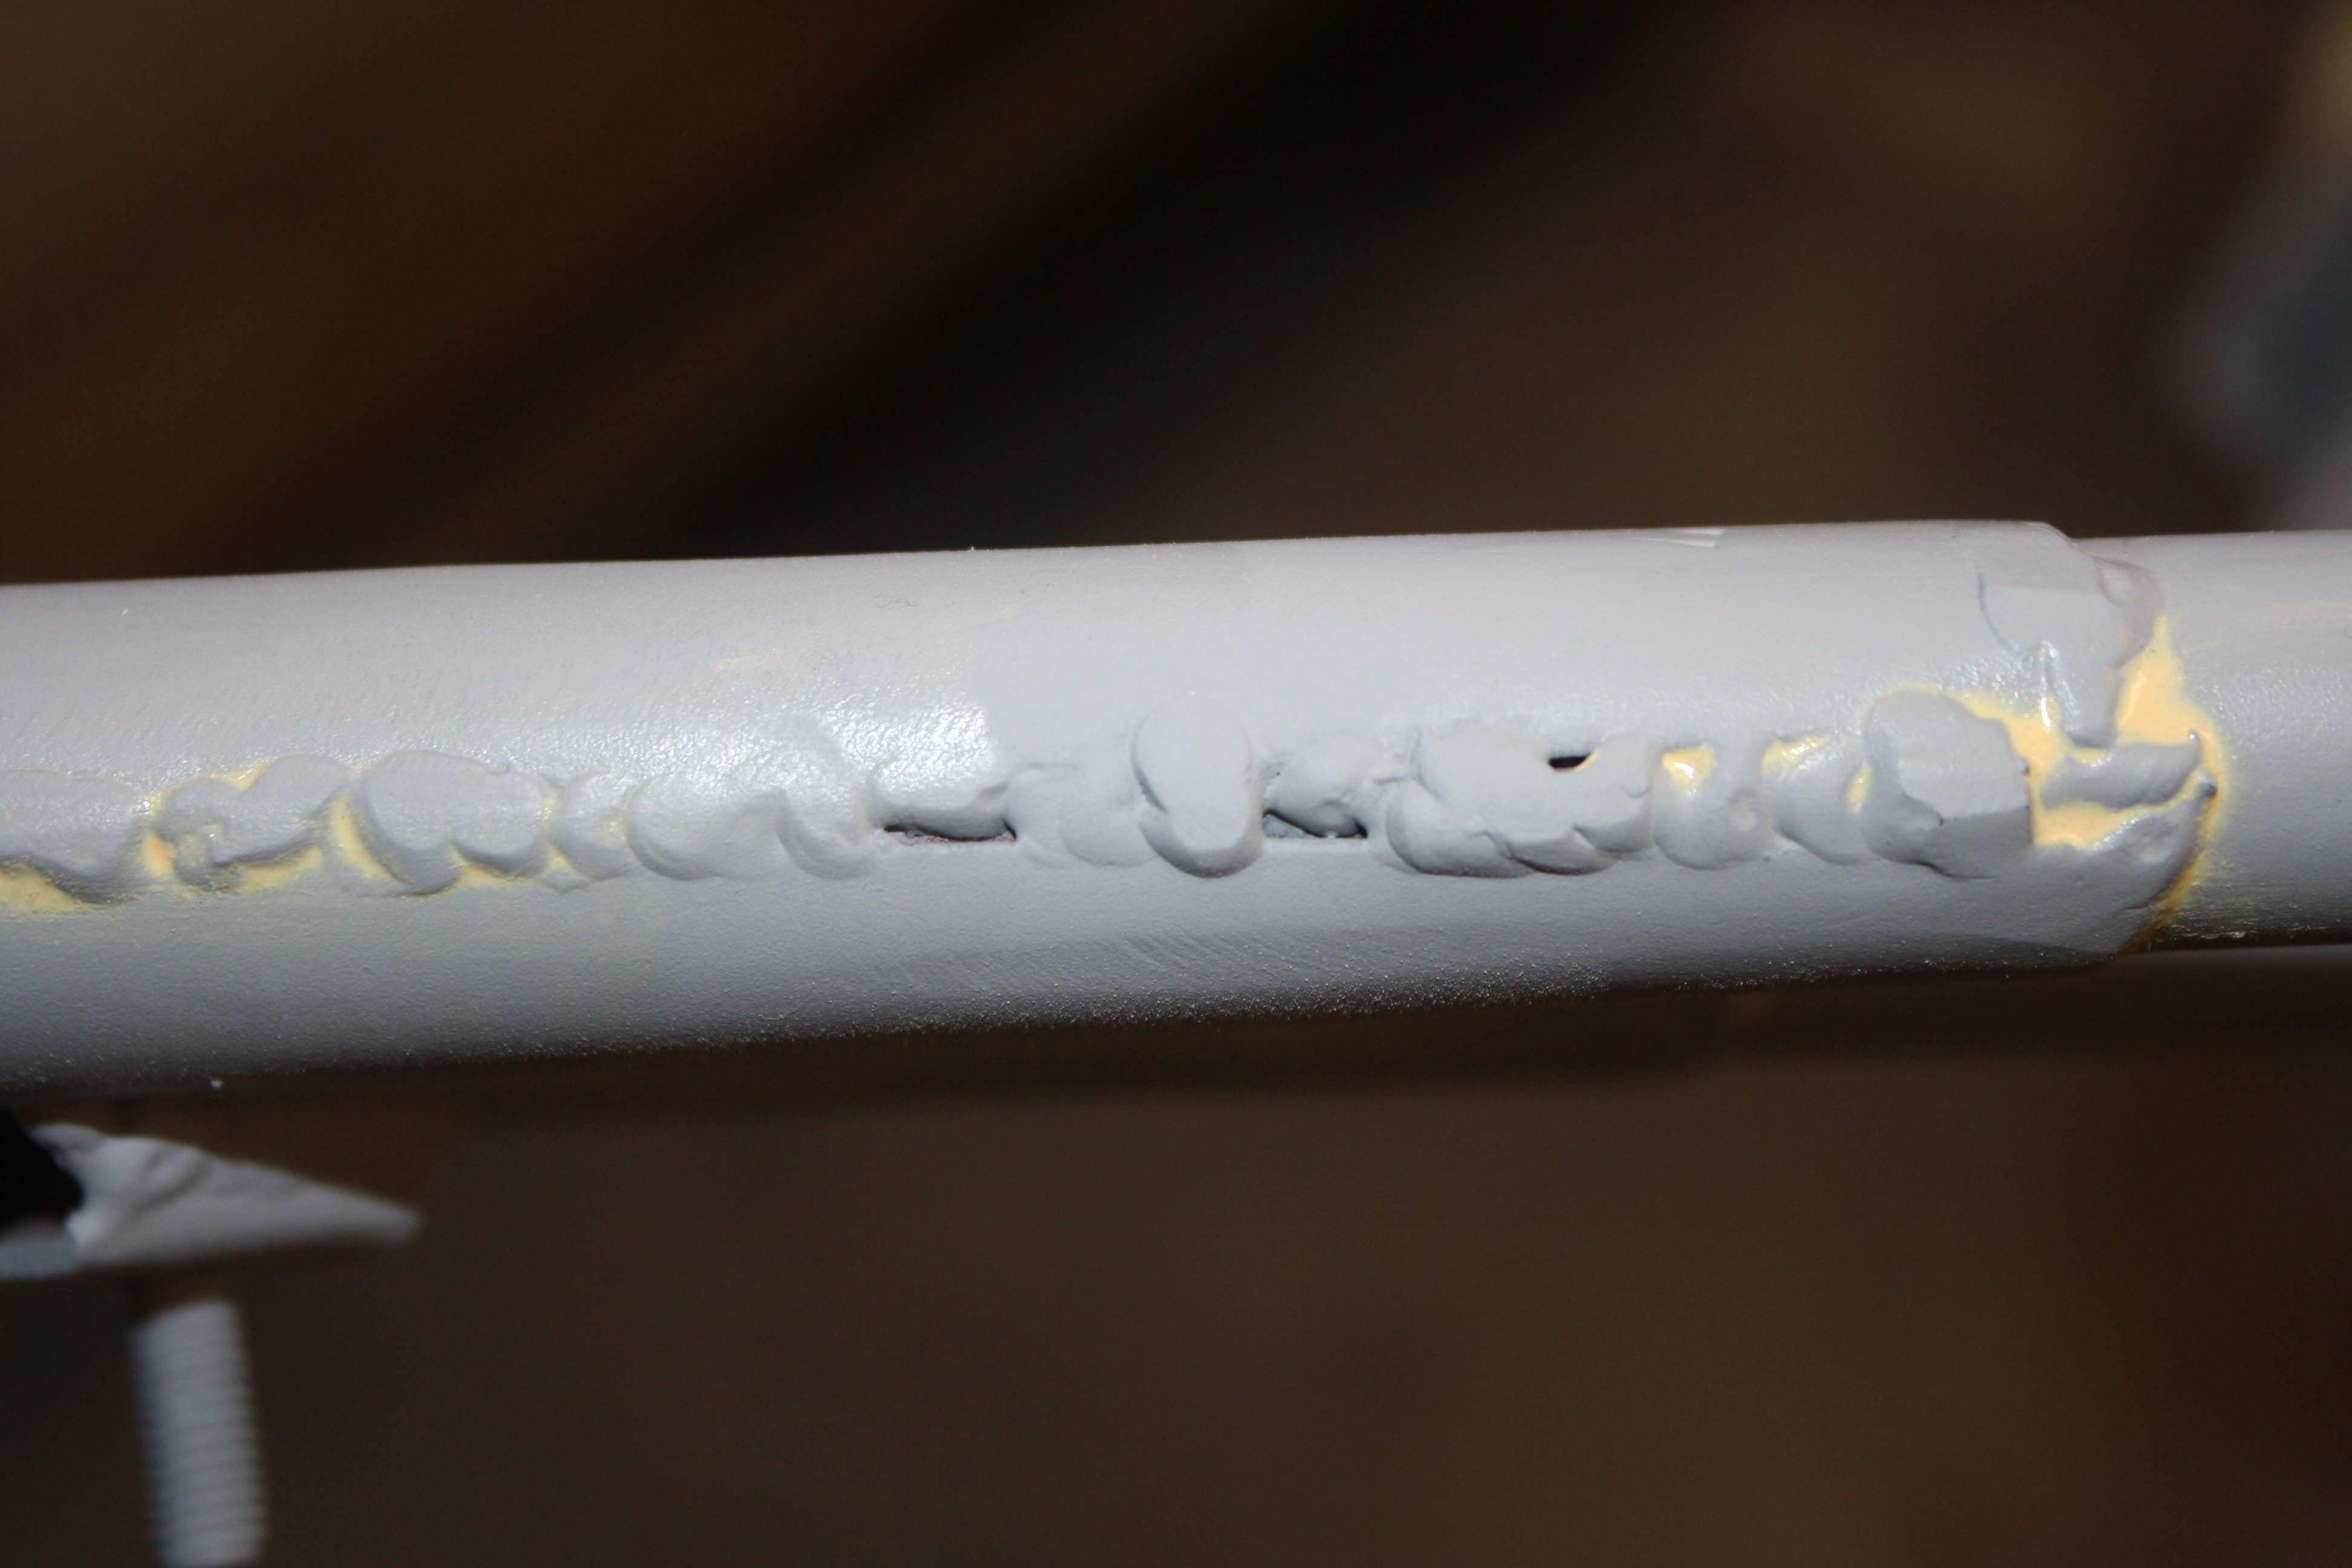
In the above photos you will see the original spot welds. They will not be filled but will be noticeable after paint — to keep originality.


The next step is to re-primer then we will fit the front and rear clips. After the second round of priming is completed I will post more photos so you will be able to see the differences.
