
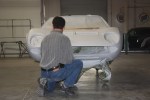
I love it when a car gets into guide coat. I try to recycle old material and add a little metallic because that really gives the highlights, accents, sweeps, and definition. It’s a stage where the designer’s idea can sometimes best be seen – before color – before trim – before polish. It’s design in pure form.
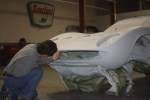
The Lamborghini Miura is really starting to look good as it settles into its second coat of primer. Once my projects get into primer I really start seeing the deep beauty of the design of the car and I get excited to see it in color. What a gorgeous design this Miura has… judge for yourself! Alberto, the owner, came down to take a look. It’s always great to do projects with hands-on owners.

The WordPress.com stats helper monkeys prepared a 2013 annual report for this blog.

Here’s an excerpt:
The concert hall at the Sydney Opera House holds 2,700 people. This blog was viewed about 24,000 times in 2013. If it were a concert at Sydney Opera House, it would take about 9 sold-out performances for that many people to see it.
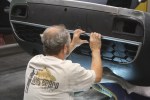
Any metal that is fatigued, cracked or corroded is removed by drilling out the old pop rivets, a new piece is fabricated and pop-riveted back in place.
-

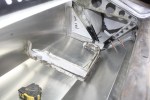
- Inner truck floor removal.
-

- Old trunk gusseting removed.
-

- New trunk floor pan installed.
-

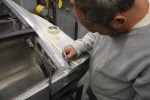
- Installation of trunk floor.
-
- Trunk floor installation.
-

- Trunk floor installation process.
-

- Trunk floor installation process.
-

- Trunk floor installation process (outside view).
-
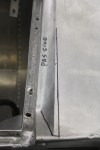
- Marking areas that need to be repaired.
-

- Making body skins more symmetrical from side to side.
-
- Passenger side rear quarter panel.
-
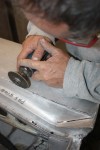
- Cut to repair.
-

- TIG welding and repairs to side of deck lid where it meets quarter panel.
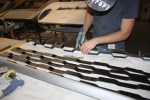
I could not believe how much paint was on these louvers. If I would have sent them out to the blaster to remove the material that was on them I believe the outside of the aluminum would have been ruined. We chose to hand chemical strip the louvers to remove the majority of the paint first before media blasting. Good call… because they hardly needed any surfacing. We went with a heat resistant primer first to play it safe for motor high heat temp escaping.
-
- All old material on louvers was striped
-

- Hand chemical stripping to remove 90% of the old material
-

- You must be very careful not to get any stripper between the aluminum skin and steel frame
-
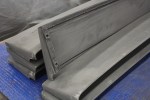
- After the majority of material has been chemical hand stripped you are safe to media blast without warping outer skin
-
- After surfacing you’re ready to apply the heat-resistant primer
-

- You can see how nice they turned out from the reflection
As you can tell from the last postings, the repairs to the rear tail section of the Miura have been completed including all the TIG welding, fit and finish, as well as rear honeycomb, rear bumper and rear window louvers. In this posting I’m showing the process we went through in refurbishing the rear honeycomb and bumper as well as showing you the reassembly and fit to rear tail section after completing .
-
- Ready to disassemble.
-

- After Alodine prep, black chromate primer is applied and dried before assembly.
-
- Pop riveting. Tedious work dealing with soft aluminum.
-
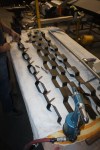
- Assembly process of rear honeycomb.
-

- Lay out and prep for assembly.
-
- Reassembling rear honeycomb grille with copper rivets as factory.
-

- Finish pop riveting honeycomb together.
-

- Reassembly of rear honeycomb.
-
- Adjusting honeycomb and rear bumper for fit
-
- Fitting honeycomb and rear bumper to body.
-

- Honeycomb rear louvers were painted after assembly from factory
Thanks for all the concerned emails. I haven’t fallen off the planet. Nor am I in a food coma from Thanksgiving. November and December were very busy months and then the holidays took me off the radar altogether. We continue to work away on the Dino and Miura projects we have in the shop. I’ll post more detailed updates soon.
May 2014 bring everyone good health, joy and a realization of your many blessings. Happy New Year!!
I posted this tip on how to make your original light lenses look new a long time ago but I think it’s worthy of mentioning again. This little technique will save you a bit of money on your restoration project or spiff up the lenses on your driver, giving your car a freshened up look.
How To Make Light Lenses Look New…
A cost effective way to keep your original lenses is to color sand and buff them out. There’s a little technique to it but they’ll look like new and you’ll be very pleased with the end result.
First, find a nice stable table and lay down a towel on your work surface. Find a bucket and a little warm water and some car soap or dish-washing liquid. Wash them thoroughly, then rinse well. While they’re wet, get a piece of 1000 grit wet automotive color sanding sandpaper and sand the outer portion of your plastic lens — one way, NOT in circles! It’s important not to sand any markings on the lens. Stay away from sanding any markings off… you’ll want to keep those. Then repeat the same thing with some 1500 grit wet automotive color sanding sandpaper.

Polishing a Dino 206 Lense
Next, get a little hand air buffer and cut-rub all your scratches out with some light rubbing compound. Then simply polish them out by hand or machine with a nice automotive polish. Then wash the lens again – maybe with a soft sponge and if there’s any compound or wax between the letters or screw holes just use a toothbrush and lightly brush the compound away. Then rinse. Follow that up with a coat of good wax and you should have a great looking pair of lenses to install.

Polished Lense
Important: Make sure you’re holding the lens in your hand tightly, so if you catch an edge with the buffer it doesn’t go flying across the room. Don’t do it near the car! If you don’t have a polisher or buffer take the sand paper all the way to 2000 grit and you can do the whole job by hand.
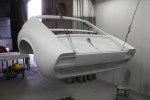
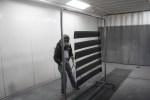
A milestone in the progress of this Dino 246 restoration happened yesterday. I sprayed its first primer. It sure looks good. A day to let dry thoroughly and then we begin surfacing again.

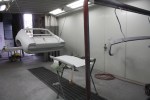
Moving into the spray booth

Bello Nero in the spray booth
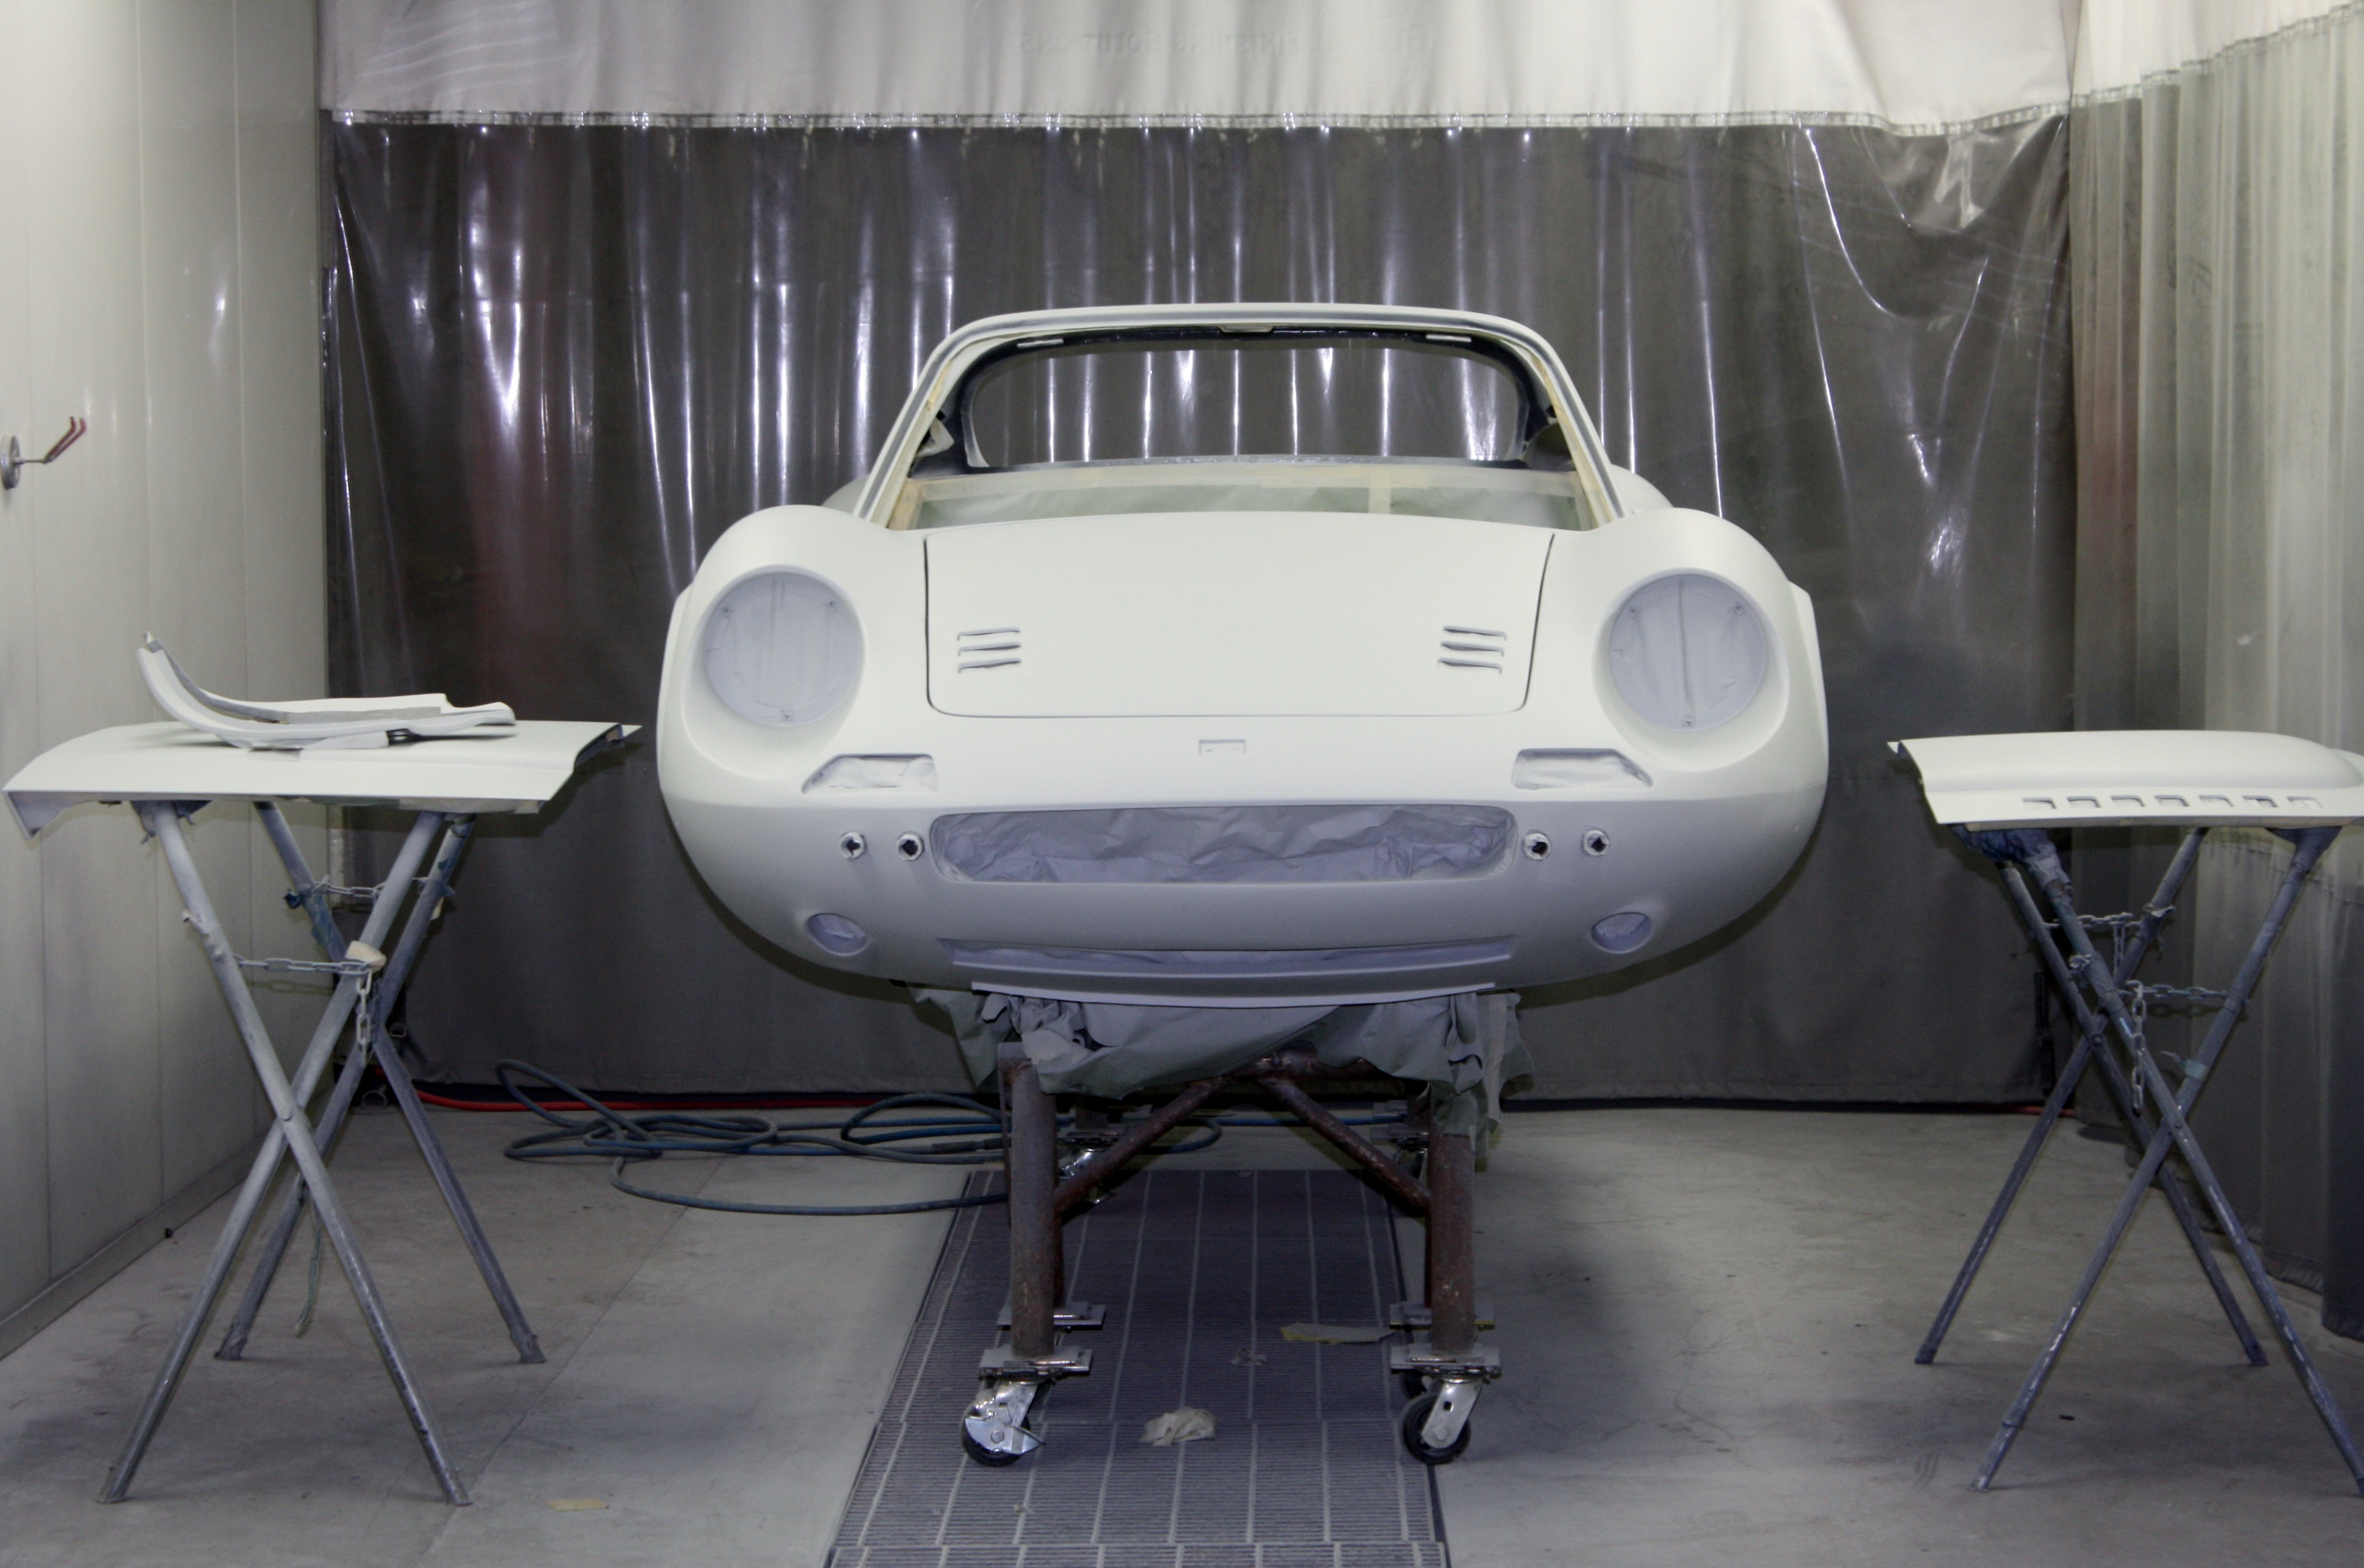
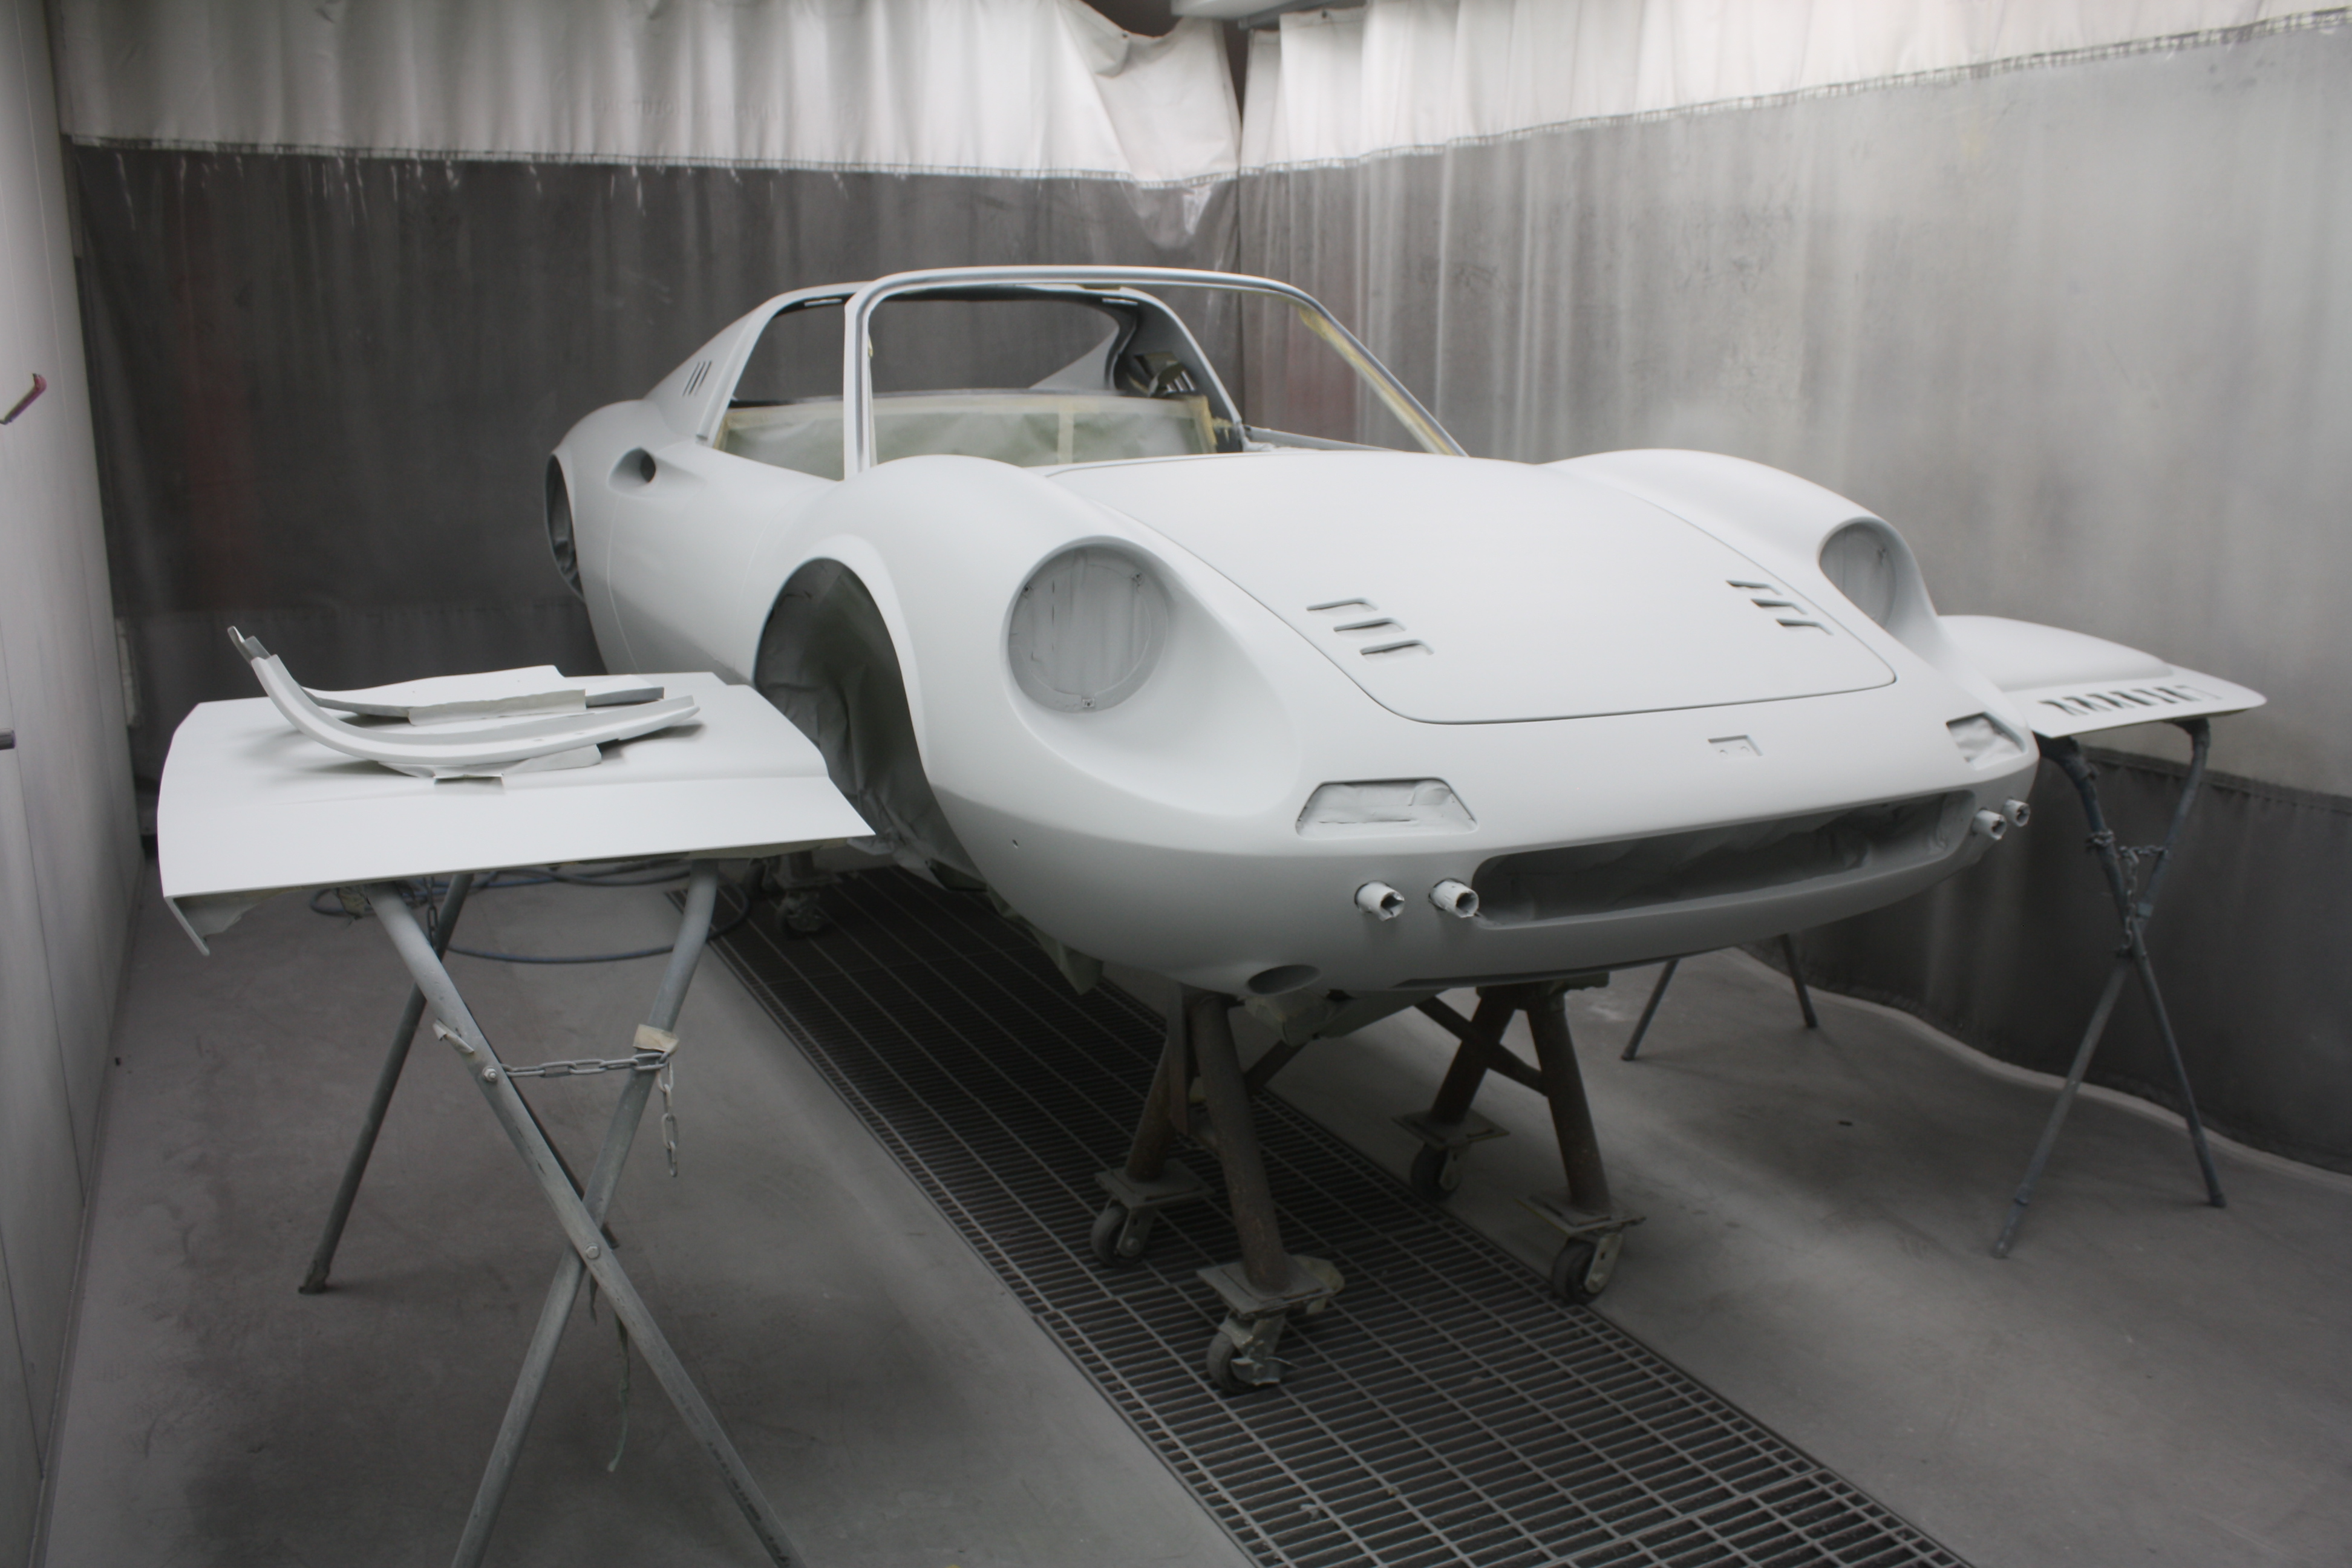
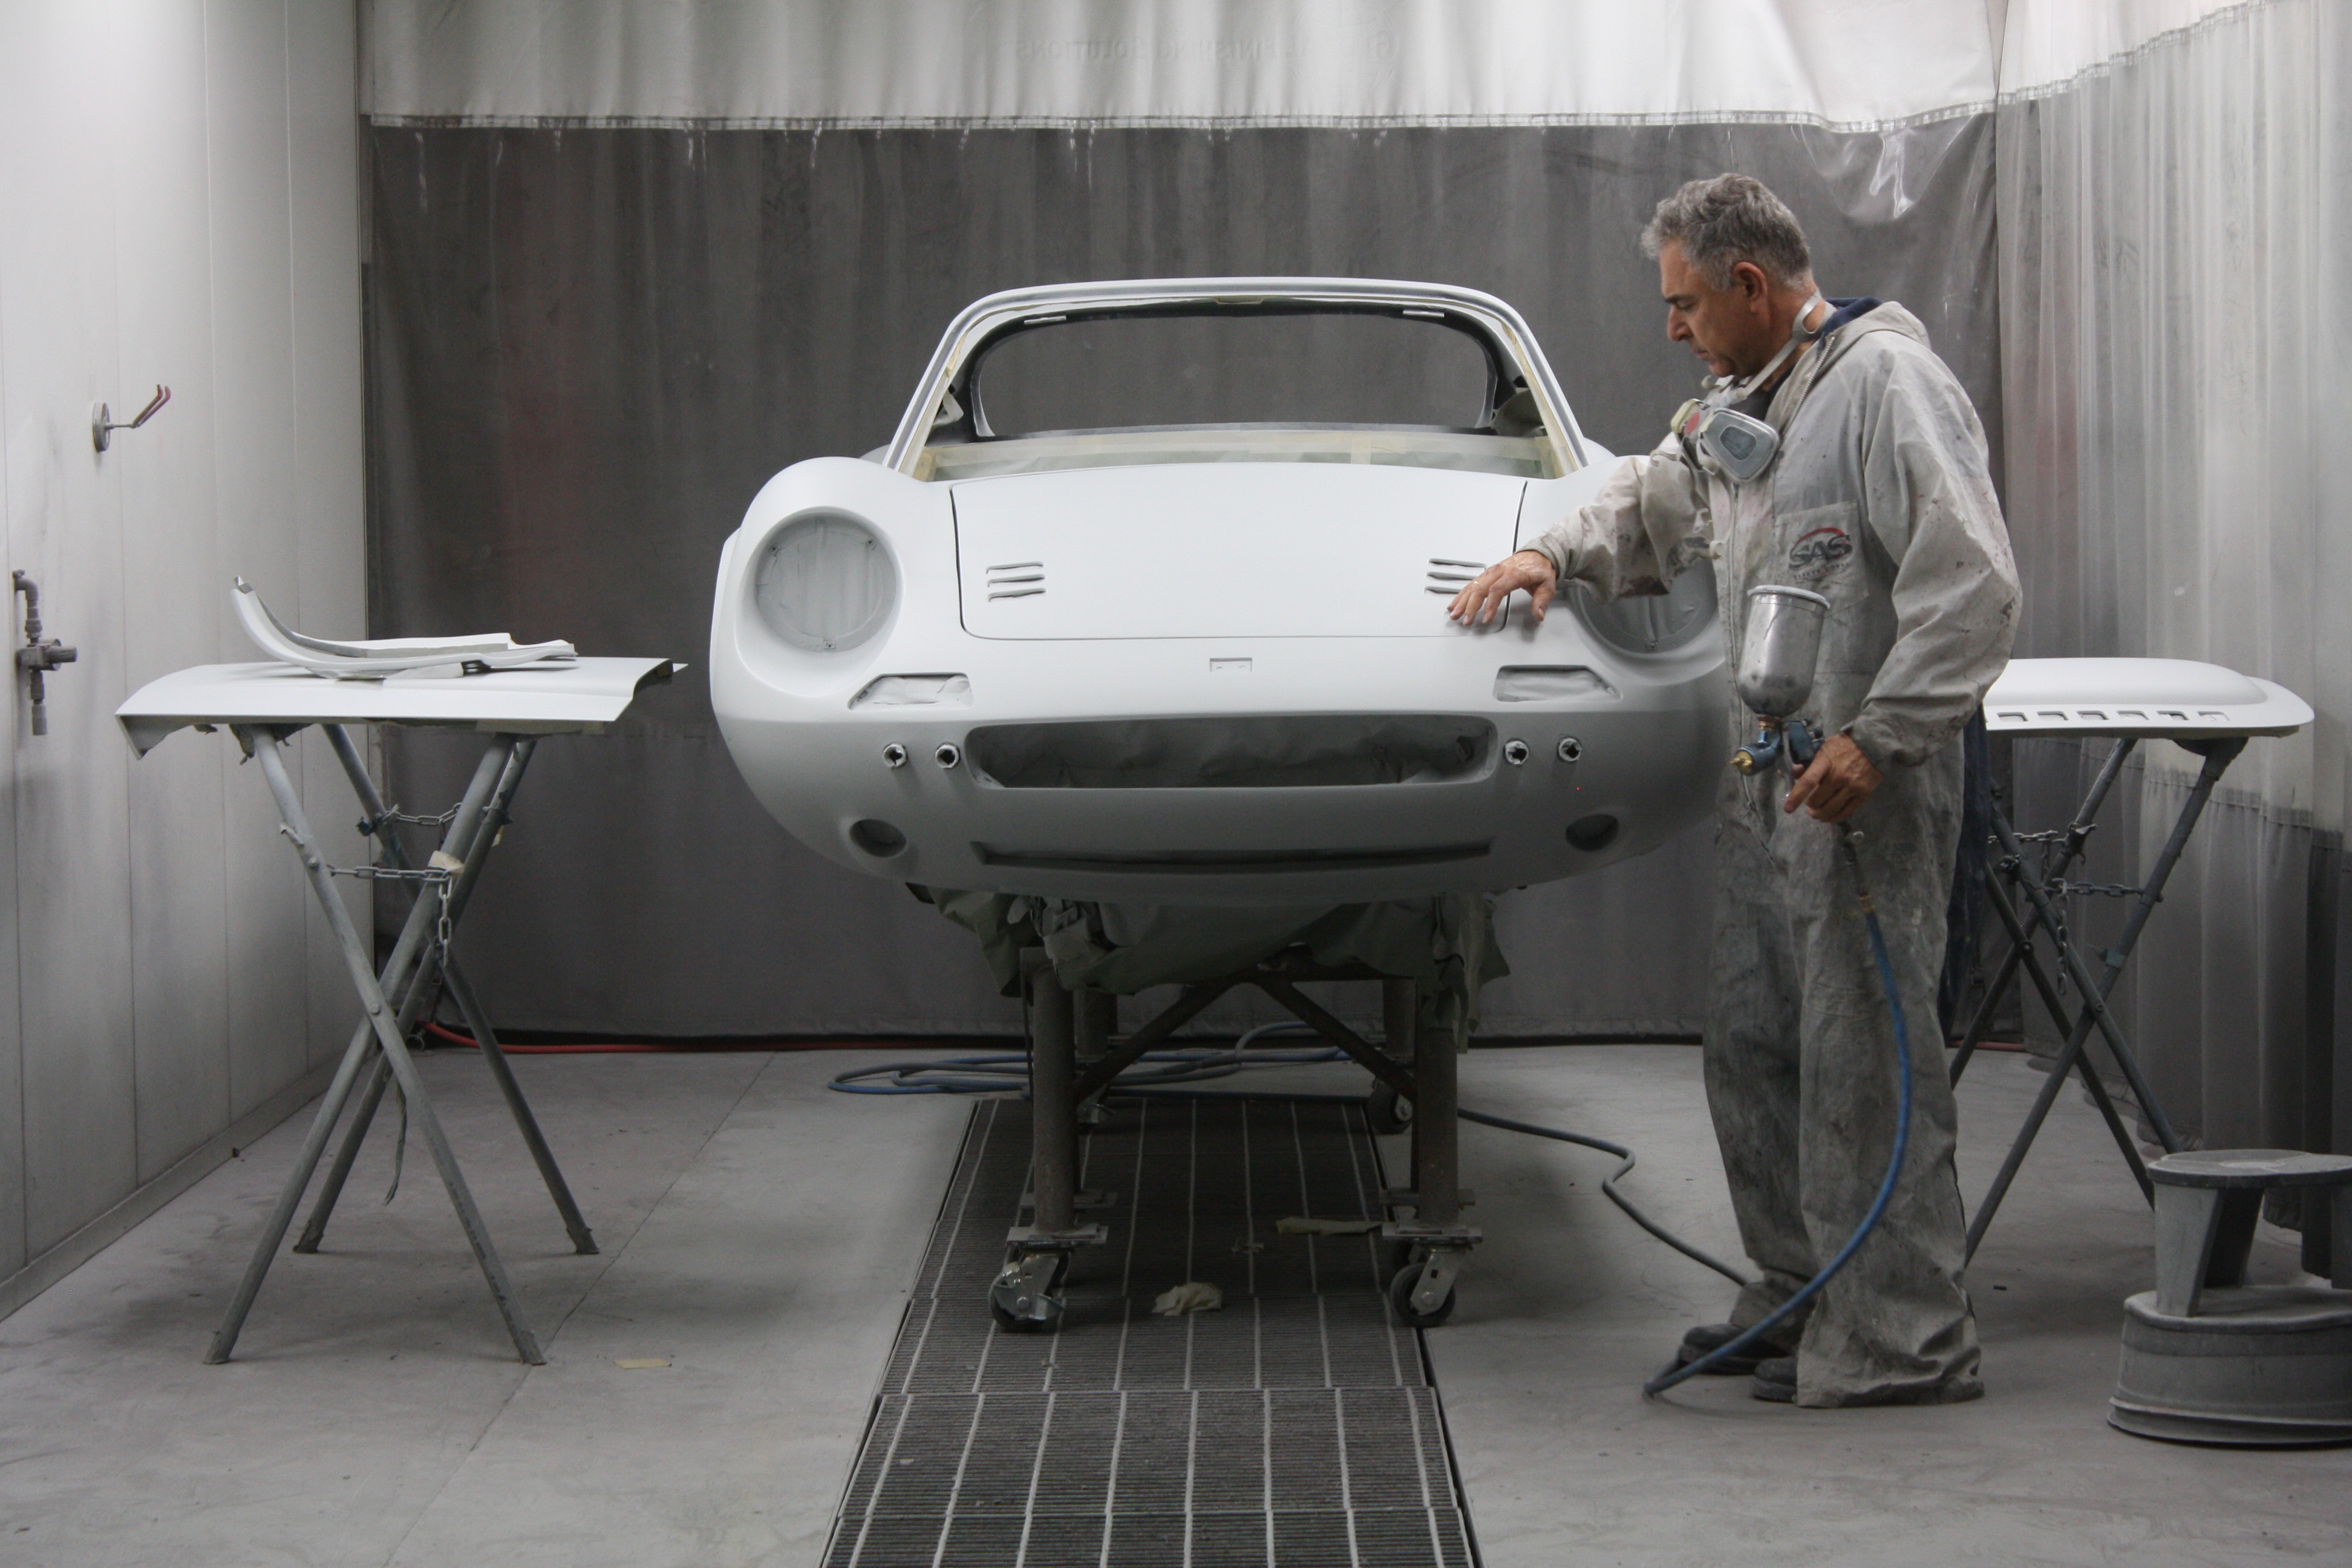
Checking the spray out. Looks good!
