
Miura Progress
As you can tell from the last postings, the repairs to the rear tail section of the Miura have been completed including all the TIG welding, fit and finish, as well as rear honeycomb, rear bumper and rear window louvers. In this posting I’m showing the process we went through in refurbishing the rear honeycomb and bumper as well as showing you the reassembly and fit to rear tail section after completing .
-
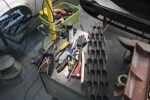
- Ready to disassemble.
-

- After Alodine prep, black chromate primer is applied and dried before assembly.
-
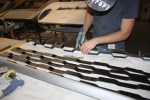
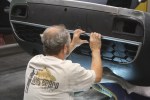
- Pop riveting. Tedious work dealing with soft aluminum.
-
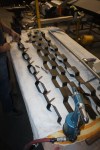
- Assembly process of rear honeycomb.
-

- Lay out and prep for assembly.
-
- Reassembling rear honeycomb grille with copper rivets as factory.
-

- Finish pop riveting honeycomb together.
-

- Reassembly of rear honeycomb.
-
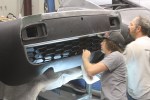
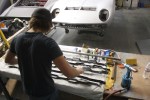
- Adjusting honeycomb and rear bumper for fit
-
- Fitting honeycomb and rear bumper to body.
-

- Honeycomb rear louvers were painted after assembly from factory
Leave a Comment
