
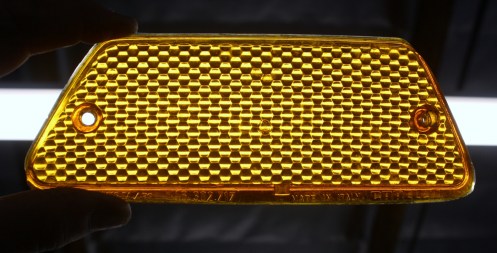
A cost effective way to keep your original lenses is to color sand and buff them out. There’s a little technique to it but they’ll look like new and you’ll be very pleased with the end result.
First, find a nice stable table and lay down a towel on your work surface. Find a bucket and a little warm water and some car soap or dish-washing liquid. Wash them thoroughly, then rinse well. While they’re wet, get a piece of 1000 grit wet automotive color sanding sandpaper and sand the outer portion of your plastic lens — one way, NOT in circles! It’s important not to sand any markings on the lens. Stay away from sanding any markings off… you’ll want to keep those. Then repeat the same thing with some 1500 grit wet automotive color sanding sandpaper.
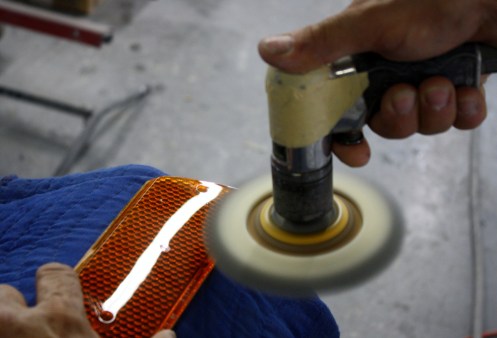
Next, get a little hand air buffer and cut-rub all your scratches out with some light rubbing compound. Then simply polish them out by hand or machine with a nice automotive polish. Then wash the lens again – maybe with a soft sponge and if there’s any compound or wax between the letters or screw holes just use a toothbrush and lightly brush the compound away. Then rinse. Follow that up with a coat of good wax and you should have a great looking pair of lenses to install.
Important Note: Make sure you’re holding the lens in your hand tightly, so if you catch an edge with the buffer it doesn’t go flying across the room. Don’t do it near the car! If you don’t have a polisher or buffer take the sand paper all the way to 2000 grit and you can do the whole job by hand.
Bella Classics has a proven process for restoring Aluminum Magnesium wheels, which has brought back the look of classic Mag-alloy wheels like the Campagnolo and Cromodora wheels. Our restoration process has given our clients a better show quality look for their car’s wheels. You can learn more about our process here or give us a call, we’d be happy to help you restore your wheels!


The stripping of the Dino 206 SP is well underway with more than half the car completed. Labor intensive but the only way to see how the metal is doing under all the paint and the best way to prepare the surface for its new paint. We’re hand stripping 90% of the material because if it were to be sent to the media blaster it would result in lots of damage to the aluminium and many, many hours to repair.


This Dino 206 SP has seen the track a few times in its lifetime! It’s in the shop now for a little work. This fine replica was built in 1985 by Norwood. They built two 206 SPs and about a dozen Dino P4s. It was built for a Ferrari collector in Chicago and was later sold to another Chicago collector before being purchased by our client. Follow us as we work to restore the surface and body on this beauty.


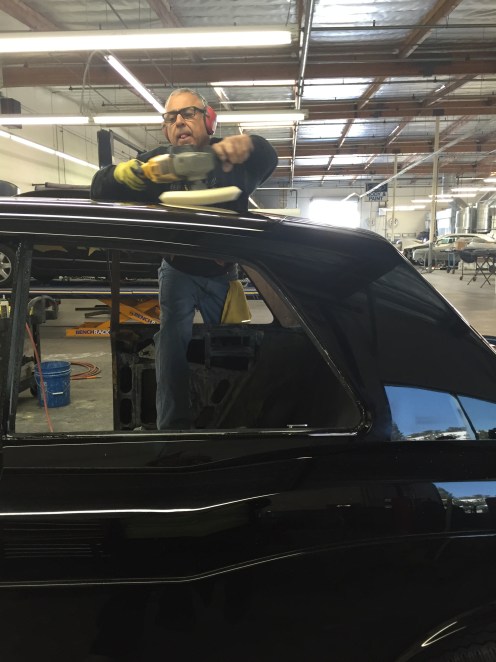
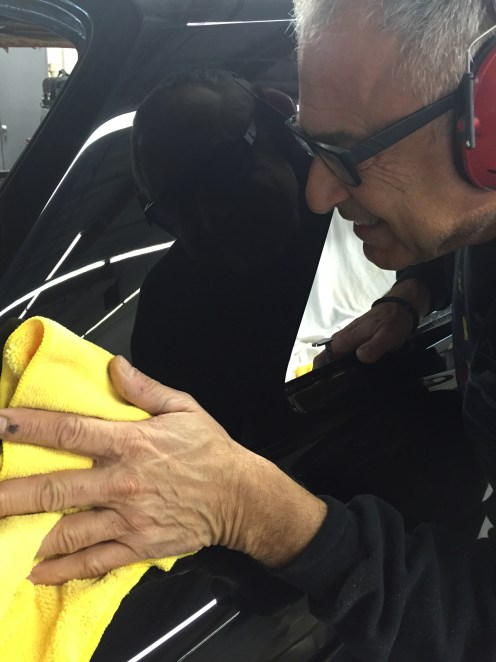
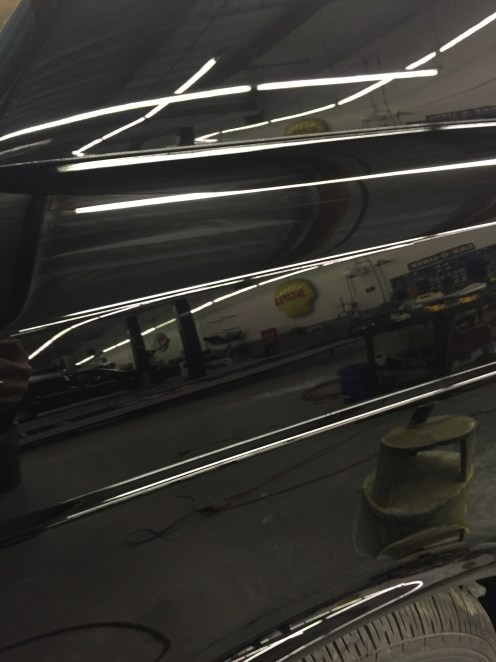
After working on mostly classic Italian sports cars over the past few years Steve and Beau are working on our latest restoration, which dwarfs a Dino. This Rolls Royce Corniche has a surface area that is nearly double that of a Dino Ferrari and the height of it is almost twice as high as a Lamborghini Miura. Regardless of the size of this classic luxury car the results to the finish couldn’t be finer.
See for yourself in these photos. Make note of the “special” technique Steve is using as he buffs the roof.


Imagine my surprise when I was asked by Automobile Magazine reporter Ronald Ahrens to be interviewed for an article about the Clenet for his article on neoclassic cars in the magazine’s January 2016 issue. I was even more surprised when I saw the article. It’s a great story about neoclassic cars and most especially about the Clenet – a car I had the great pleasure of working on in my youth.
I hope you have a chance to pick up an Automobile Magazine. The January issue is already on newsstands.
We had a brief moment of time before the Blue Chiarro Dino was shipped off to its owner in order to take a few photos. It turned out great!

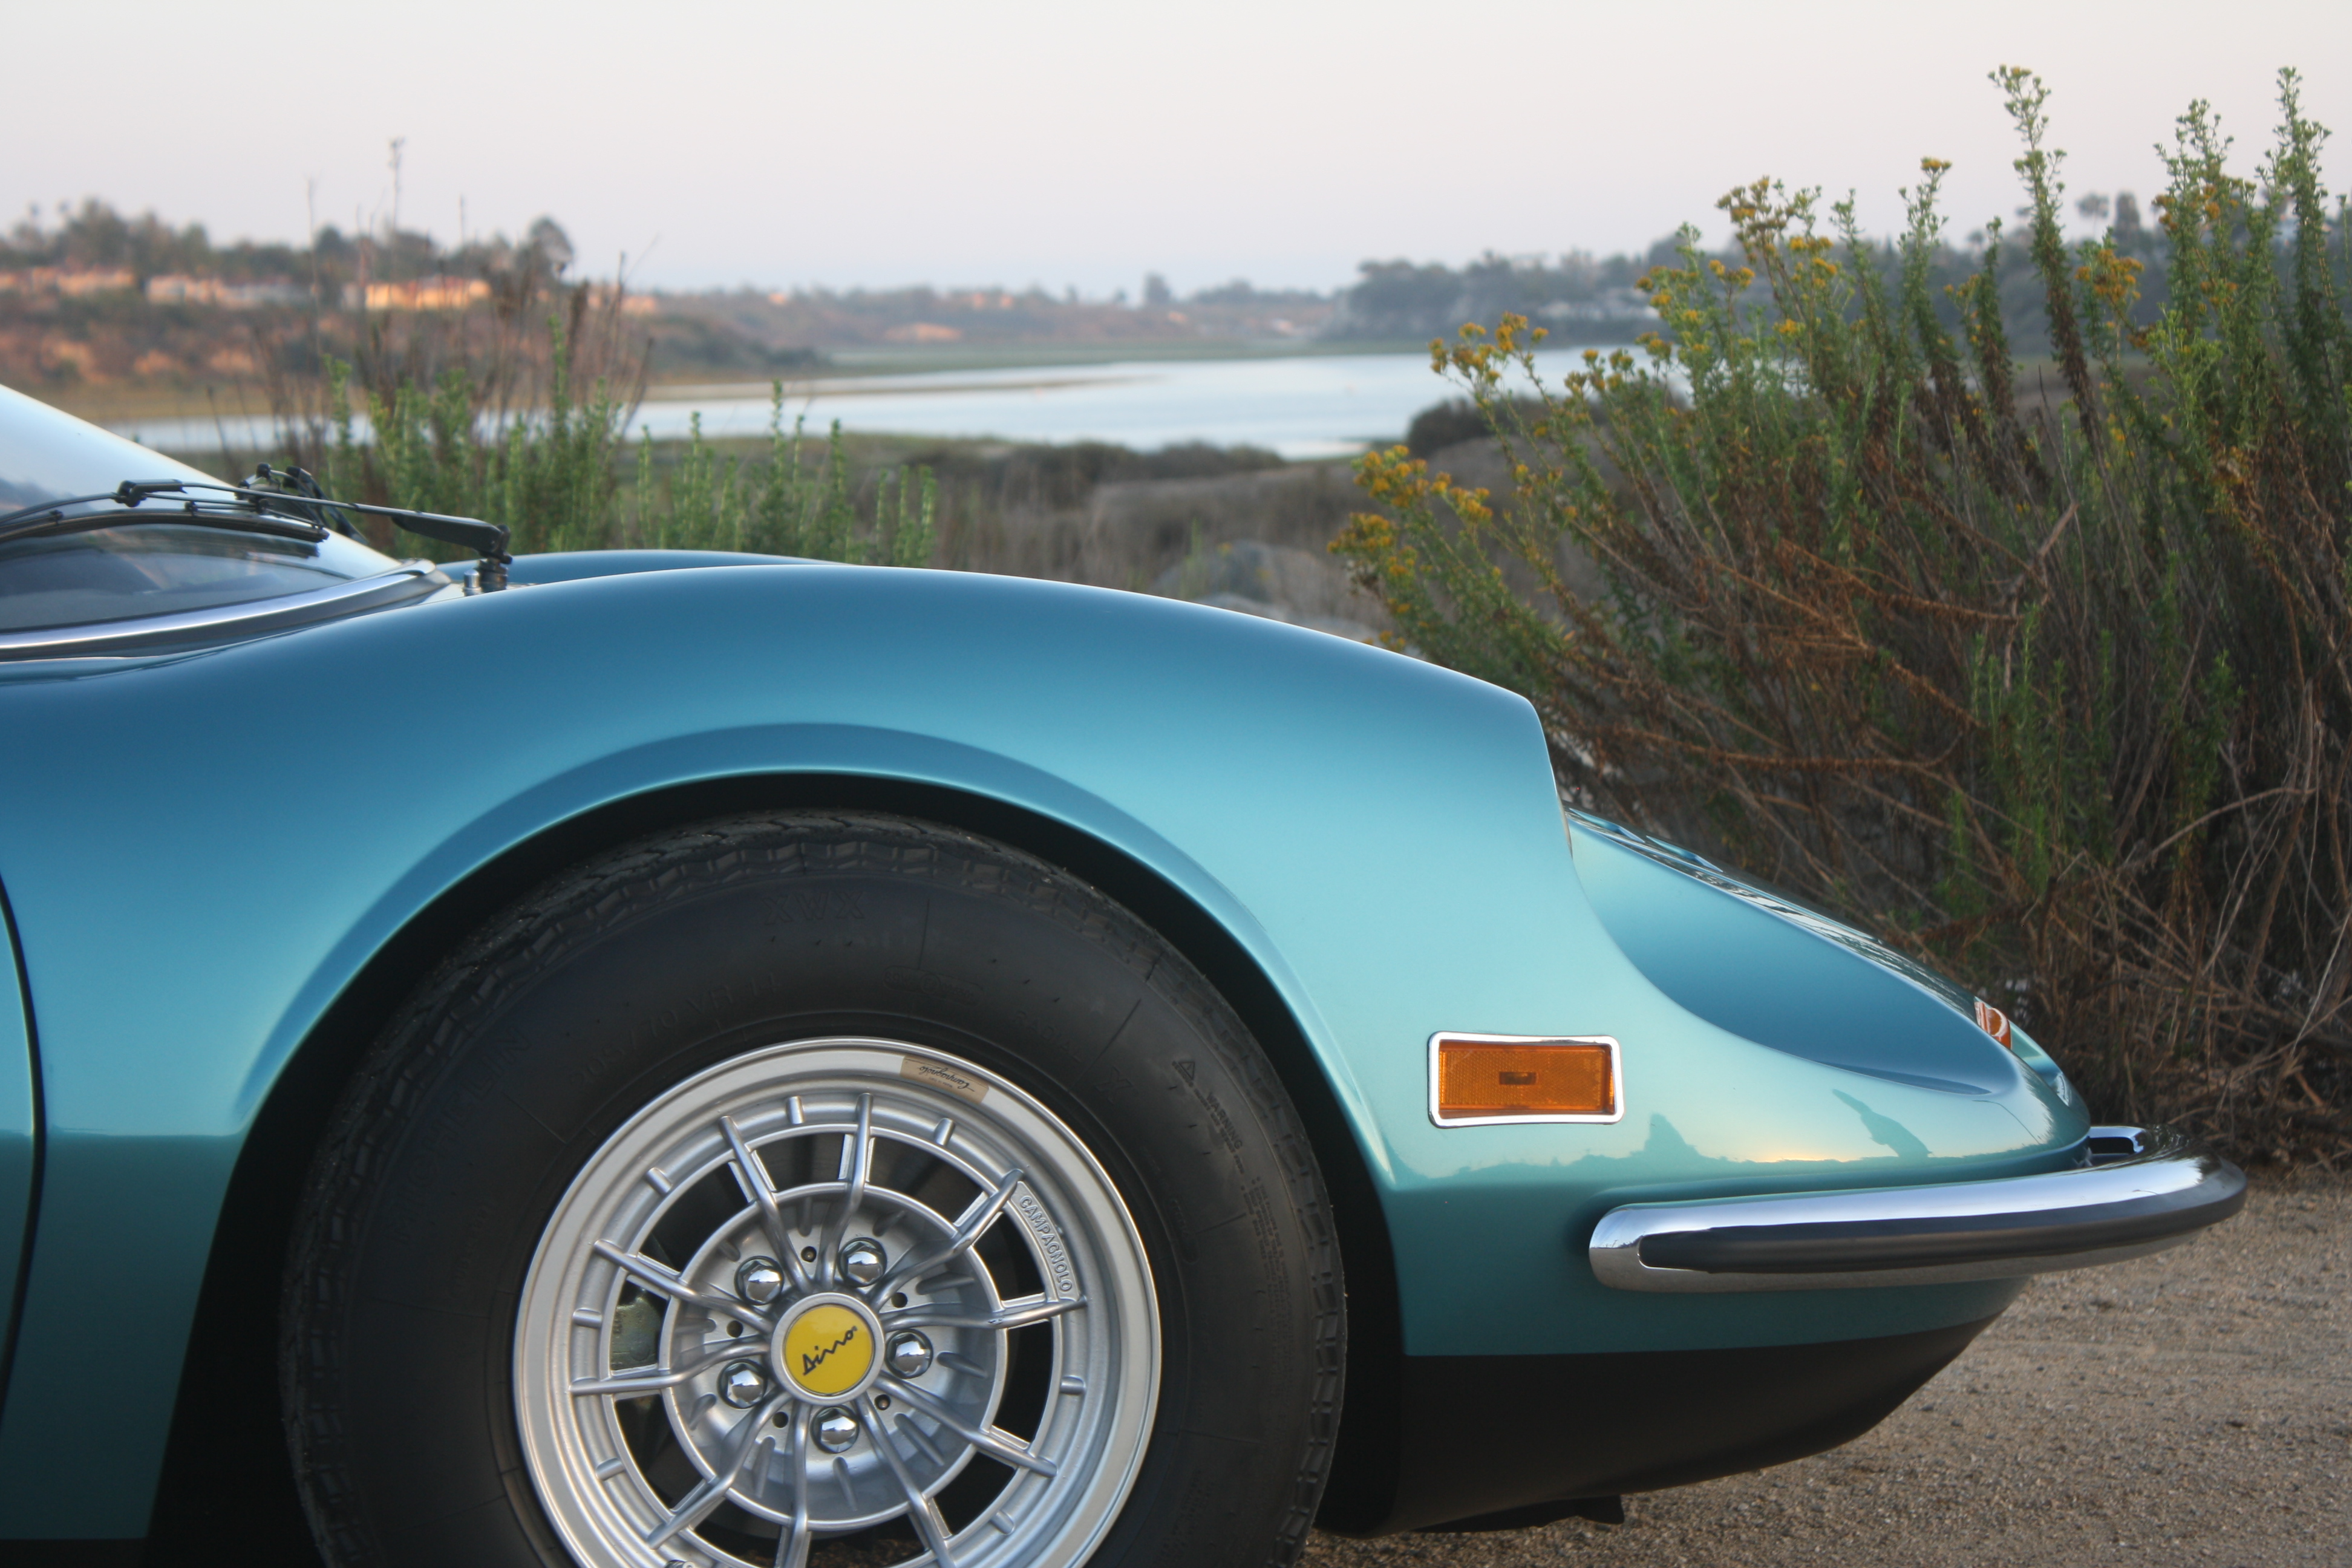
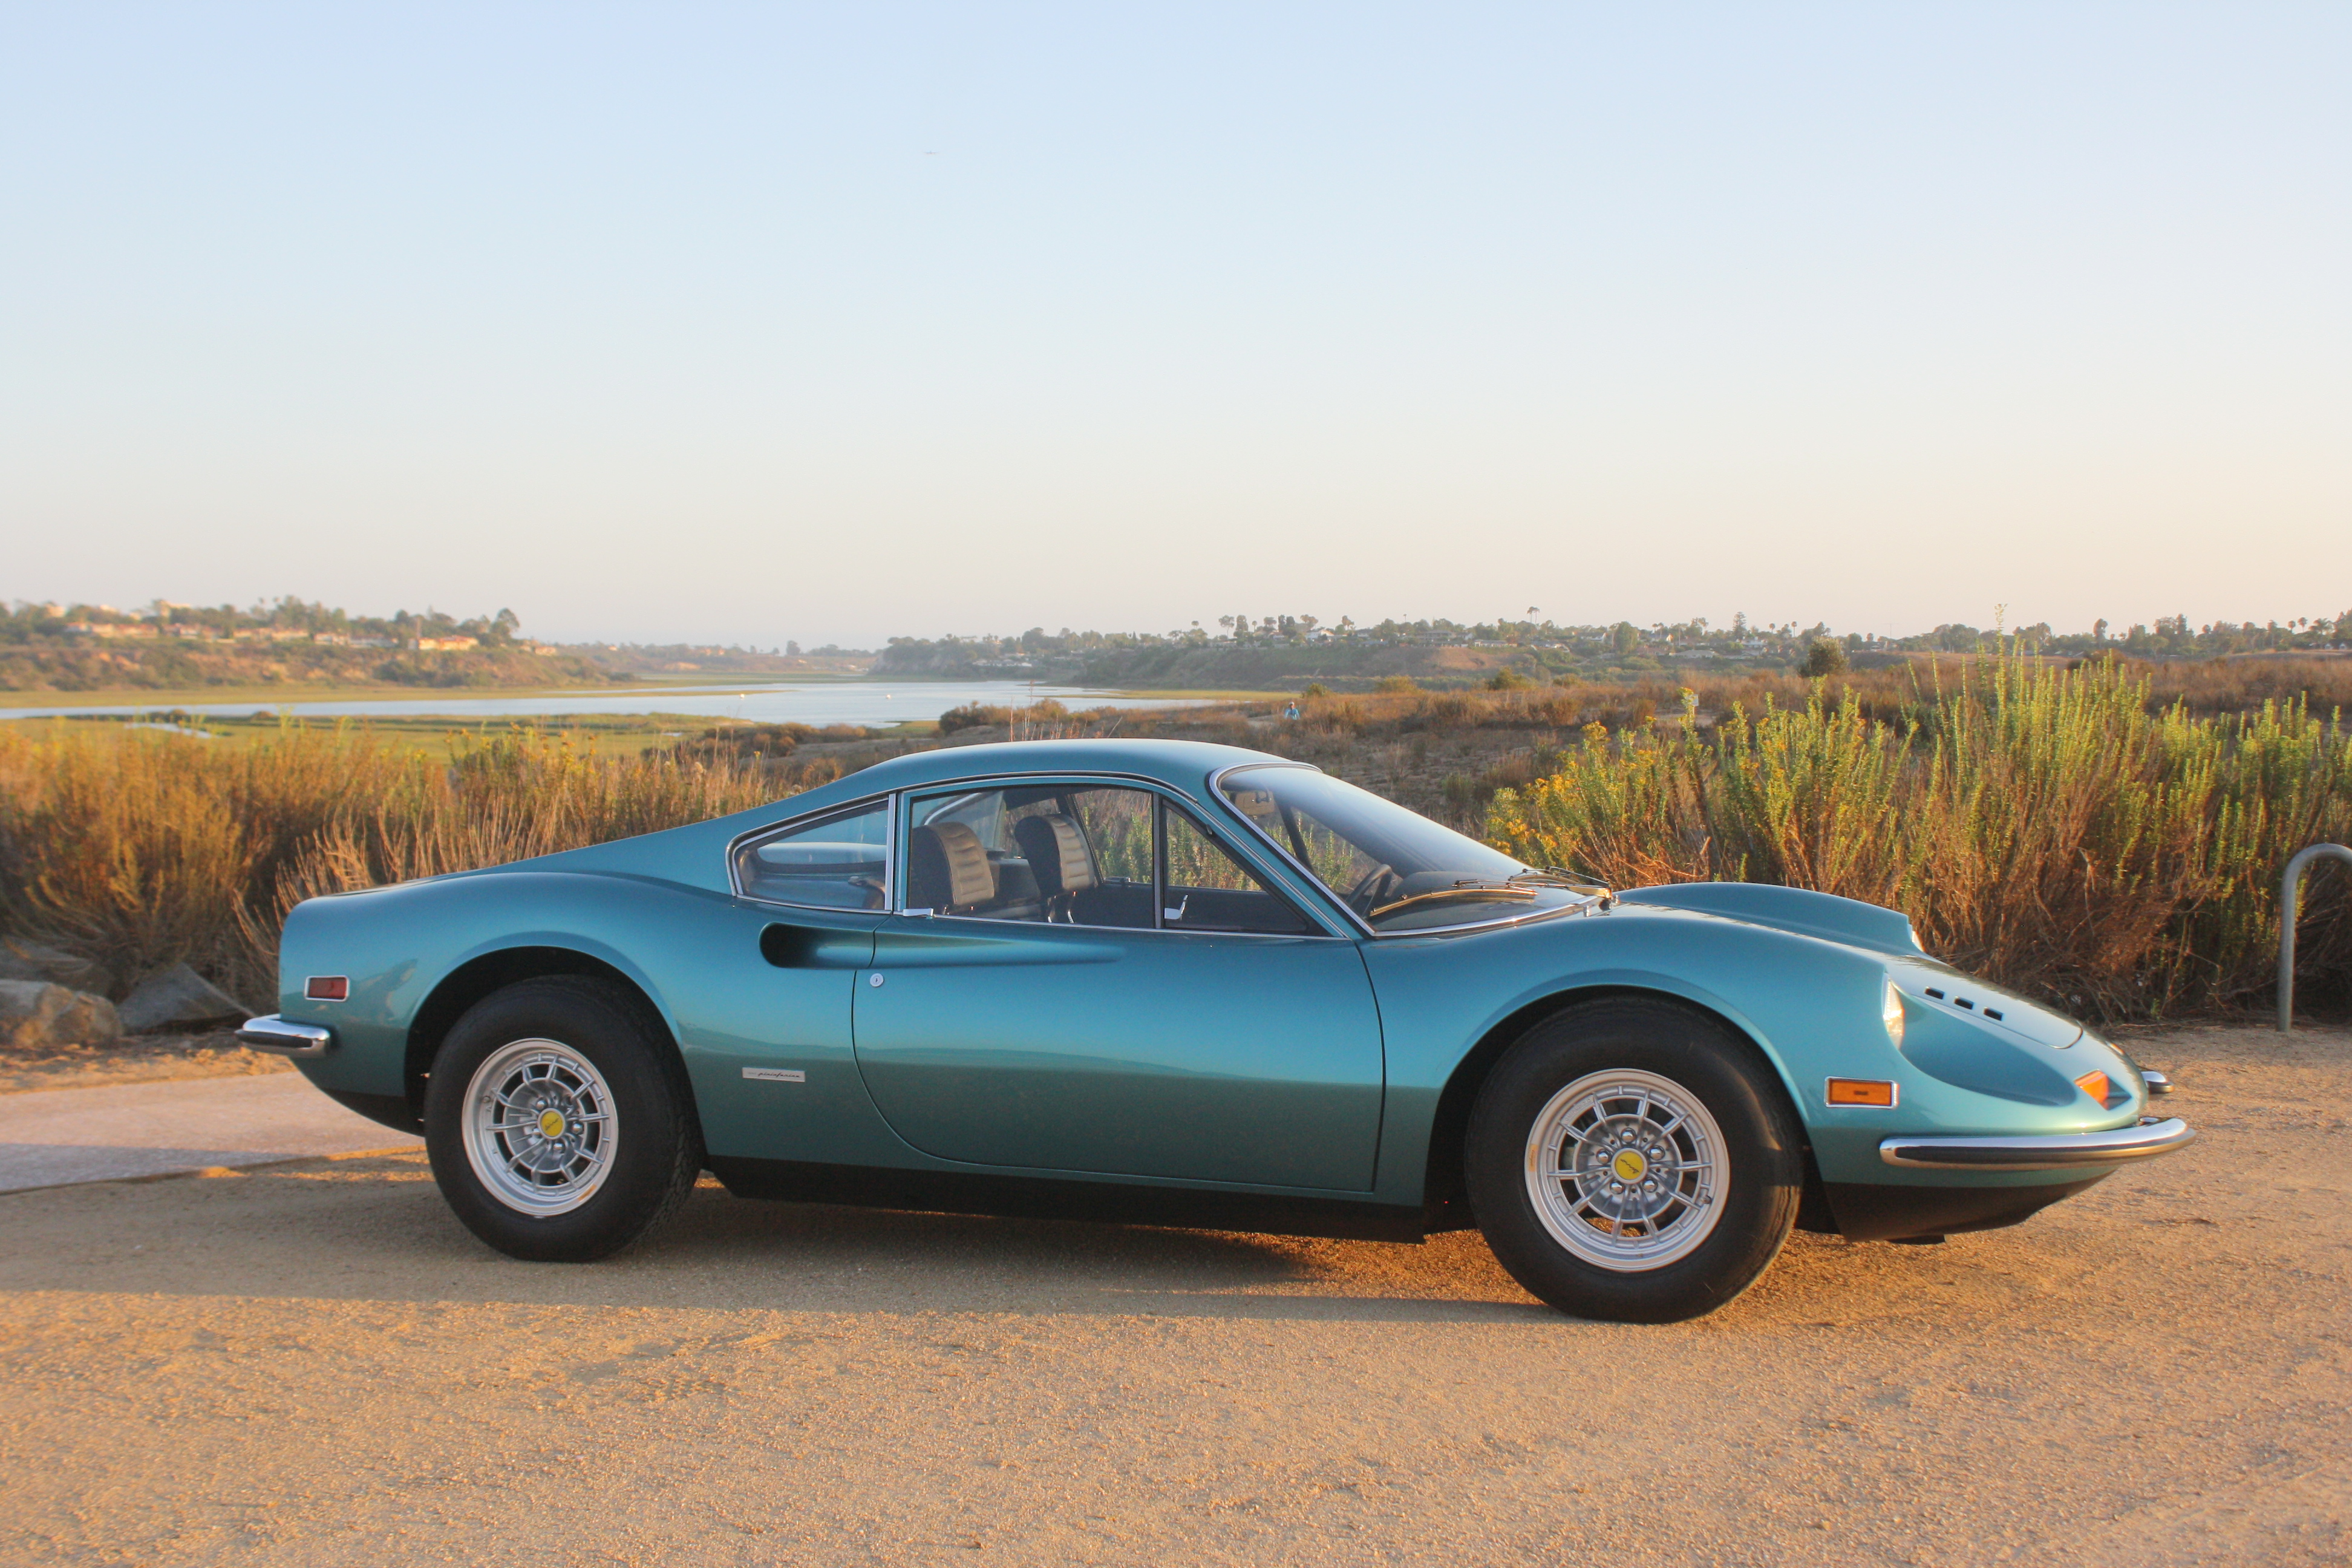


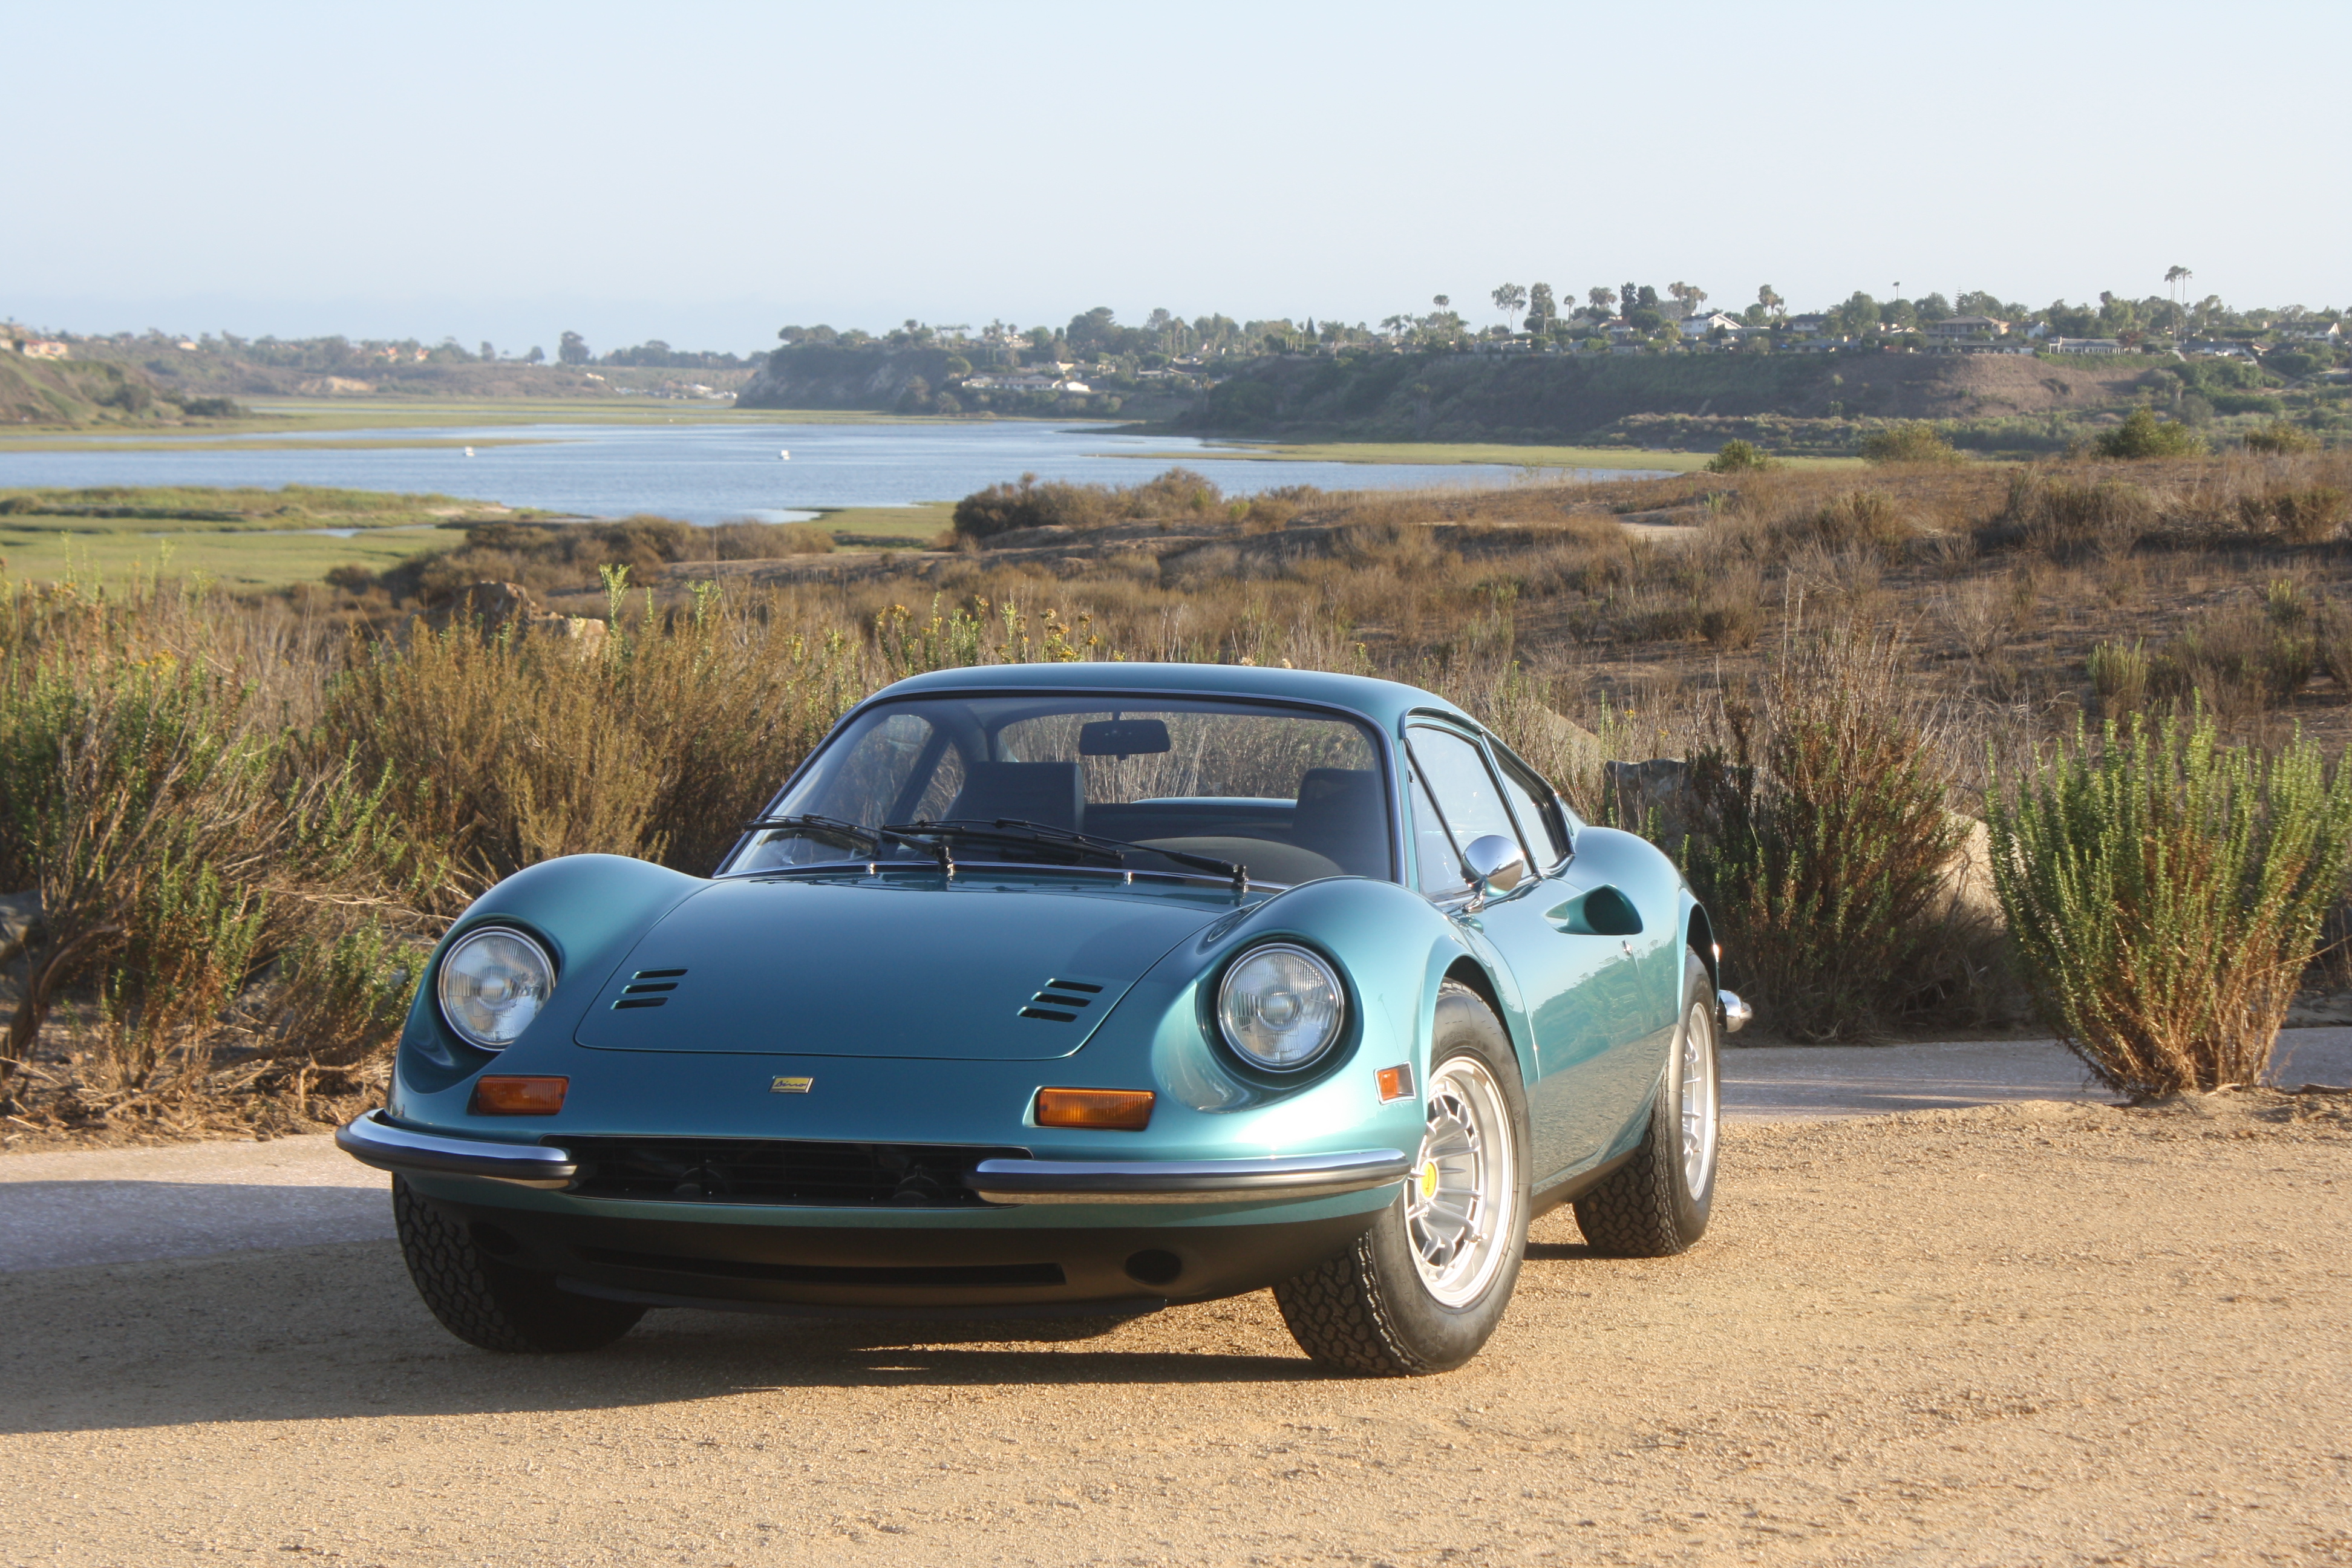
Some updated photos of this beauty. I love this original color.


Just pulled this Ferrari Dino 246 GT out of the spray booth. This original Blu Chiaro is a most gorgeous, vibrant and stunningly beautiful color. This photo was taken before we color sanded and buffed the car. I’ll post more when it’s reassembled.
You can follow all the updates on this particular restoration project at The Dino Project or ‘like’ us on Facebook (The Dino Project). In the meantime, enjoy this video.
